I love trying new things and learning. More importantly, I love learning alongside my students. This was my second year of teaching in Nenana. I teach Life Skills and Art in grades 9-12 during the day and after school I run our 21st Century Community Learning Center where we have 4H, Art, Science, Homework, and Robotics clubs along with a few other programs. During the after school programs, I get the opportunity to work with students in grades K-12. During both 4H and Life Skills, we cover nutrition and growing your own food. One thing I really enjoy teaching my students is different methods for starting plants.
This particular lesson came about because our head cook in the kitchen had a case of potatoes that were beginning to sprout. These potatoes were purchased from a local farm last fall for use in the lunchroom. Big Mike gave them to me around the end of January. When I began my plant starting lessons, I knew I wanted to do something with these potatoes.
Keep in mind that when you are starting potatoes you should begin with certified seed potatoes in order to minimize the introduction of diseases. Alaska grown seed potatoes are often available at local nurseries. Seed purchased outside of Alaska should be accompanied by a copy of the seed certification tag and the phytosanitary certificate. In this case, I felt comfortable using the potatoes we had since they had been grown from certified seed potatoes the previous year.
-
Lesson Plan – Triple R Potatoes
-
Subject Area – Science
-
Appropriate Grade Level – Adaptable to Any
-
Ideal season for lesson – Spring
-
Time needed to facilitate lesson- 30-45 Minutes
-
Suggested materials
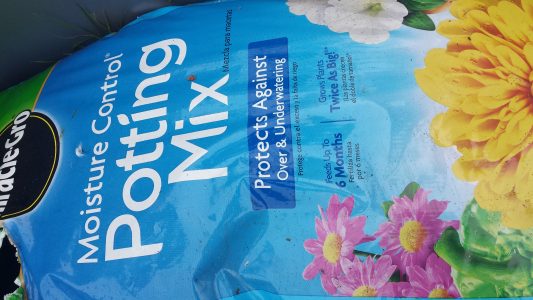
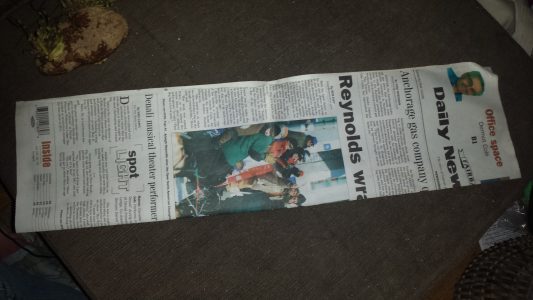
Materials – potatoes, potting mix, newspaper, scissors, knife, 20 oz size soup or other can
-
Goal and outcomes
- Learn how to start a variety of plants
- Adapt available materials to use for other than original intended purposes
-
A Step by Step guide to teaching your lesson
Preparation
Because I was doing this with my 4H club, I knew I would be working with approximately 12 students in grades K-6 with the majority of them in kindergarten and 1st grade. Many of the remaining students are special needs who require a little bit of extra assistance. I also knew I would have 5 teen leaders available. Prior to this lesson, we had already discussed the parts of the plant and different ways to start plants.
The teen leaders and I cut the newspapers into single sheets and covered all of the tables in more newspaper. All supplies were set out and ready for use when the students arrived. I taught the teens how to make the pots so they would be able to assist the younger students.
Procedure
- Start with a recap of some of what had already been covered (different ways plants reproduce, how to start plants, parts of the plant, etc).
- Discuss potatoes. Ask questions like “who likes potatoes? Has anyone ever grown potatoes? How do you think potatoes are grown? Talk about different ways to start potatoes. Tell the students that today we will start some potatoes for them to take home.
- Explain that normally we don’t start potatoes in pots but would normally plant them directly in the ground. By using newspaper for the pots we will be helping our planet by recycling and reusing newspapers and reducing the waste that would normally go into the landfill. The newspaper pots can be planted directly into the ground and will deteriorate quickly.
- Have the students spread out to the different tables and group up with the teens. Tell them the teens are going to show them how to make the paper pots and will them help them. Teens will demonstrate the steps as follows…
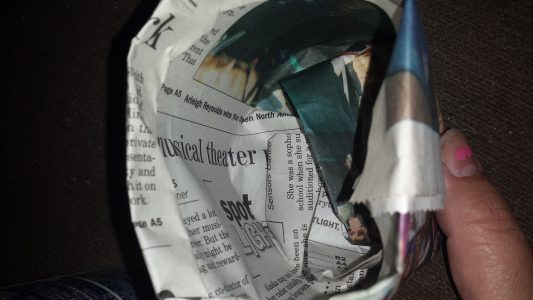
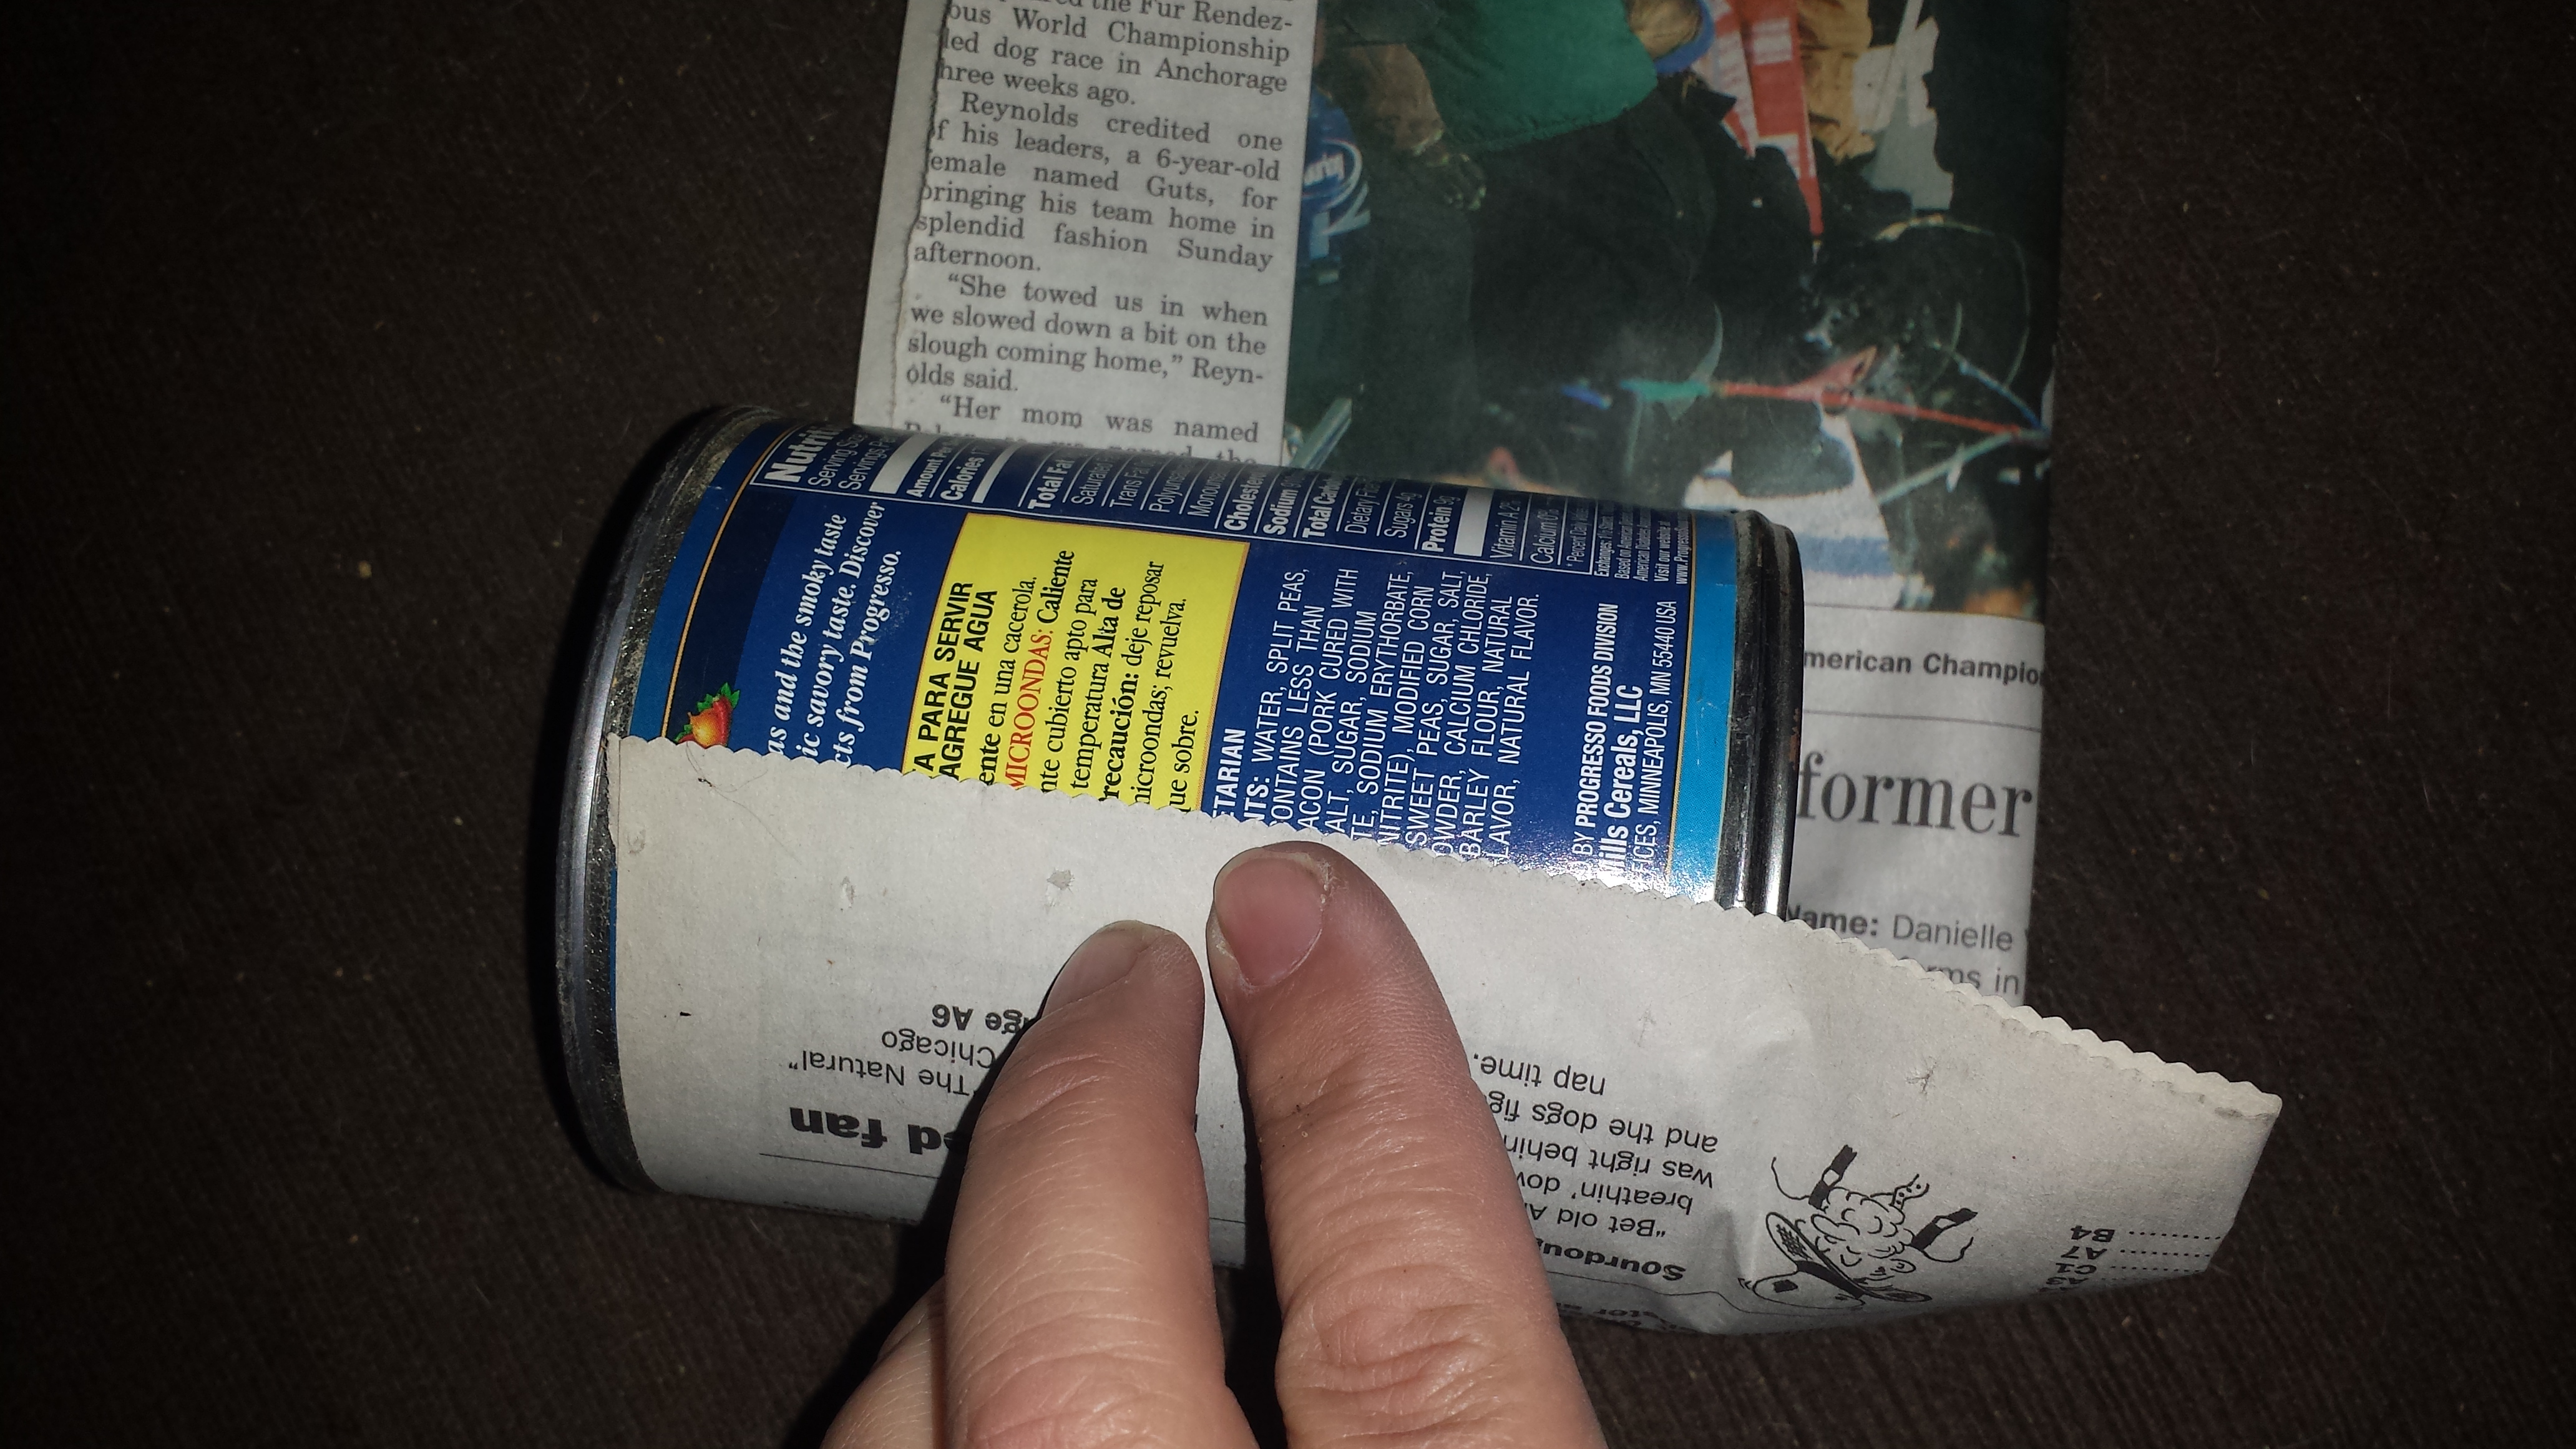
- Fold single sheet of newspaper in half lengthwise
- Lay the can on its side on one end with the paper’s fold about 1-1.5 inches from the bottom of the can and roll the newspaper around the can.
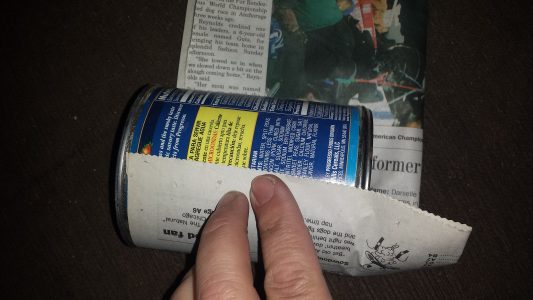
- Once the can is rolled, fold the paper up to the bottom of the can starting with the overlapped seam.
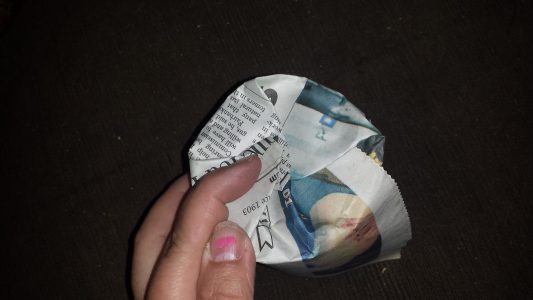
- Fold the top 1/2 inch over to the inside of the pot to help stiffen the pot. If the pot decides it doesn’t want to stay together, use a small piece of tape on the seam.
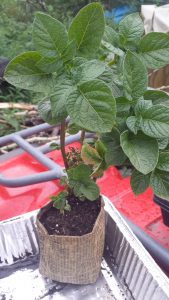
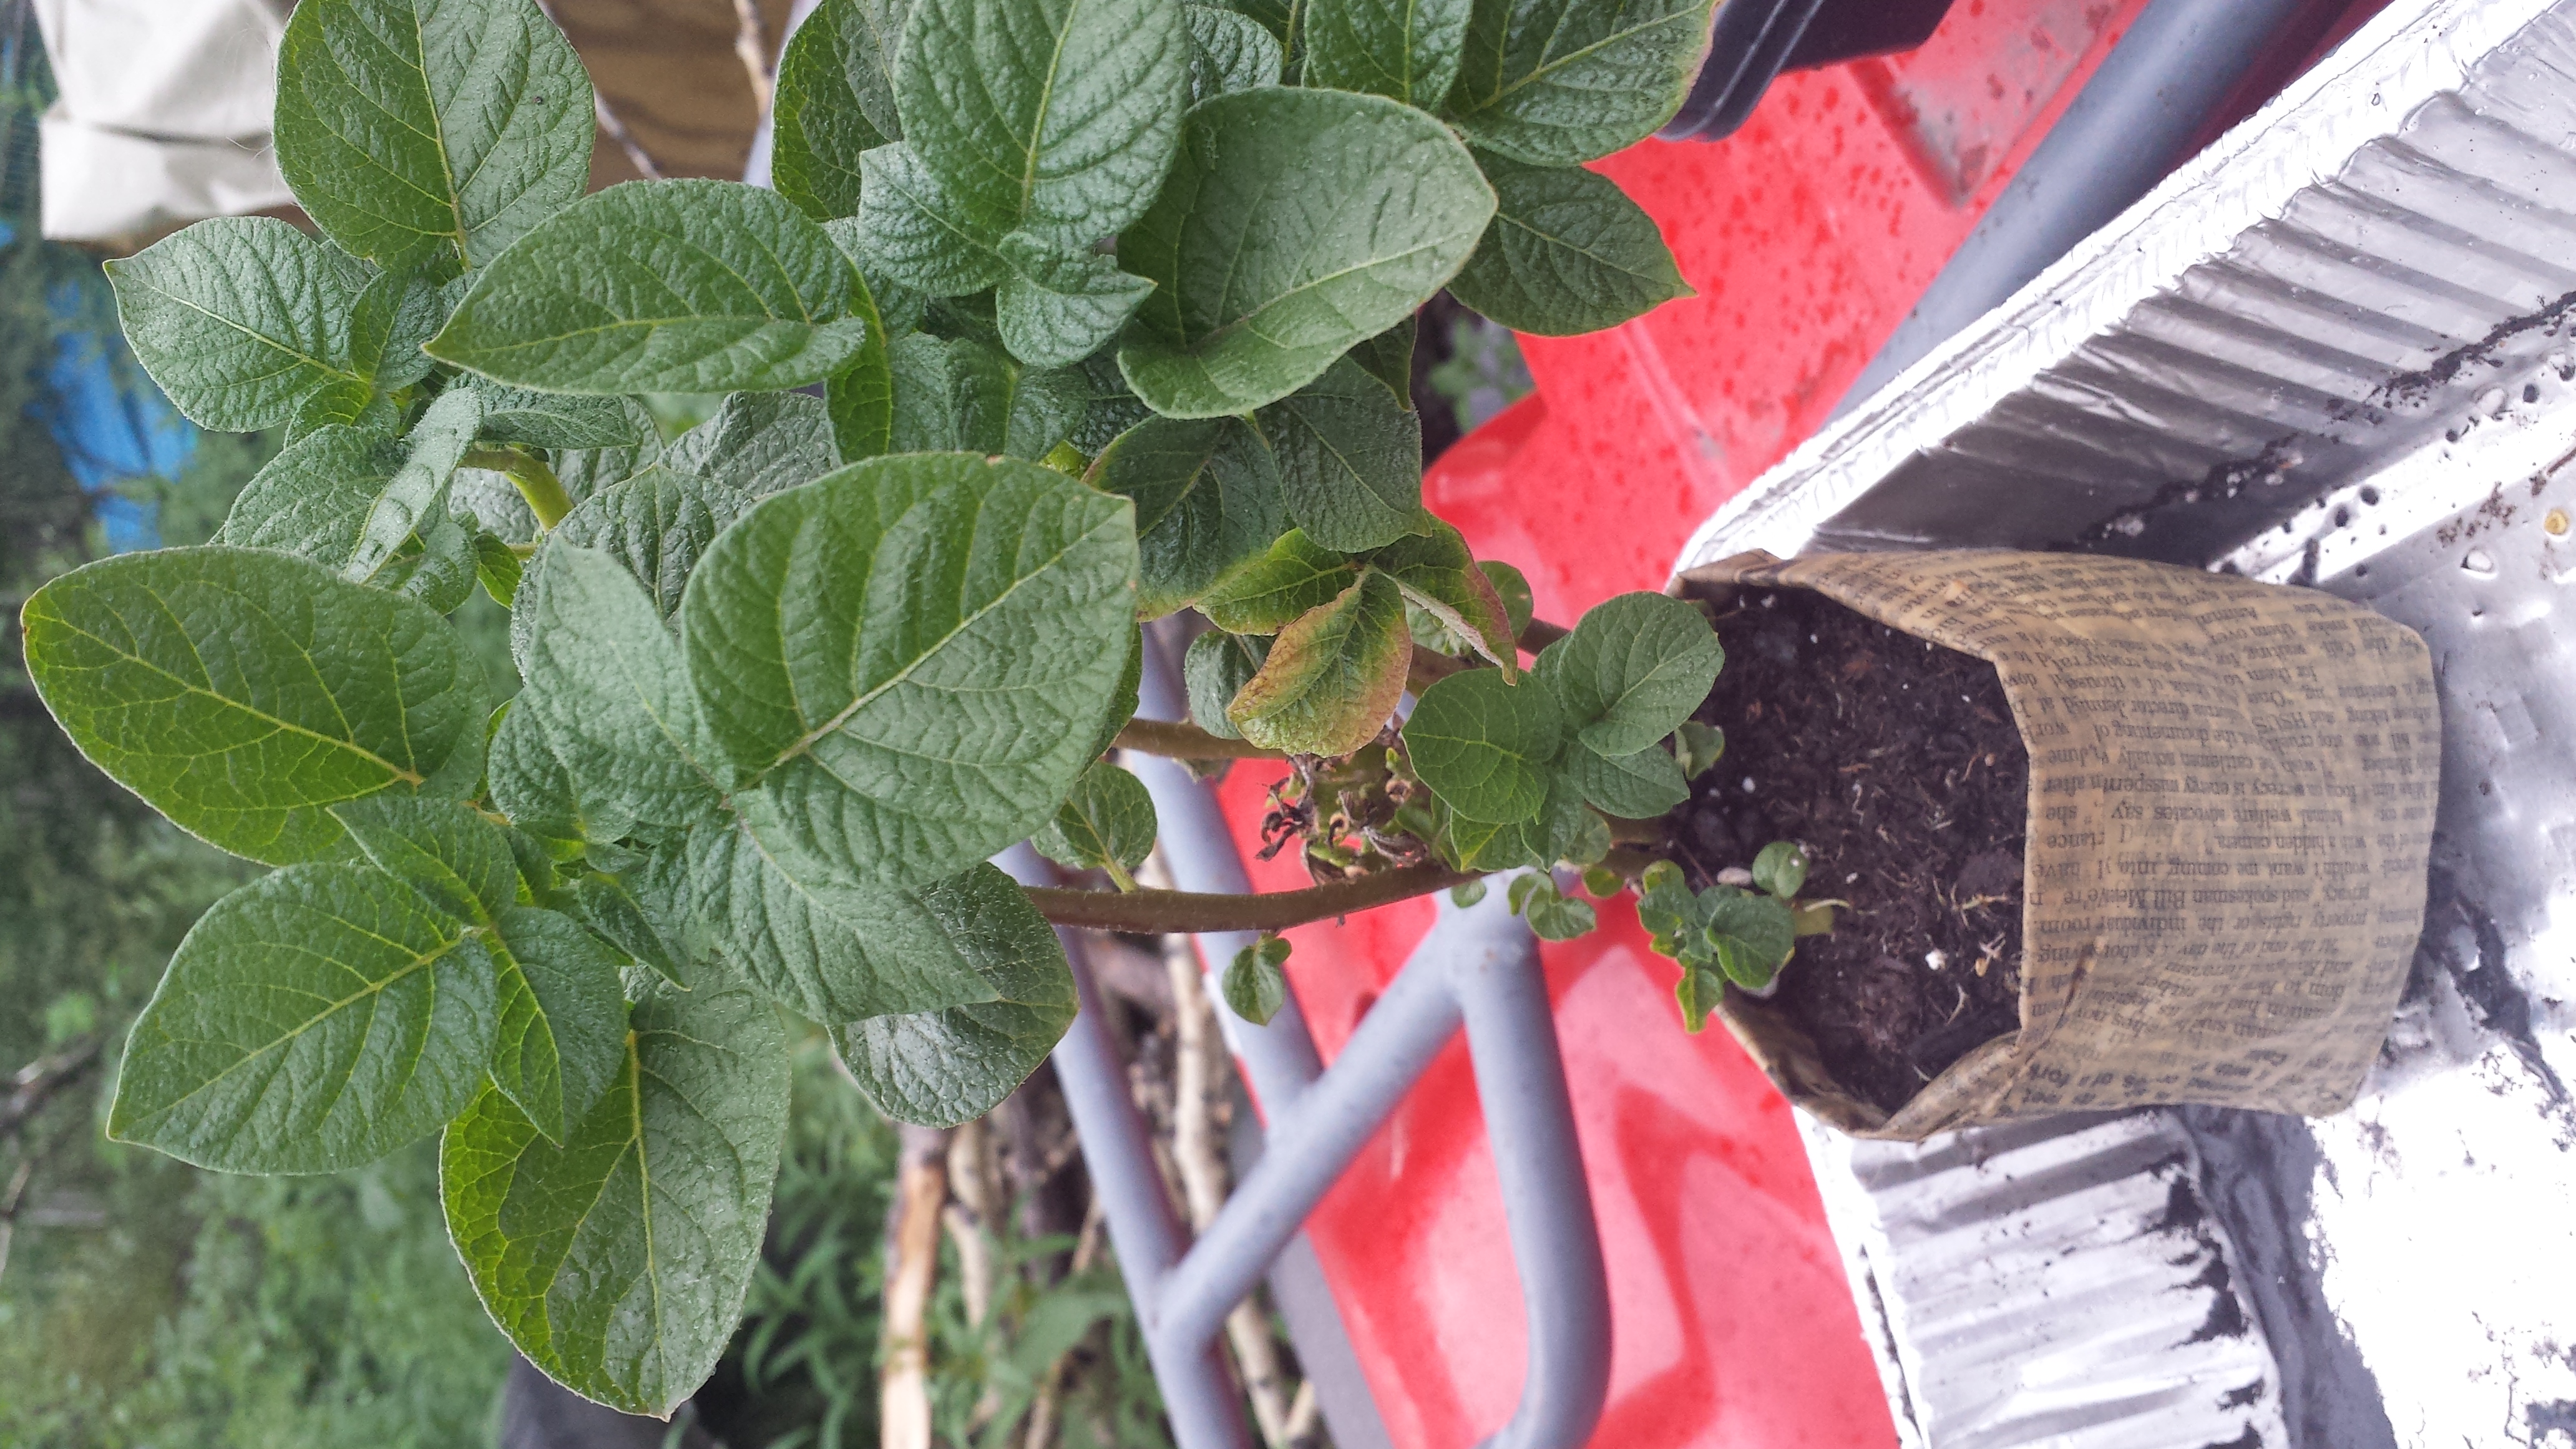
- Add about 2 inches of soil to the pot, put in a piece of cut potato (make sure it has at least one eye. In this case we had some good sprouts to use as our eyes), and cover with soil. Place inside a pan and water well.
- Students made six pots each and got to take them home. They were given instructions on how to care for them and what to do with them once it was warm enough.
- Fold single sheet of newspaper in half lengthwise
-
Curricular connections/extension activities for other subjects (correlated to GLEs if possible)
- Record growth times and heights of potato plants and create a graph (Math – timing, measuring, and graphing)
- Decorate paper prior to creating pots (Art)
- Record observations in Science Notebook during and after activity (Science)
- Research other materials and methods that could be used to start potatoes
- Experiment with the potatoes that were planted (light times, temperature, water, etc)
- Read, or have the kids find and read, a book on growing plants (Language Arts)
- Write a poem or story about growing plants (Language Arts)
-
Bibliography (Resources)
Newspaper Pot directions… https://preparednessmama.com/starting-seeds-in-recycled-containers/
This website has some great suggestions for plant books for kids… https://www.the-best-childrens-books.org/plants-for-kids.html
https://www.uaf.edu/wp-content/uploads/sites/541/ces/publications-db/catalog/anr/HGA-00027.pdf


I hope you and your kids enjoy this. I know we did in my classrooms (and at home). Happy planting.