Why make seed tape?
I hate to thin my seedlings. It’s just so sad to pull one of my dear little plants. I am also terrible at taking the time to seed carefully in the midst of the busy spring. This is particularly true when using tiny seeds like carrots. Buying seed tape from the store is very expensive. Making seed tape is certainly something that only a home gardener would do. This is not time saving enough for true carrot farming. Honestly though, I really just enjoy making seed tape. Type A personality, like myself, will thrive on performing the tidy measurements. It also will feed that part of the brain that loves to have repetitive activity. It is similar to knitting in that way. I listen to my audio books, drink a glass of wine, and make seed tape. Perfect evening!
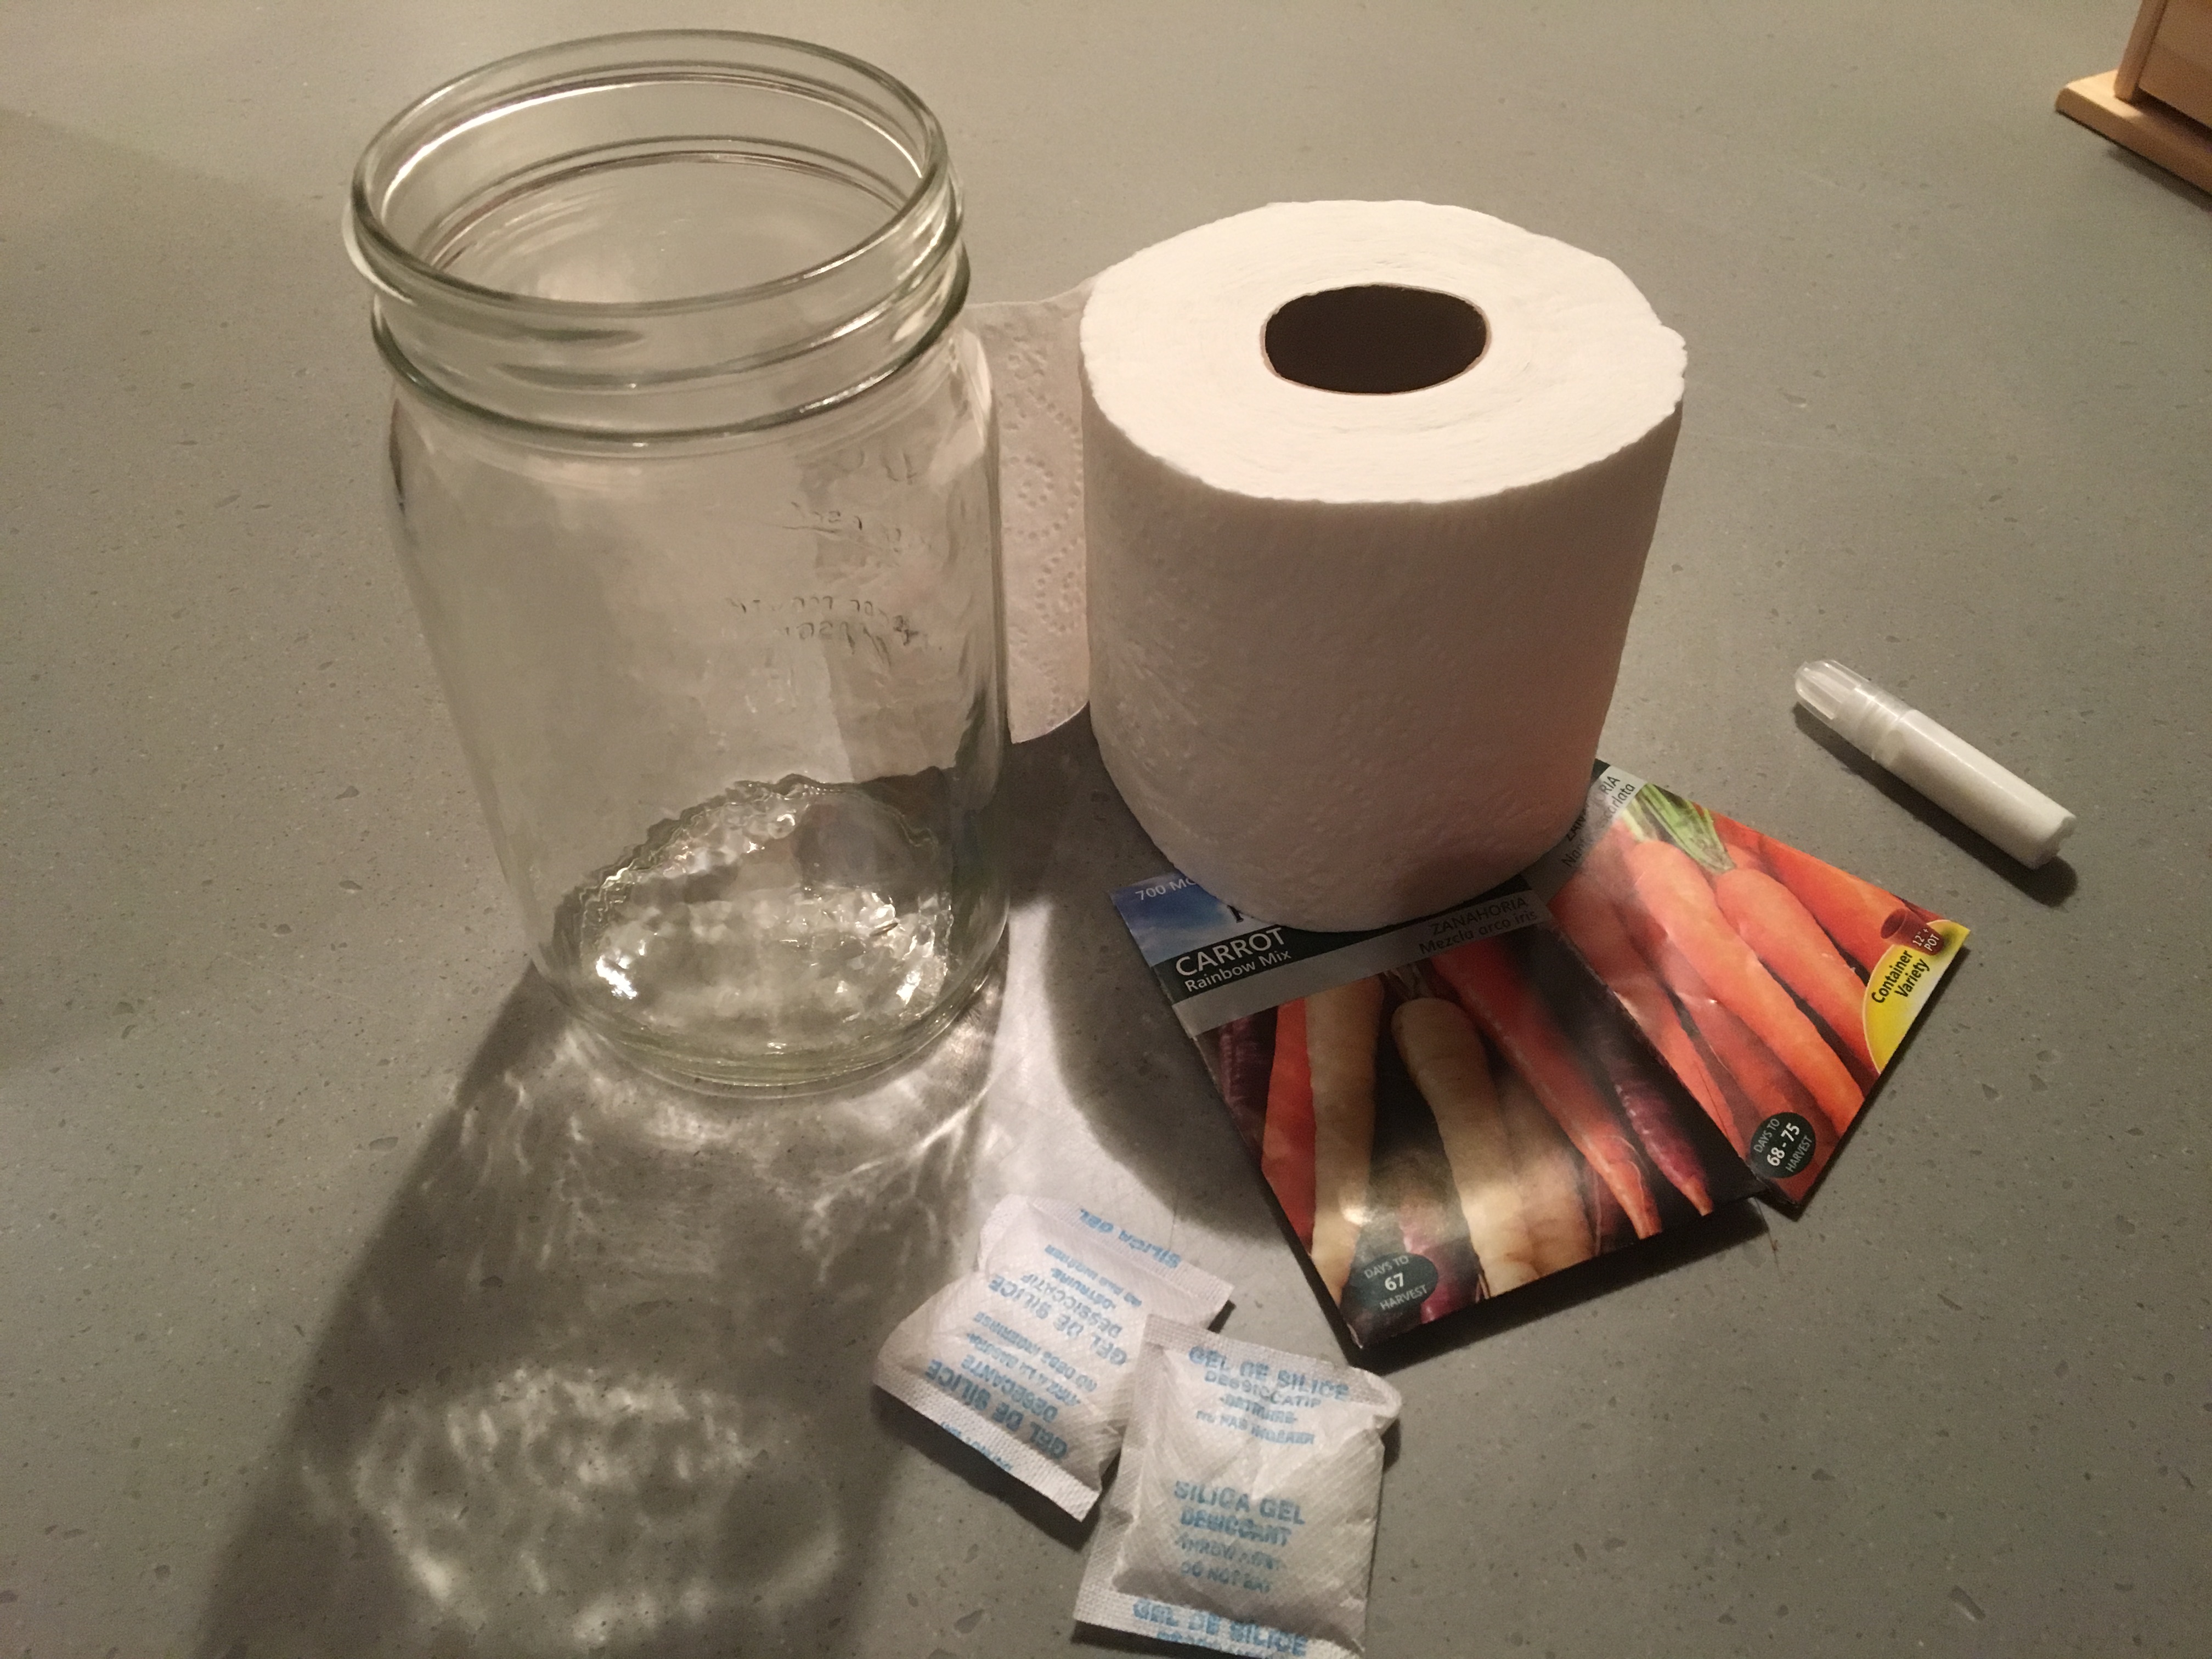
Supplies
Toilet paper, cheap and single-ply is perfect. You can buy organic with no dye at the health food stores.
Elmer’s glue or equivalent
Seeds
Ruler
Mason jar with lid
Silica “do not eat” packets that come in many things to prevent moisture.
Method
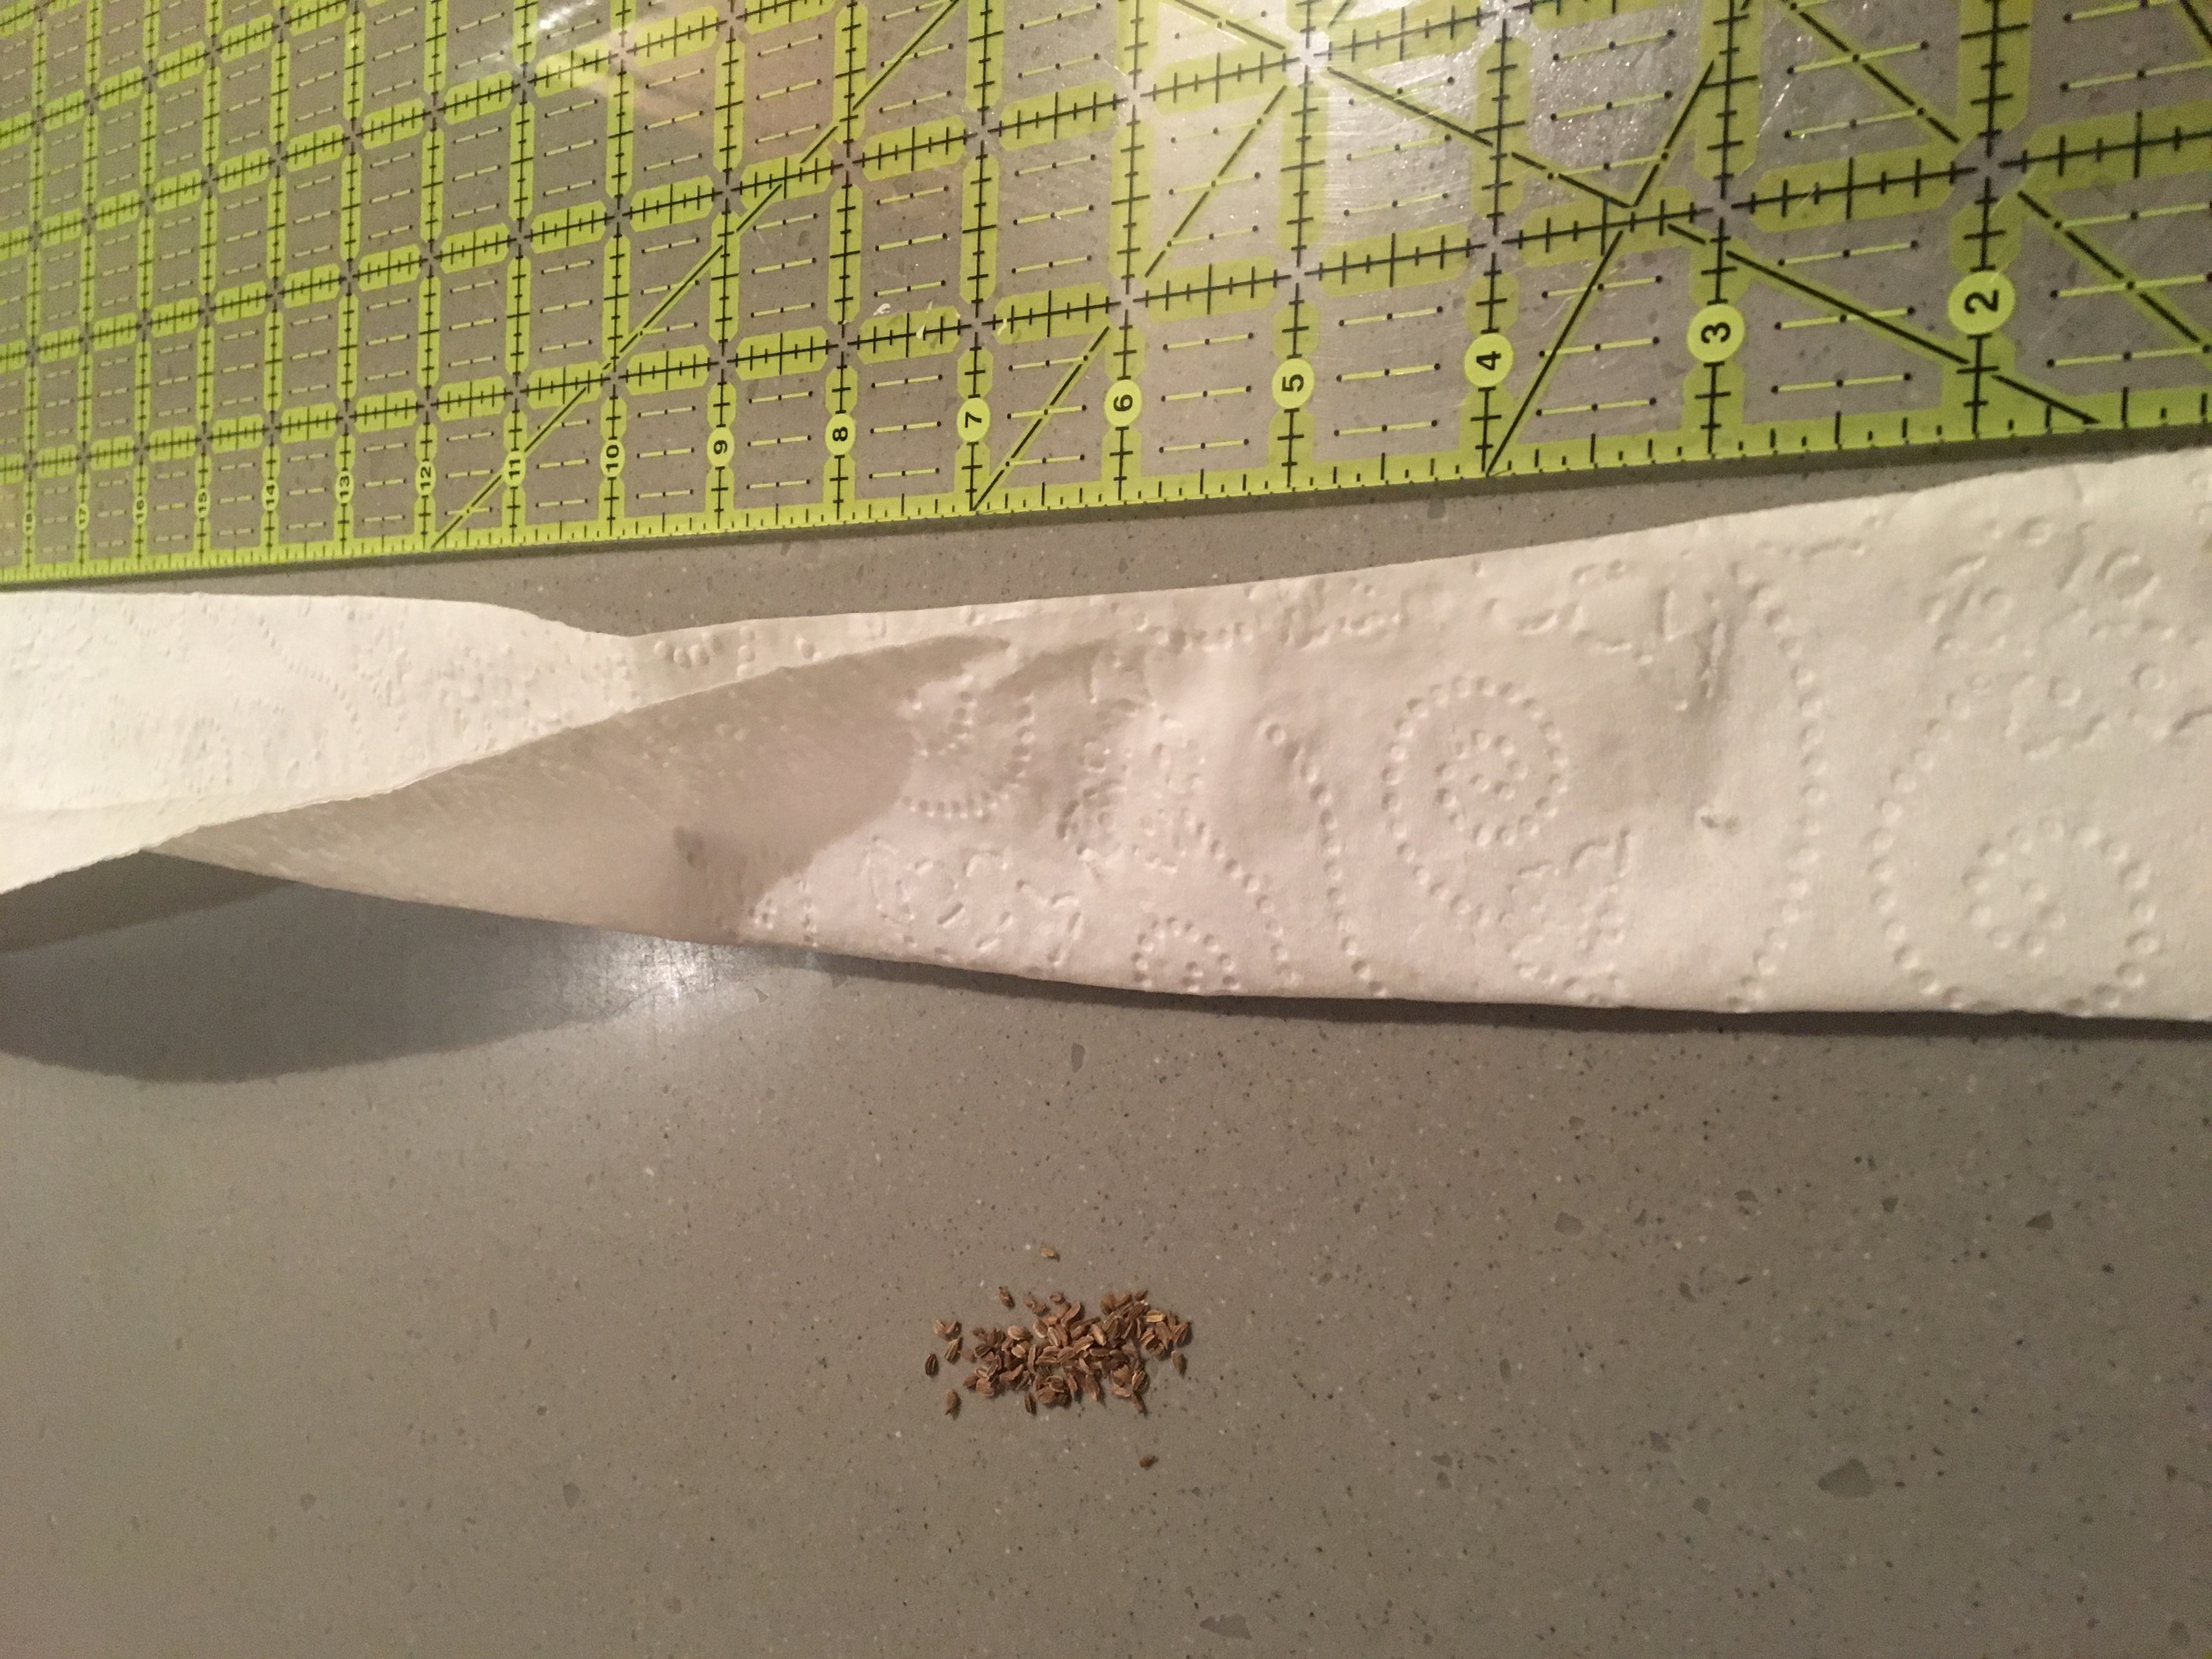
Roll out toilet paper in the desired length. Dab a very small spot of glue and place seeds. The seeds should be spaced as recommended on the back of the seed packet. The photo below of my carrot seed package shows a recommended spacing of 15 inches/3inches. This company is recommending the carrots be spaced 3 inches and the rows of carrots should be 15 inches apart. If you are doing square foot gardening or a more flowing permaculture method, the 15 inches rows apart does not apply. After you place your seeds in the glue, fold the toilet paper over lengthwise and allow it to dry. Finally, roll the seed embedded toilet paper back up for storage.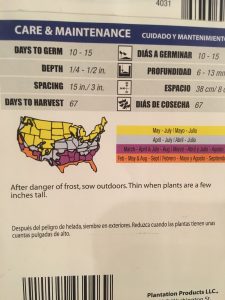


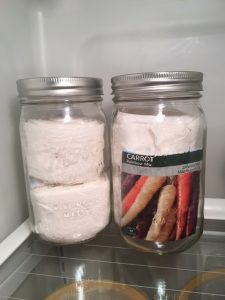 Storage
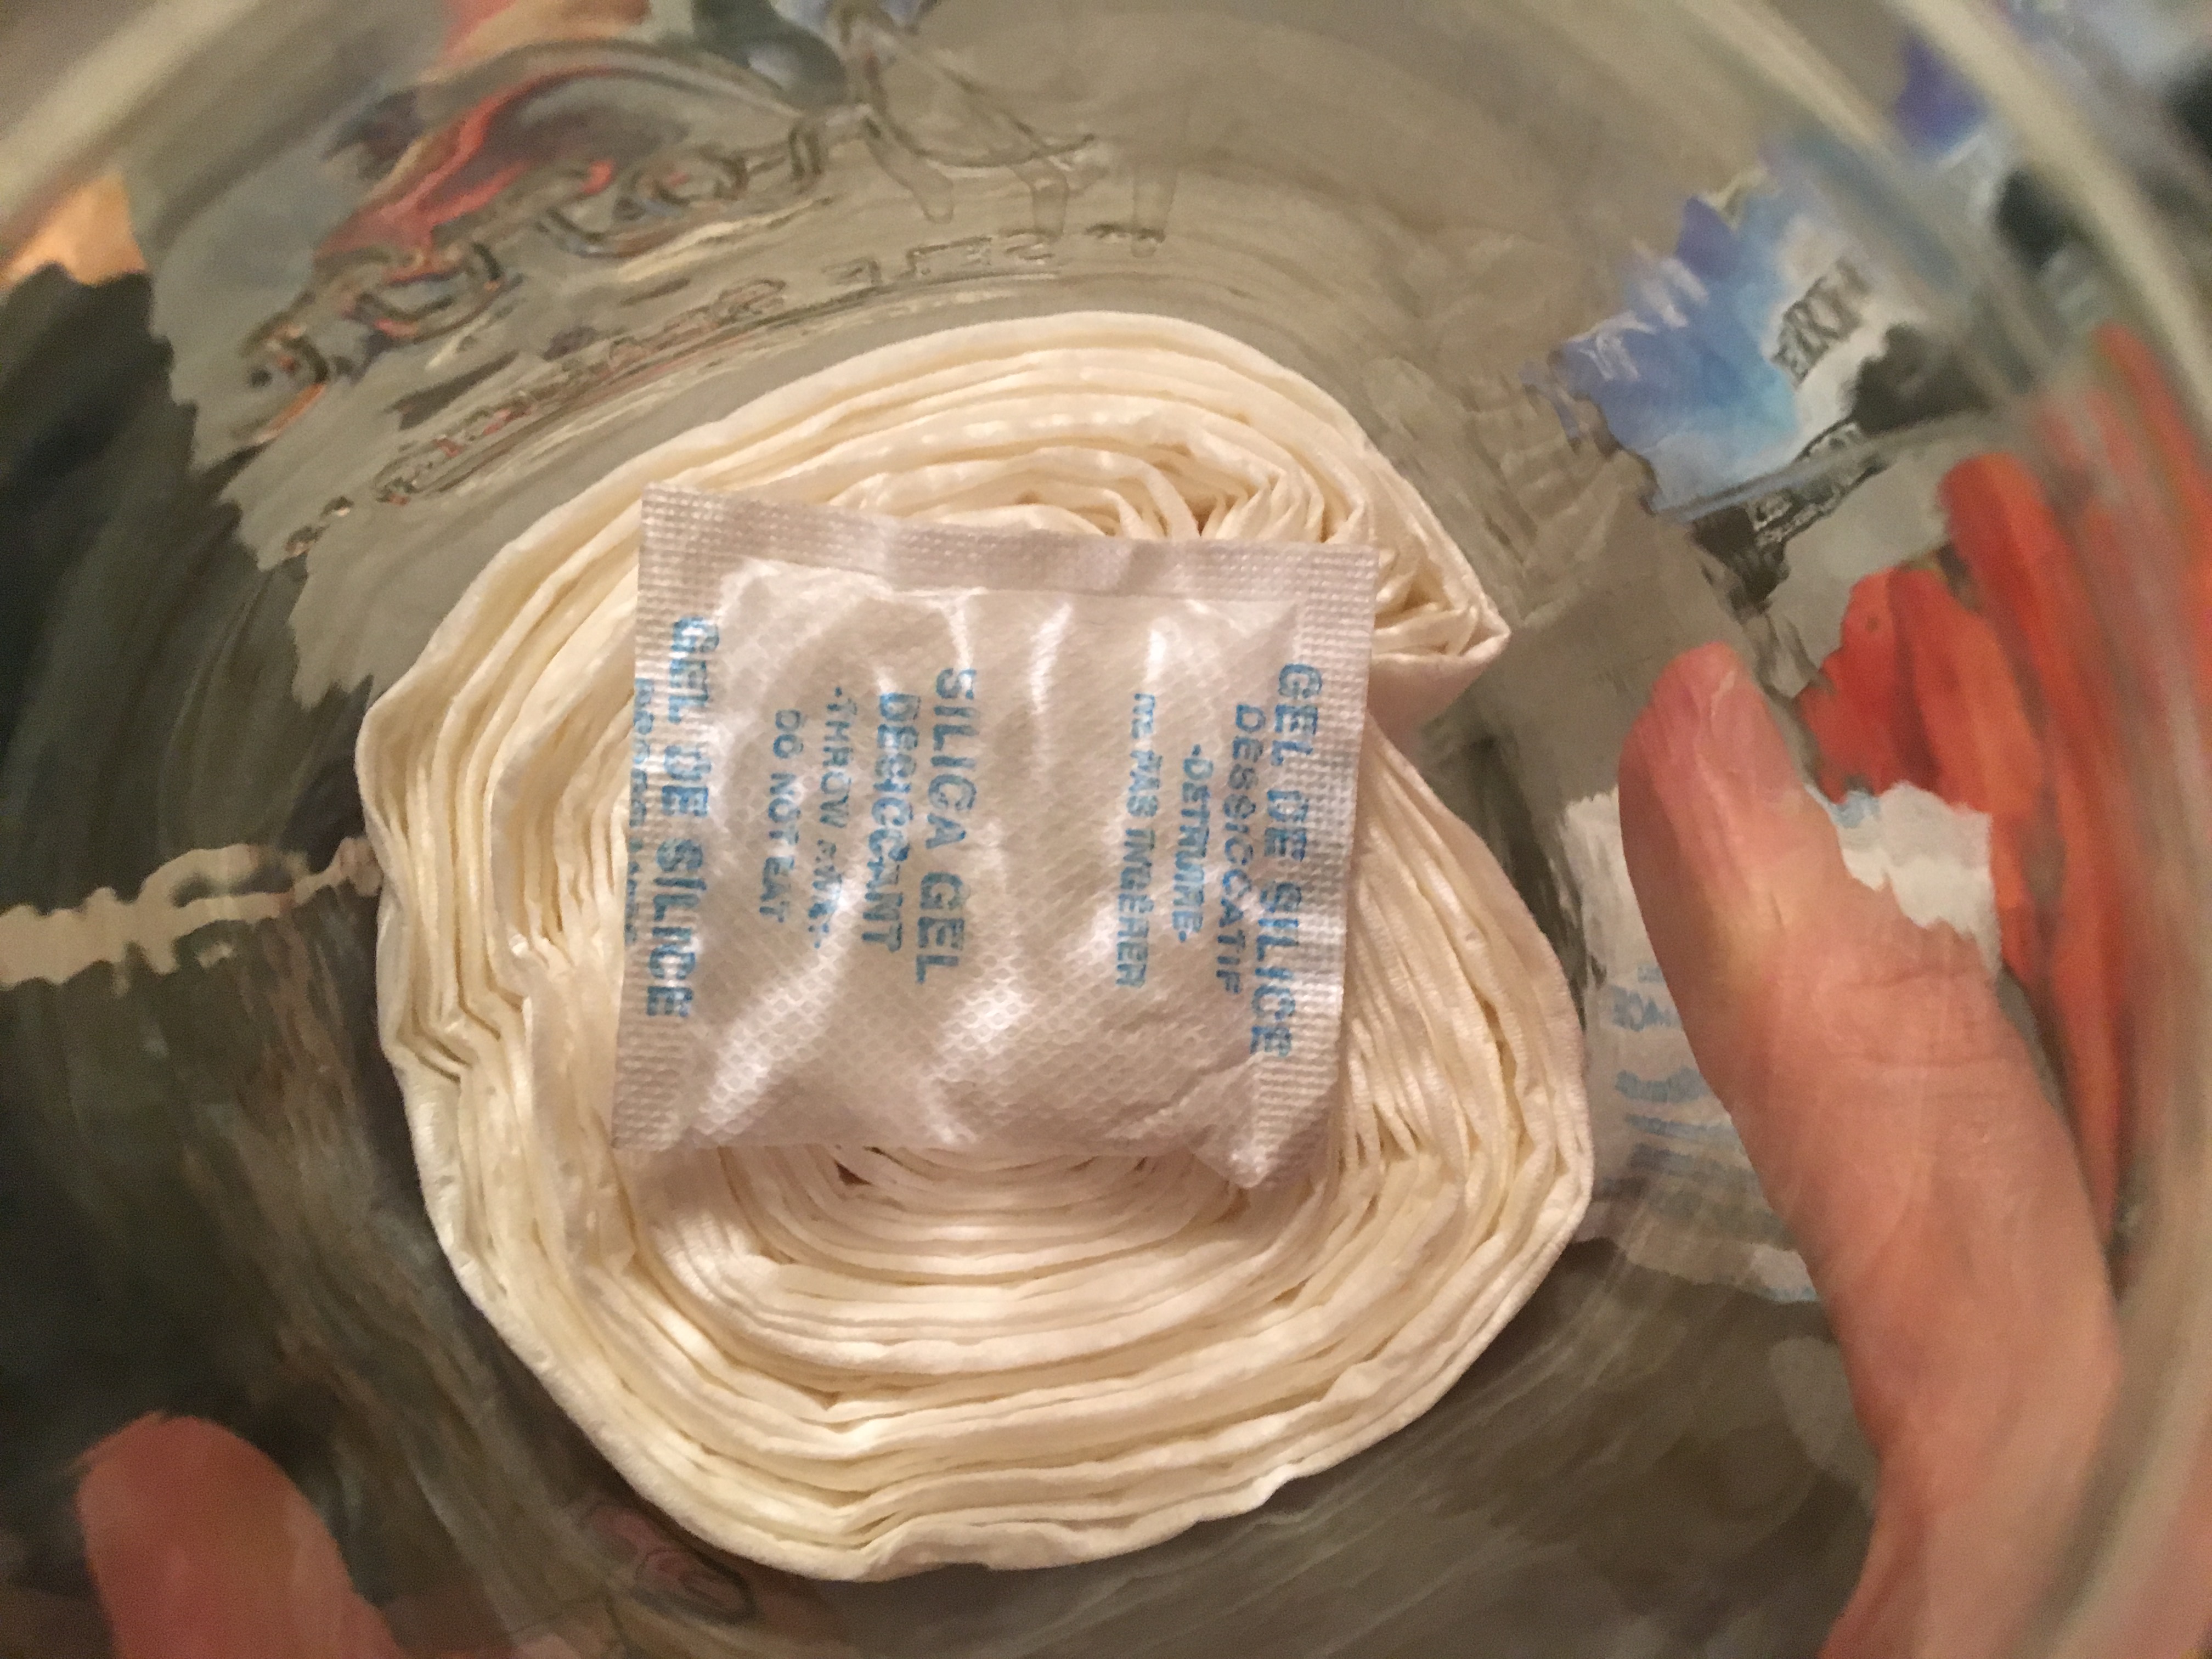

Large mouth mason jars work best for storage until spring. Add a packet of silicone that comes in many packages to decrease moisture. Those are the packets that read, “do not eat.” If you have ran short on silicone packets, use dry rice in the bottom of the jar. Dry rice is not as good at preventing moisture as the silicone packets but it does work fairly well. Close the lid and store in the fridge. As with any seed storage, your greatest enemy is moisture.
Planting
Work the ground as you normally would and amend soil as needed. Roll out the seed embedded toilet paper. Cover with the correct amount of soil and gently tamp down. The back of the seed packet will give information on how deep and when to plant. After you cover the seed tape with soil, place an optional drip irrigation system. Cover the entire area with straw to help hold the moisture and increase germination. Next, give the area a gentle, but thorough, soaking with fine mist water. Over time the toilet paper will dissolve and no one will never know it was there. Finally, cover the entire area with row cover. For those not familiar with row cover, it is an amazing tool used primarily to help increase heat. However, it also helps to hold moisture. This thin, gauzy, fabric allows around 70% light to penetrate. Rain comes through without a problem. I purchased my roll of row cover fabric at Alaska mill and feed. Here is a example of the row cover through Johnny’s seed
The question most people ask, “Doesn’t the glue harm the seeds?” I have never done a specific rate of germination study for seed tape versus non-seed tape planted seeds, but I can tell you that most of my seeds come up, I do not have empty areas in my rows, and I have grown many carrots using this method.
Gardening does not need to be solo
Make this fun! Invite your friends for dinner and chat over seed tape. Try out some new carrot recipes for a tasting. If too much wine and laughter occurs during the making of seed tape, your mission is complete. So maybe a few seeds are wasted and toilet paper becomes glued to your pants. Perfect! The gardening season of 2017 is off to a great start.
My favorite carrot recipes to inspire more carrot planting
 This is the time of year to experiment with recipes! There is no reason to plant a bunch of something that you will never use. Try recipes out before you plant, grow, harvest, and preserve so that you can have a good feeling for how much you and your family will eat. Carrots store beautifully in the freezer. Carrots can be sliced into rounds, grated, or fully cook and pureed. All of these versions can be easily packaged and frozen. If you do slice into rounds, a quick blanch to preserve the vitamins and color. I would also recommend a vacuum sealer to help with freezer burn. Here are a couple of my favorite recipes for carrots:
1) My favorite carrot cake is by Pioneer Woman! For this one, grate and freeze the carrots. In the future, when you go to make the cake, thaw and squeeze out the water that separates.
2) My family loves carrot pie and is recipe is almost indistinguishable from pumpkin pie. For this recipe, fully cook and puree the carrots in the food processor. Then place in ziplock bags and freeze. Make sure the carrot puree is soft and not stringy. You can add a little water for the puree process.
3) My favorite simple side dish is one that we never get tired of. Slice the carrots either long and skinny or into rounds. Place them on a greased cookie sheet. Sprinkle with salt, cinnamon, nutmeg, ginger, brown sugar (very small amount), and olive oil. Bake until tender but not mush. This method works well for the sliced, blanched, and frozen carrots. After freezing, they almost become sweeter!