Time to light it up!
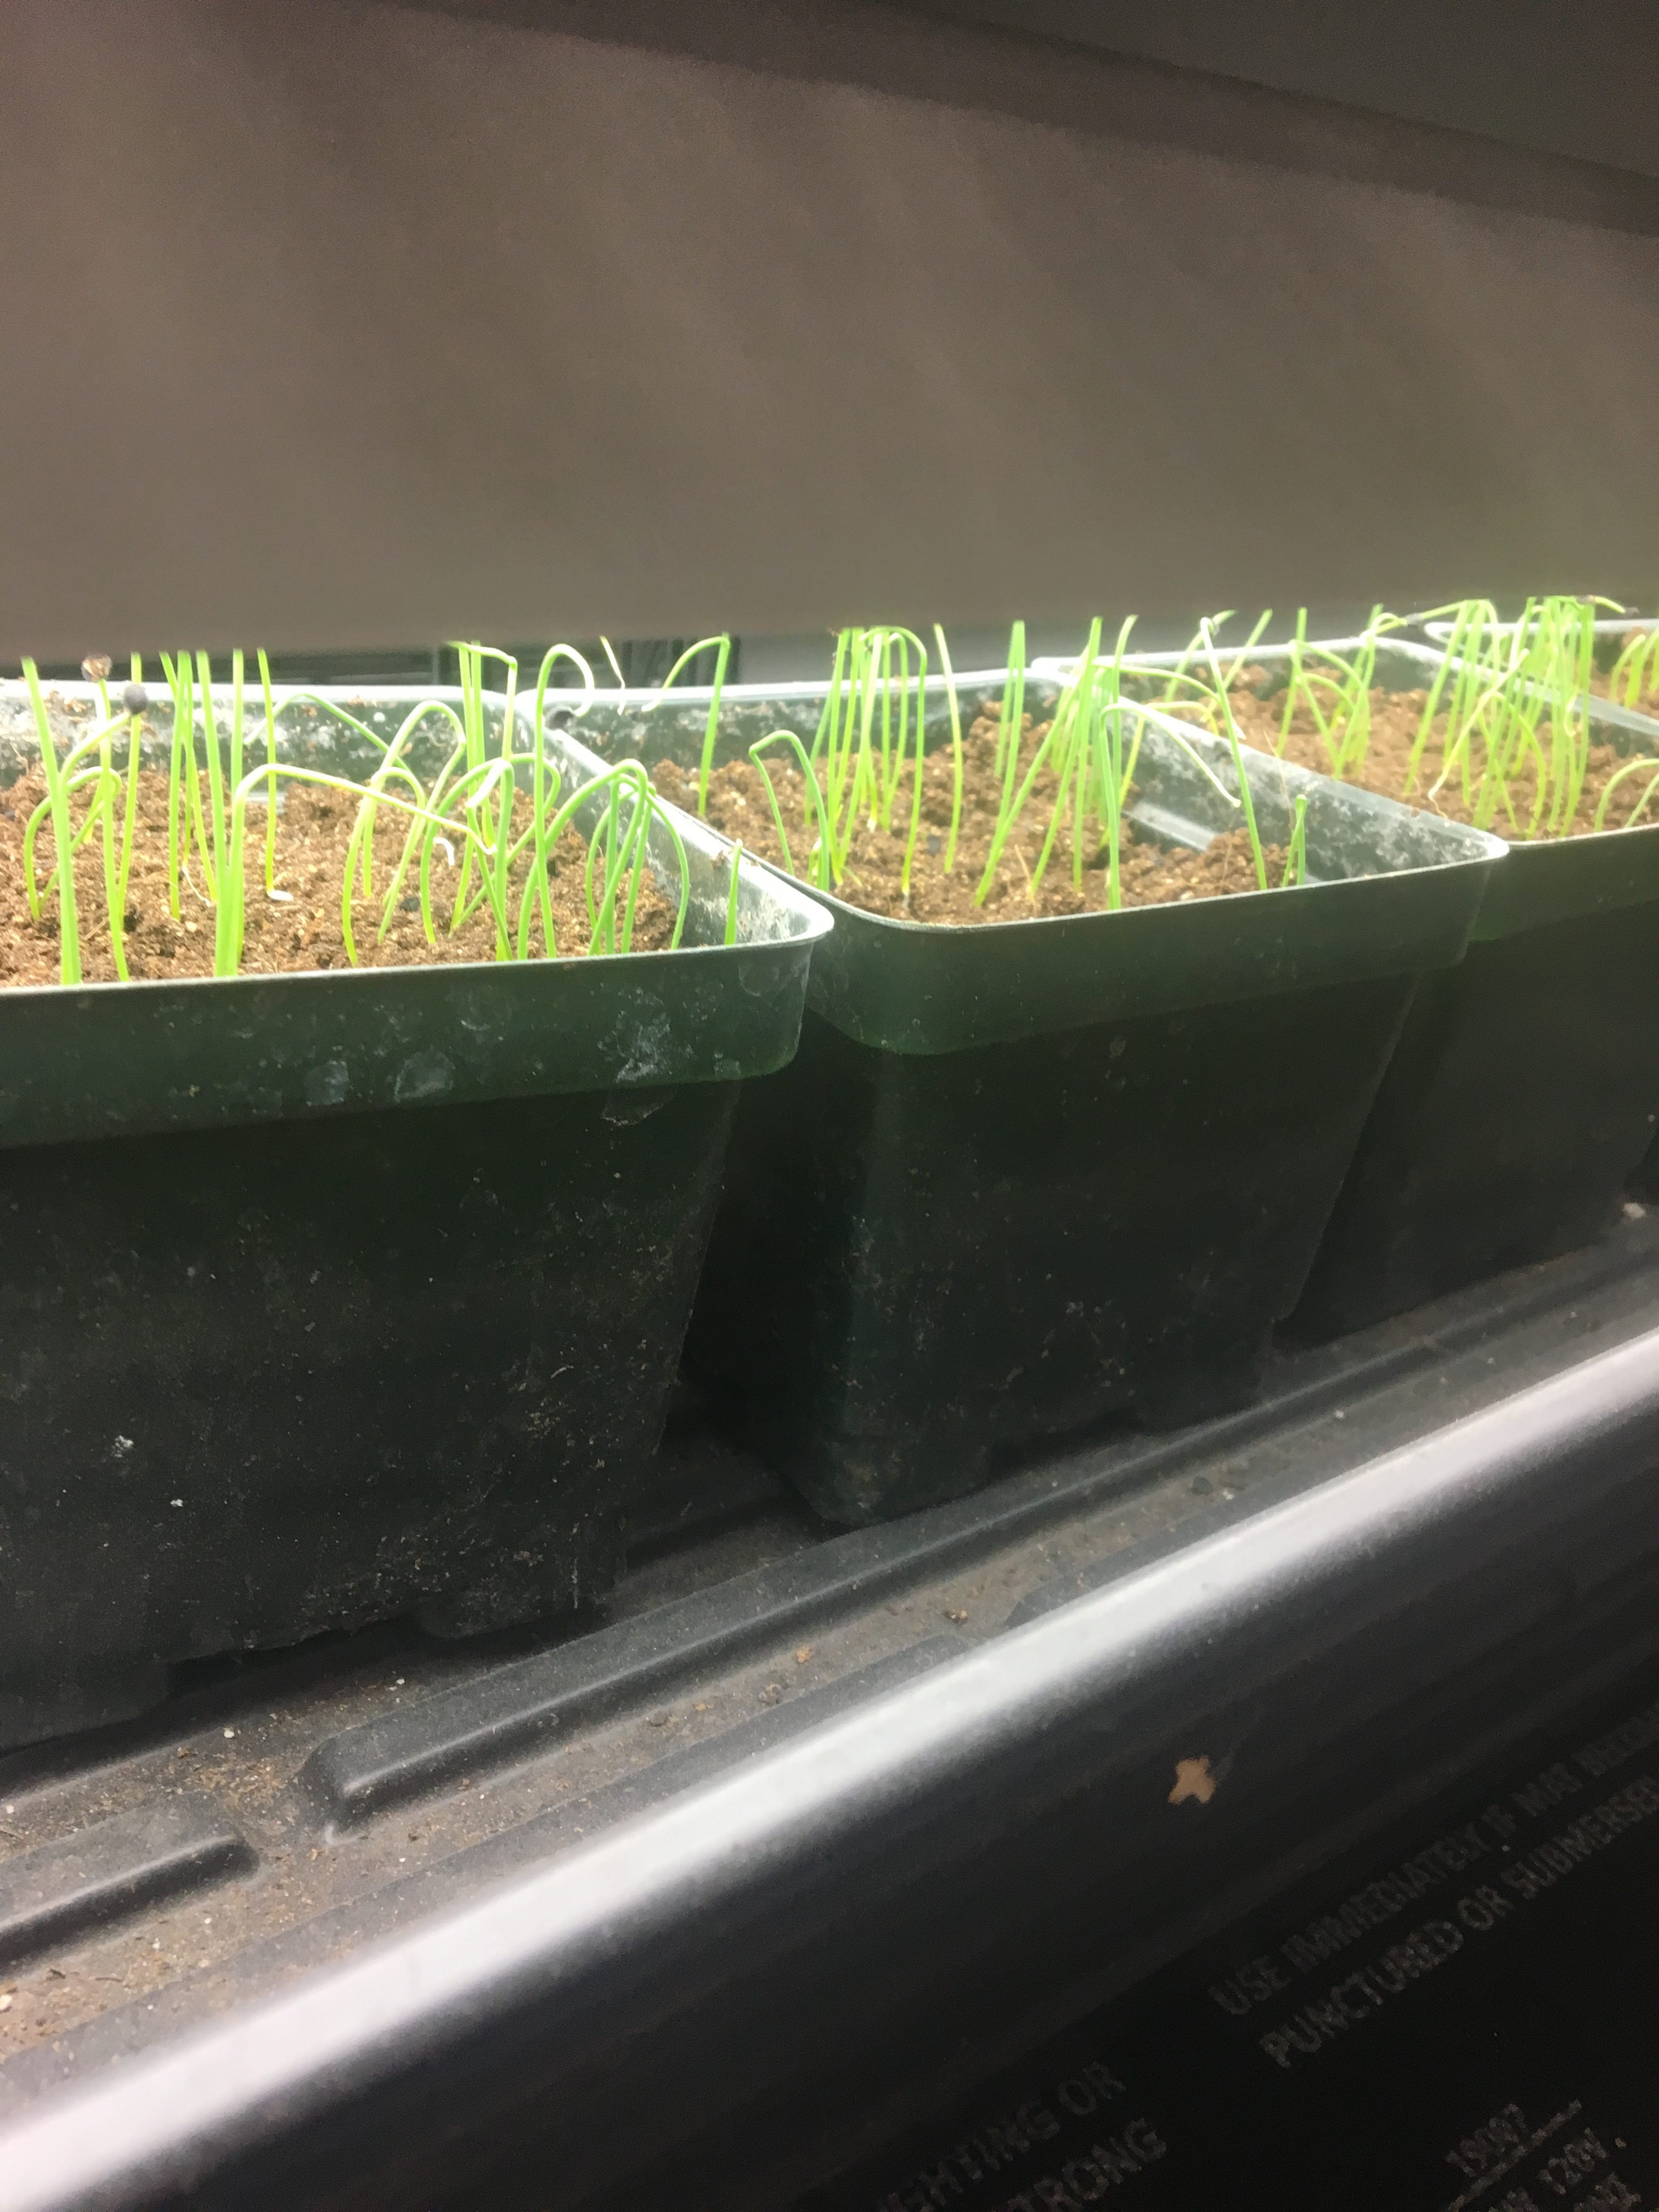
The little plants are pushing their shoulders out of the soil. Within hours, they will be pushing skyward in a life saving race to find the sun. It is very important to put the light on them quickly so that they do not get too leggy in their sun worshiping pursuit.
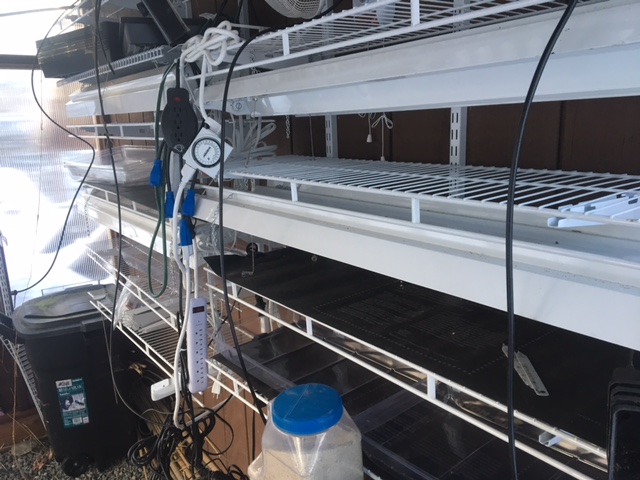
I like to purchase the fluorescent lights at the local hardware store. They are typical “shop lights” and come with a plug. Unless you are an electrician, be careful not to buy the ones that need to be wired into a power source. I have used a total of 4 lights on each shelf. There are shop lights with 4 bulbs but it tends to cost more than two sets of two lights. The two sets of two, work just fine. Place the adjustable light just 2-4 inches from the top of the plant. This light will need to be adjusted as the plant grows larger. Moving the shelves is difficult.
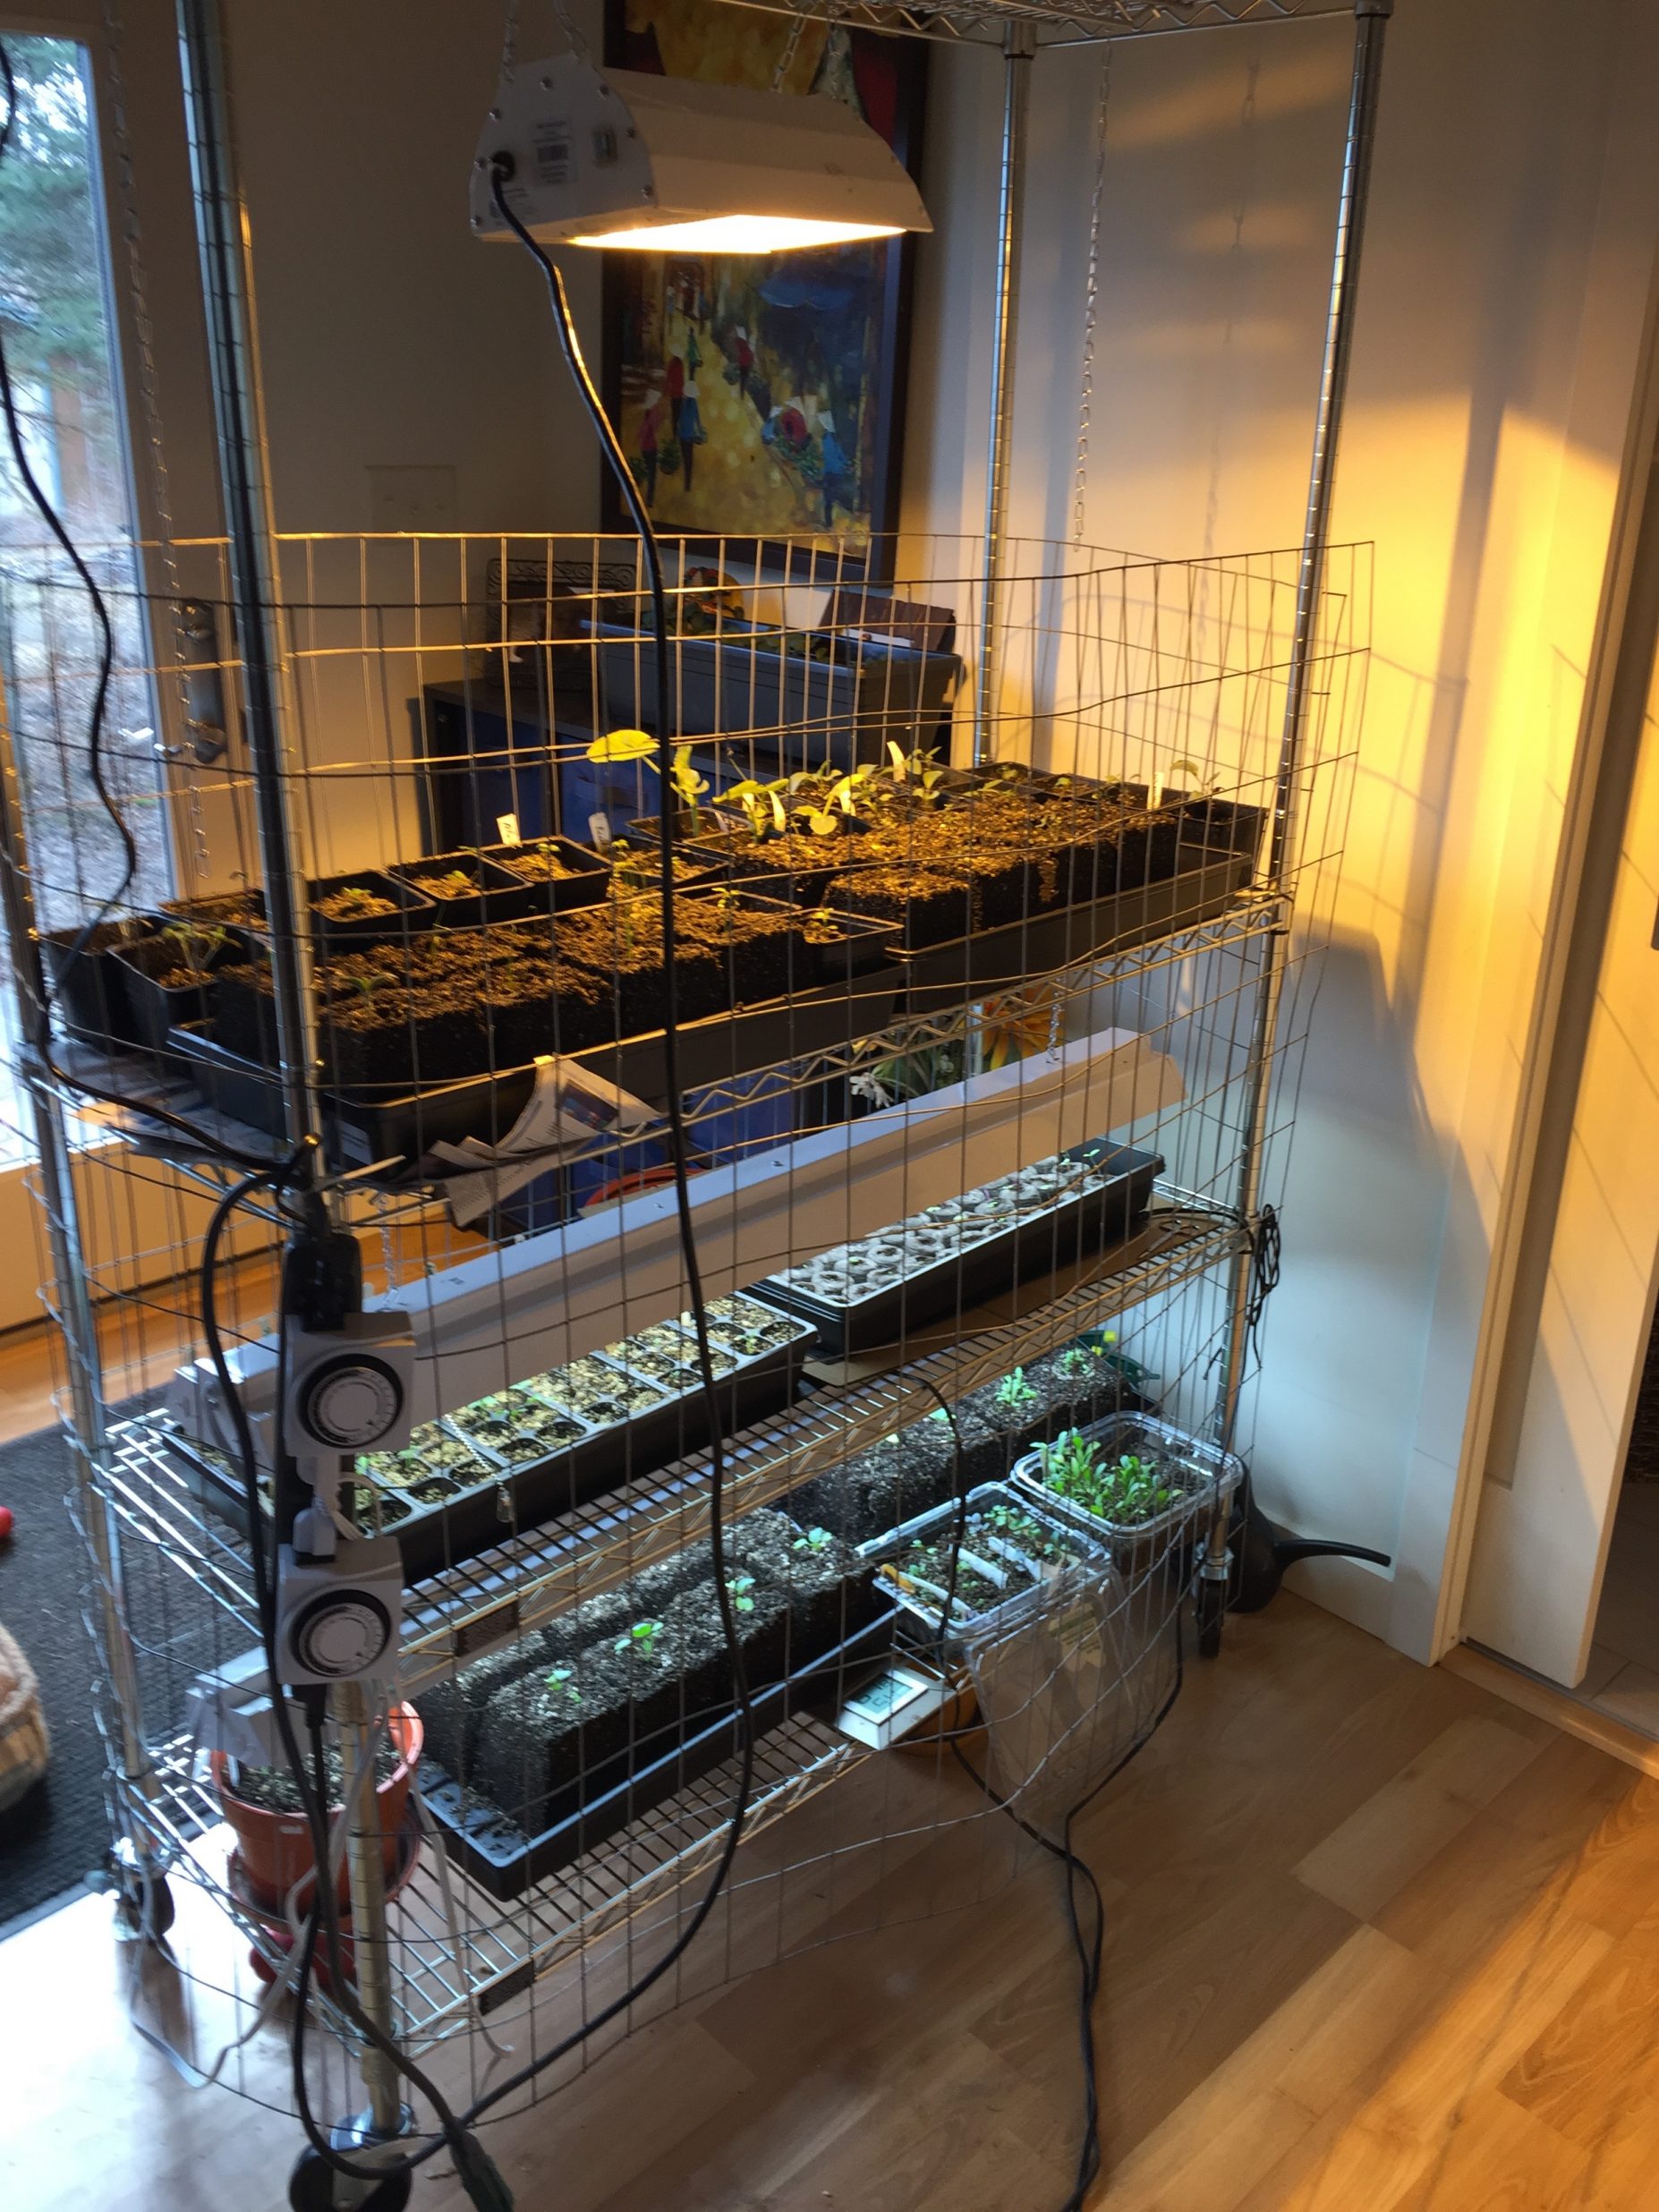
Moving the lights themselves is annoying but possible. I like to simply pile up old magazines under the seedling tray and slowly remove them as the plants grow. The fluorescent lights come with a chain but you will need to buy an “S” hook for the other side to attach to your shelving. Fluorescent lighting is perfect for this stage and really any stage of simple leaf formation. Any flowers, seeds, or root formation requires more intensity of light but that will be much later and will harness the power of the summer sunshine. Fluorescent lights can be of any color and need not be anything special for seedlings. The best growing results are thought to occur when using a mixed variety of tube colors. I tend to buy the big contractor pack for my operation. The light is brightest in the middle and dimmer at the ends. They dim as they age or get dirty. In order to maintain their utmost productivity, some recommend changing bulbs annually. I change them out less frequently but I do take the time to wipe them down for dust.
Timers
Timers are inexpensive and are highly recommended. The timers should be set for about 16-18 hours of light.
Nutrients
Once seedlings start forming their first true leaves, they have spent all the stored nutrients from the seed and are now hungry for more. The first true leaves are the leaves that come after the two seed leaves. The first two leaves produced are called the cotyledons. To make it simple, just realize that it is the third and fourth leaves that form the plant’s “true leaves”. Feed seedlings something with a little more phosphorous. As a reminder, the numbers on many fertilizer bottles indicate the amount and ratio of nitrogen, phosphorous, and potassium. The old saying “roots and shoots” is a good way to remember when phosphorous is needed. Phosphorous is helpful when you are wanting good root or flower (shoots) development. When it is time to start feeding the seedlings you now have a decision to make – organic or not. At this seedling stage, all food should be in liquid form to feed the plant immediately. Organic granular food takes time to be converted to a usable form by micro-organisms. If you do choose organic, consider liquid fish and kelp fertilizer. There are many conventional fertilizers to choose from. I choose organic fertilizer. If you do go with the liquid fish fertilizer, make sure to fence off your seed starting area so the cats do not come in and make a mess looking for fish! The fish fertilizers do have a smell of fish but they are not terrible and the smell quickly dissipates. For feeding seedlings, make sure to use the fertilizer at 1/4 to 1/2 the normal strength so that you do not burn your young plants. I also like to fertilize with the liquid from my red wiggler worm compost. Another recommendation by many seasoned gardeners is feeding with Vitamin B12 during the transplant phases to help decrease shock. I have used Vitamin B12 and have noted good success.
Air Circulation
Your newly developing plants are taking cues from their environment on how to survive. With no breeze they tend to develop with little stem strength and can have a more difficult time when faced with the outdoor world. Also, stagnant air can increase the formation of fungus. Mold can further weaken your infant plants. Placing an oscillating fan on the plants will help them become much stronger and healthier.
Thinning
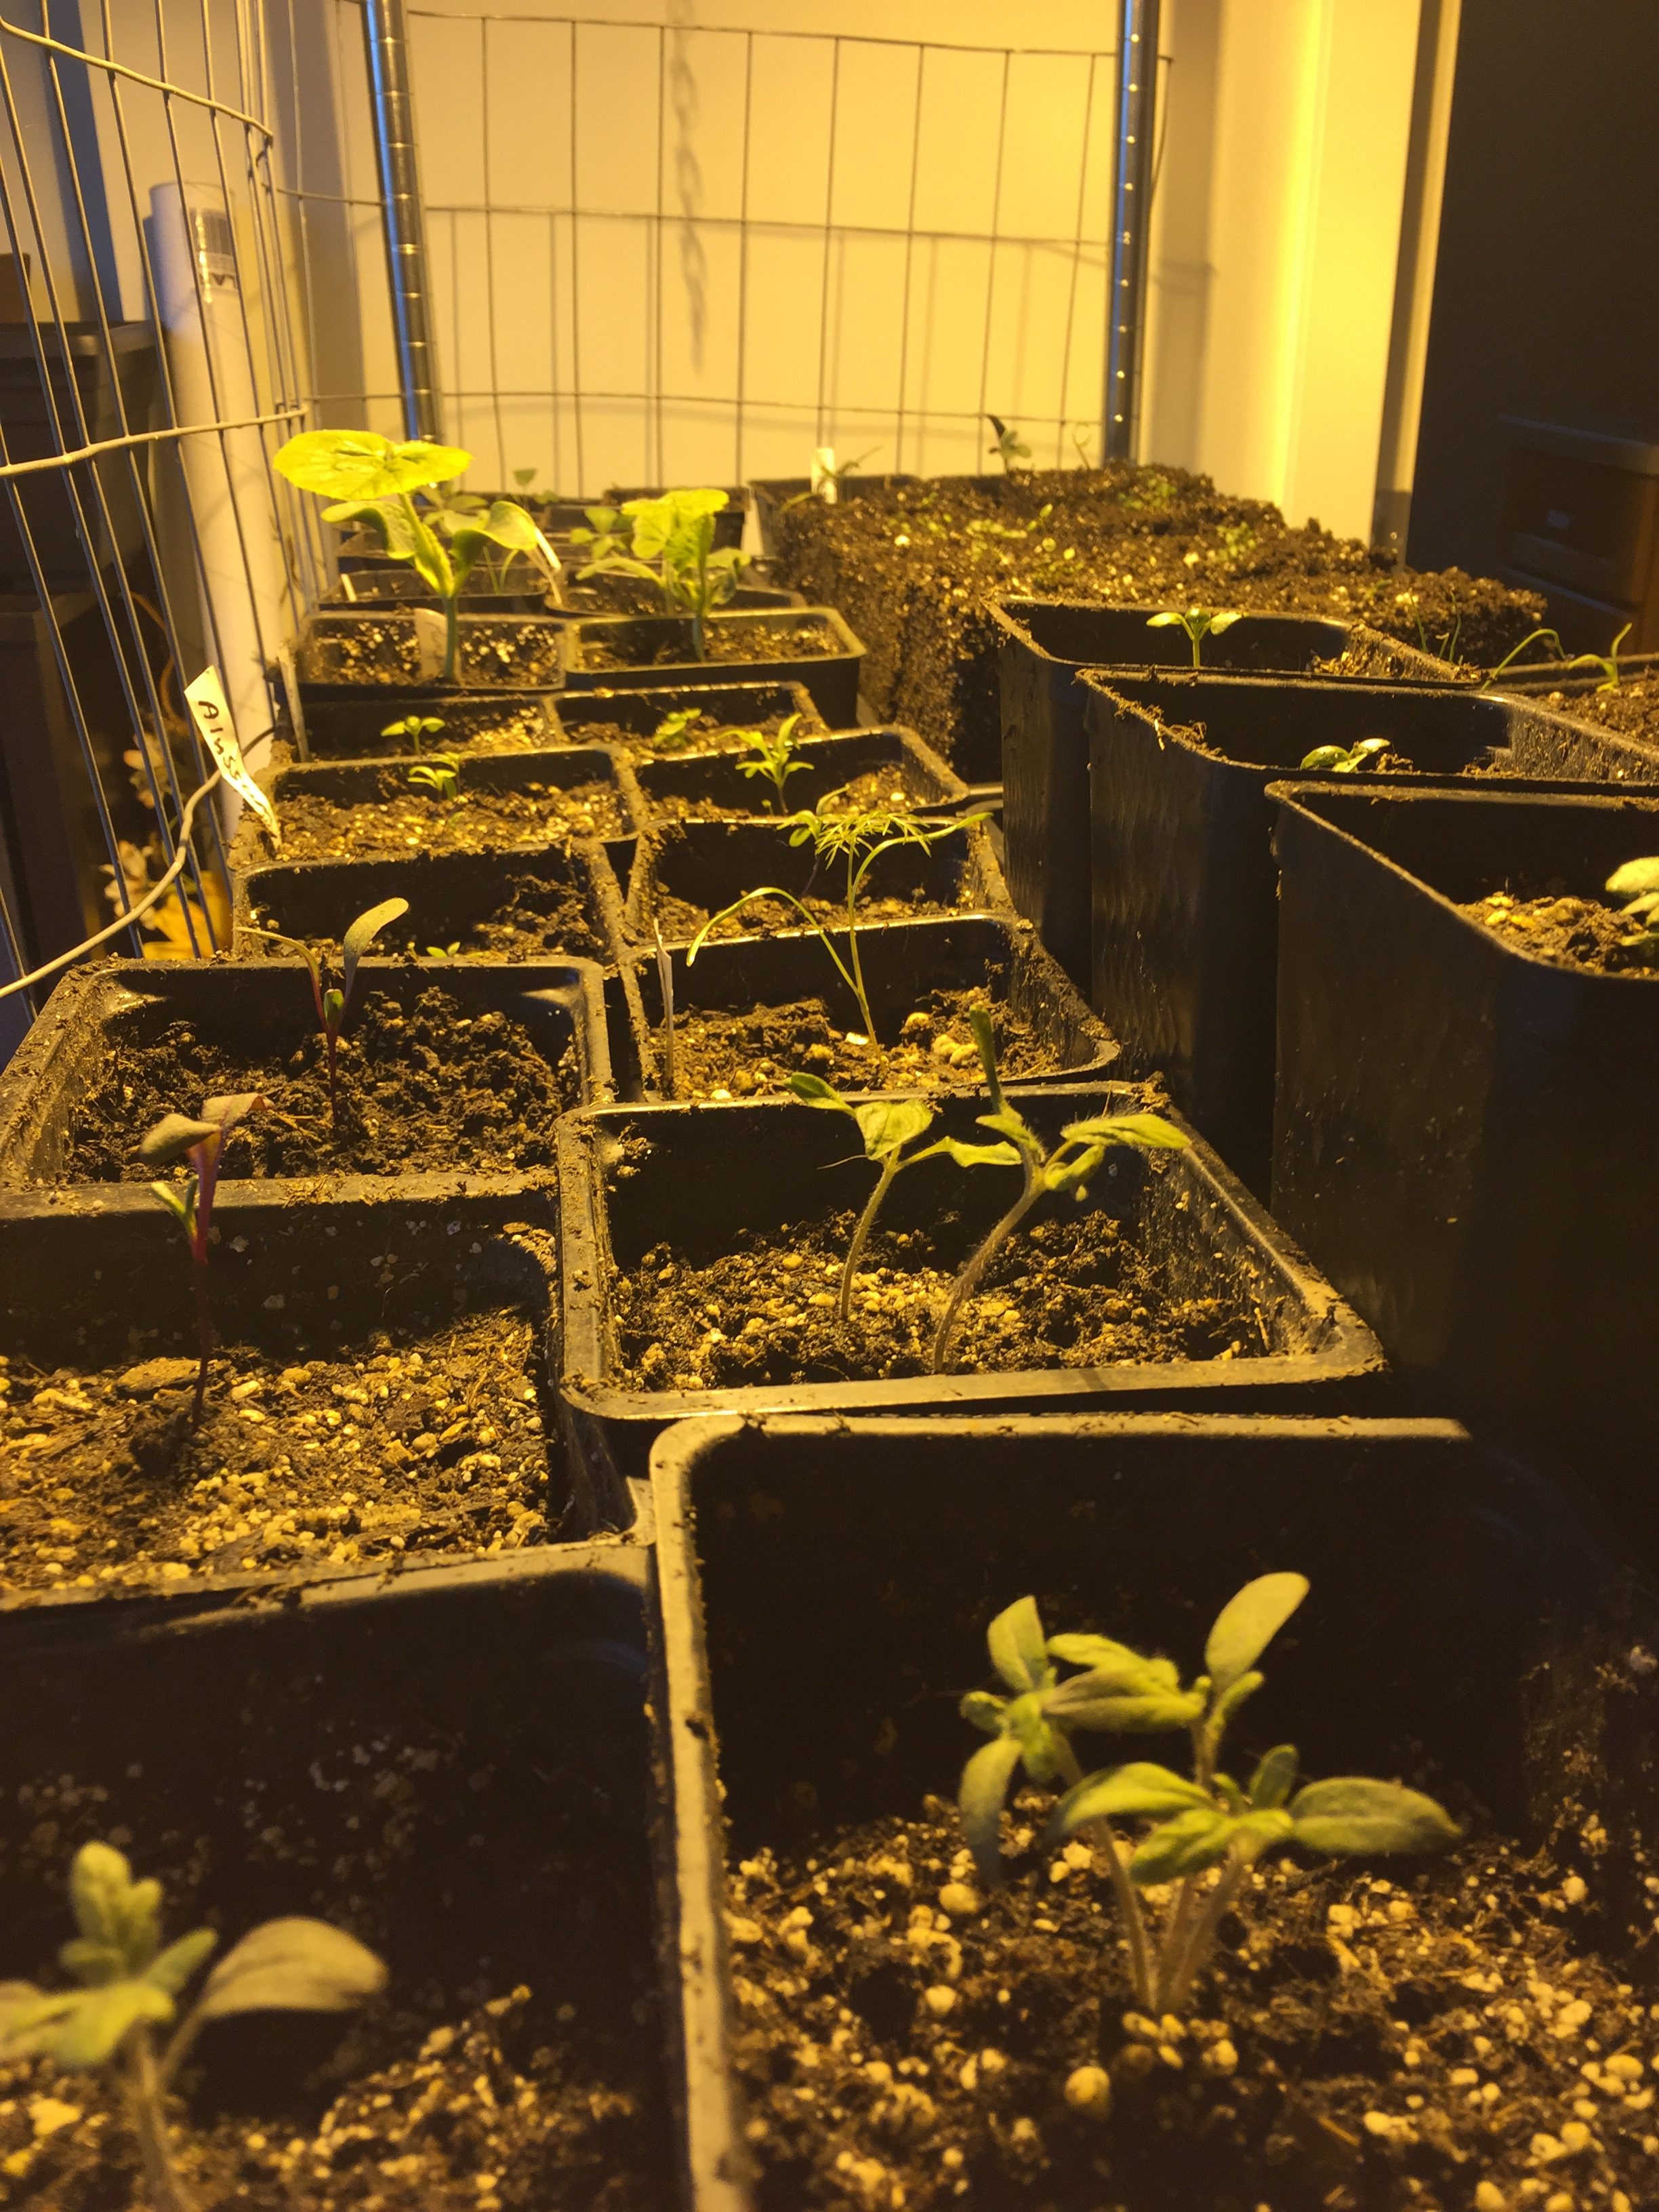
You must thin your seedlings if there is more than one in each pot or cell so that one of them grows strong. I know that it is so sad to pluck a little plant but you must choose one for each pot. If you do not remove one, they will all be sad little plants that do not thrive. Try to keep the one that looks healthy and is less leggy than the other. Once you have made your decision, you can just pinch or pull, but I like to cut them with small embroidery scissors. Cutting with small scissors helps to decrease any root disturbance that pulling can cause.
Transplanting
Transplanting can happen anytime after the plants have formed their first true leaves. Transplanting all comes down to being gentle and not letting the roots dry out. Make sure the dirt you are transplanting into is moistened and ready. Plant the seedling just a little bit deeper than it was in the last container. Press the dirt around the plant gently but not too firm. Just give the soil a nice firm, smash down once then leave it alone. Roots need contact with the soil to absorb nutrients but they also need oxygen. After the plant is in the soil, give it a good watering.
Humidity
Proper humidity is really important for plants. If your home is not around 50-70% humidity, consider using some method of increasing the humidity in the local area for the plants. I like to use trays that have a layer of pebbles. Fill with water and place your plants on top. The water will evaporate around your plants and allow an increase in humidity just where you need it. The pebbles allow for the water to be in very close proximity but not allow your containers to be submerged. Another method is to simply to use room humidifier in the area of your plants.
Hardening off
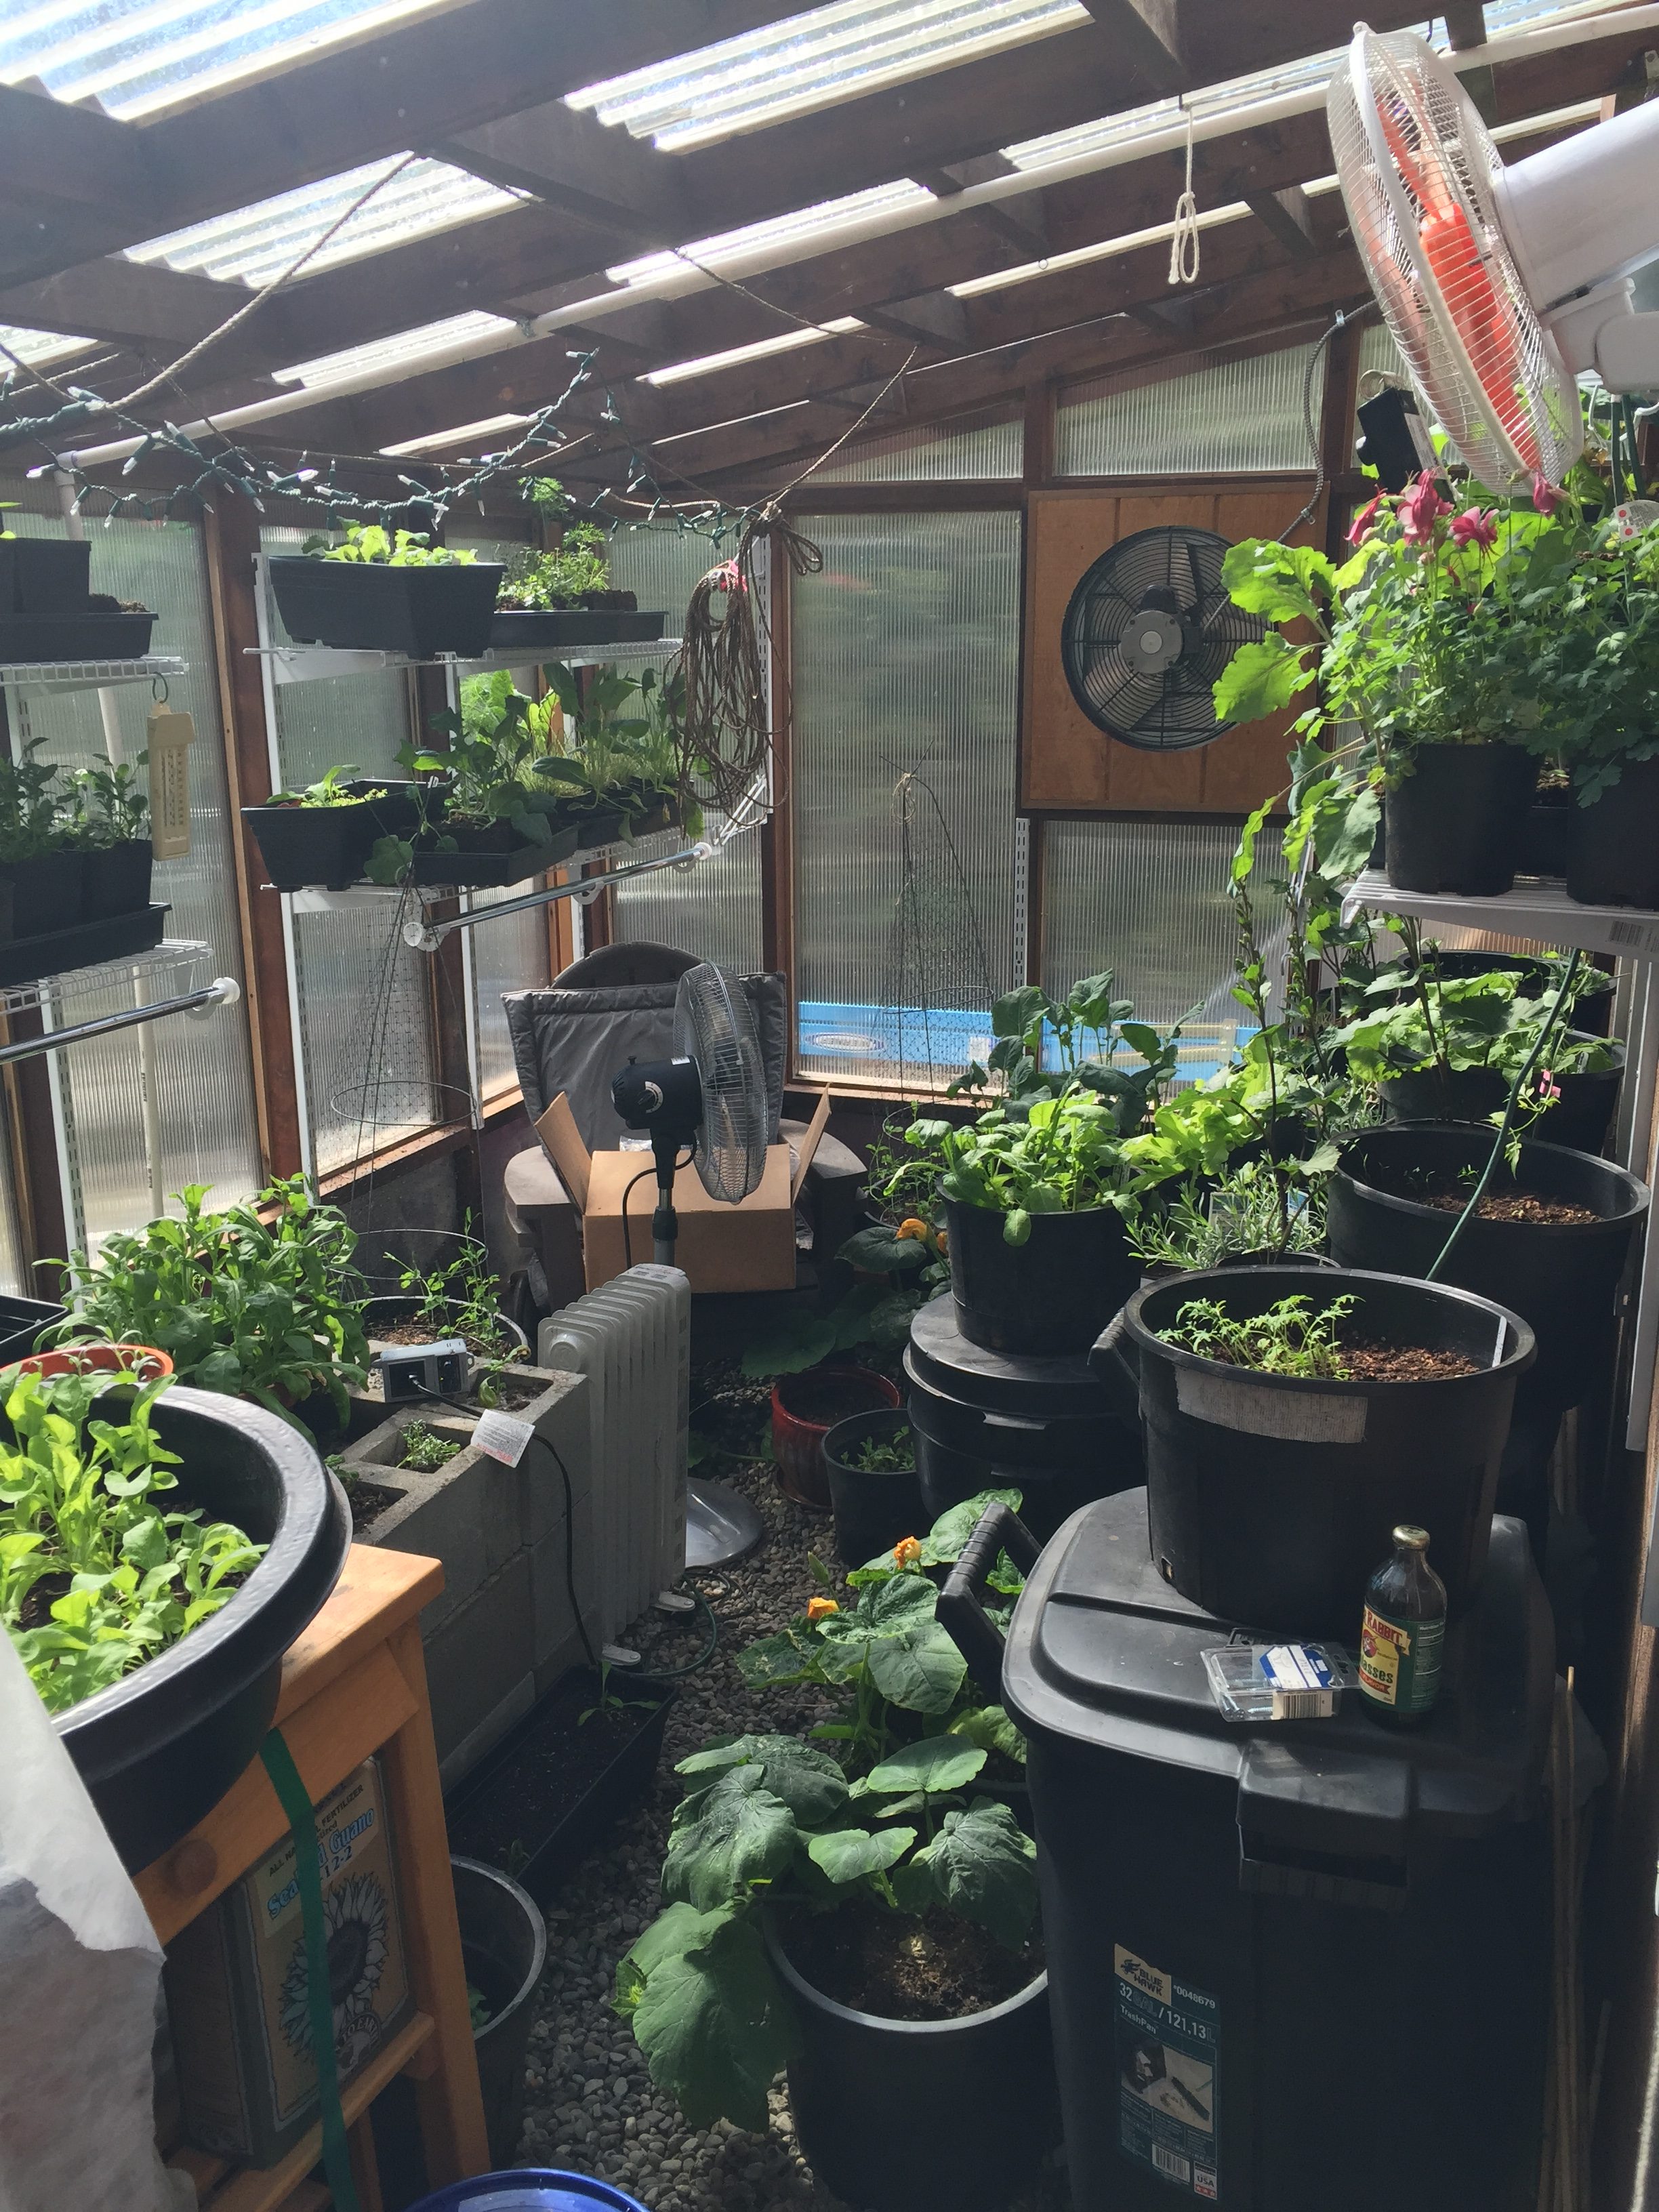
Hardening off is when your delicate young plants slowly become acclimated to the real Alaskan environment. Compare this process to yourself after a long Alaskan winter. If you suddenly went to Hawaii and played on the beach all day, you would have a serious case of sunburn. The same goes for your plants. They need to acclimate to not only the sun but the wind and drought as well. Begin by placing your plants in a few hours of shade. Gradually increase the amount of direct sun and wind. Make sure to keep your plants well watered during this time. The increase in wind will dramatically increase their need for water so be sure to check them frequently and water as noted by how light they feel. This incredibly taxing process of shuffling your plants around every day cannot be skipped. It may be frustrating but it is very important!
When to transplant outside
Cold affects varieties of plants in different ways. A truly cold hardy plant such as kale will not be phased by a little cold. On the other hand, zucchini does not like the cold at all. Here in South Central Alaska, we tend to use Memorial Day as the traditional marker for outdoor planting. However, many people do well by putting out their cold hardy plants a little earlier. No matter when you plant outside, it is always a good idea to plant on a cool, overcast, rainy day. Exactly the opposite of a day that looks like it is a gardening day. Crazy as it sounds, the sun is actually a bit of a stress on a newly transplanted plant. Not only can it sunburn them, but it also causes more transpiration and thus drying stress. Plant in a overcast, drizzly, day and wait for that sunny gardening day for other tasks.
Direct seeding
There are some plants that really like to be direct seeded. Direct seeding is when you place the seed directly into it’s final garden spot. Alaskan soils are very cold so our direct seeding possibilities are limited. However, carrots, beets, peas, and turnips tend to do well when direct seeded here. I have never had luck direct seeding golden beet varieties. I have found that their germination rate is less than ideal outside. However, I do have great luck germinating them inside and transplanting them. Feel free to try a thing or two every now and then that may not fit the standard “rules.” That is the fun of gardening!
Late season starts
The birth of my child in late March revealed to me a new technique that I intend to use again in the future. I was just able to start seeds in late May. Many plants could not be grown because I was out of time for them to mature. However, I did develop a germination station out in my greenhouse for the few plants that did still have time. I would germinate trays of kale, beets or lettuce in the greenhouse. Immediately after they germinated, I moved them outside. No need to take time for hardening off when they are brand new emerging seedlings. This method saved me weeks of germination time by attempting to germinate in the cold Alaskan soils. I even had a fantastic crop of cabbage and rutabaga using this method!
I really hope you have as much fun growing plants from seed as I have. Buy a couple of seed packets and experiment. The fun of starting from seed is that you are not wasting much money if your experiments are not successful. Happy gardening!
For more information on seed starting, see UAF Cooperative Extension Service’s bulletin here.
Thank you for the great information! I just went out and put a fan in my greenhouse, something I’ve not done in the past.
This was a neat post! I did not know about transplanting on a cool, cloudy day was better. Thanks for the tips!