Whether you are planning a new garden or have well established beds, testing your soil can provide valuable information about your garden’s fertility and help you plan additions of amendments to correct for imbalances and deficiencies.

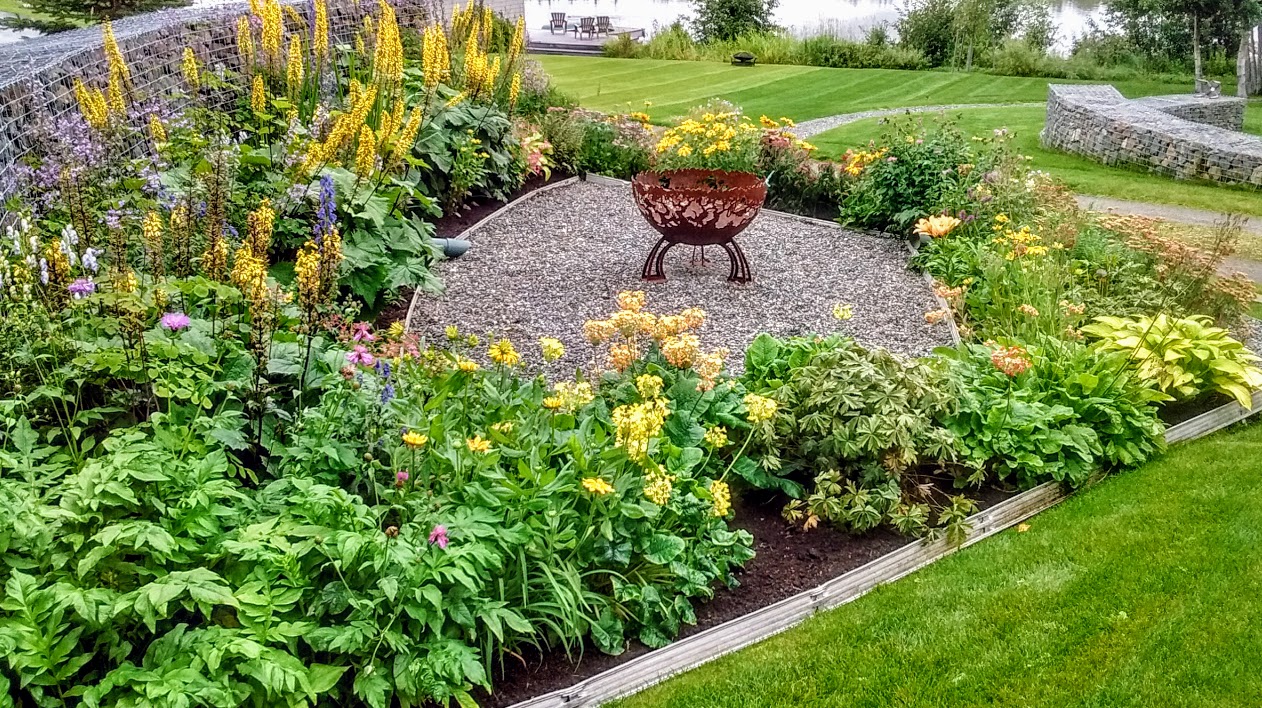
- Healthy, fertile soil is the foundation of a productive garden. Photo by Author.
Soil is comprised of inorganic mineral material, decomposed organic matter, and air space. Healthy soils are home to complex communities of microorganisms, fungi, insects, plant roots, and other organisms. Soil is often described as a “world underground’ because of the complex and interconnected biochemical process that take place below the surface.
A number of characteristics influence the “quality” of your garden soil and its ability to produce healthy, productive plants. Some characteristics, such as soil texture, are difficult to change. Others, like acidity and fertility, can be improved through management practices.
Often times, gardeners approach soil management by simply adding different products in the hope that they will produce beneficial results. While this can work in some cases, it can lead to problems, such as over-fertilization, in others.
Soil tests commonly asses soil acidity (measured using the pH scale) and levels of plant macronutrients. Soil acidity plays a complex role in optimum plant growth. If concentrations of the macronutrients nitrogen, phosphorus and potassium are too high or too low in your garden, plant growth is affected.
For the home gardener, taking the time to get to know your soil is important. The following steps will help you to assess whether a soil test is appropriate for your garden, and if so, what to do with the test results.
Step 1: Survey your garden soil
To understand your garden soil, you need to look below the ground surface. Select three to five spots in your garden and dig down below the surface until you note changes in color, density, or texture. Observe at what depth the transition from topsoil to subsoil takes place. Grab a few handfuls of soil and note how it looks and feels. Is it dark, moist and crumbly like a rich chocolate cake? This indicates you have a good mix of mineral and organic material, and pore space. Does it smell earthy? Are insects, earthworms, and other soil creatures visible? These are indicators of a healthy soil community.
Step 2: Survey your plants
If you have plants growing in your garden, assess their vigor. Do they have healthy foliage, flowers and fruit? Are they discolored or misshapen? The vigor of your plants’ above-ground growth can indicate many things: disease and pest problems, over- or under-watering, or a sub-par soil texture to name a few. However, plants also exhibit distinctive symptoms associated with nutrient deficiencies (e.g. yellowing leaves are often a sign of nitrogen deficiency).

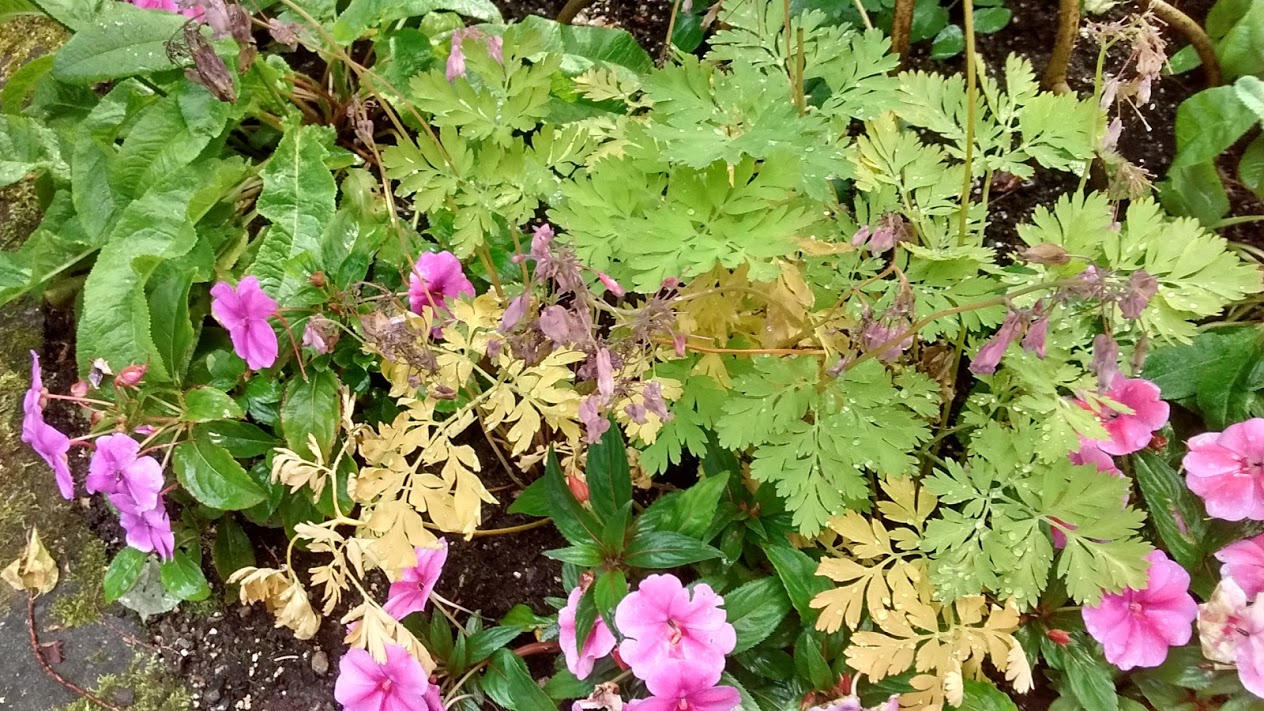
- The yellowing leaves of this bleeding heart (Lamprocapnos spectabilis) indicate a plant health problem that could be related to soil fertility. Photo by Author.
Once your survey is complete, you should have a general sense for how healthy your garden is. If things look good, the best approach may be to carry on as usual. There is no point fixing something that is not broken! However, if your garden is showing symptoms that could be related to soil fertility, it is a good idea to measure what is in your garden soil and add amendments to help address problems.
Step 3: Test your soil
A common approach to garden soil testing is to collect a sample and send it for analysis at a certified laboratory.
An alternative to laboratory analysis is to purchase a soil test kit and analyze your garden soil at home. Home test kits are less expensive than laboratory analysis and are more convenient, particularly if you live in a remote location. Home test kits are also reliable; a study conducted at the University of California Davis determined that more than 90% of the time, the LaMotte and Rapitest kits produce the same results as those from a certified laboratory for nitrogen, phosphorus, potassium and acidity.
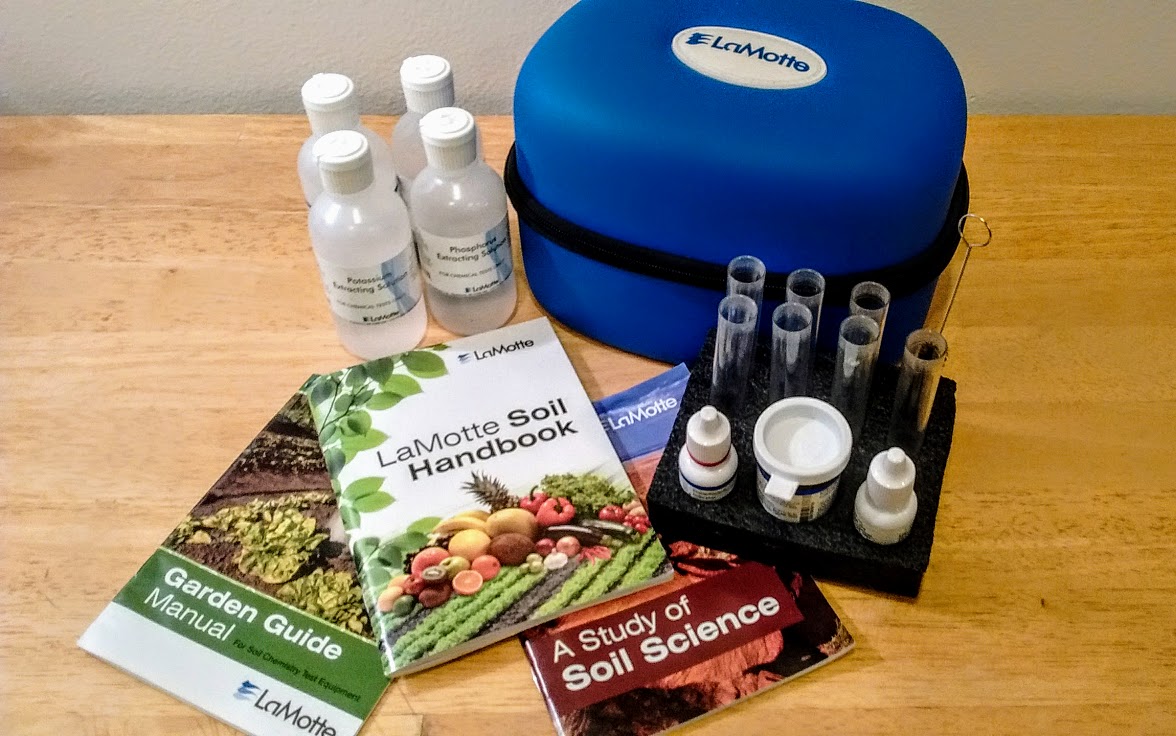
I have purchased LaMotte soil test kits online and the Rapitest kits at different garden supplies stores in the Anchorage area. Both are easy to use and come with detailed instructions for testing and interpreting your results.

- Home soil tests are a relatively easy and inexpensive way to measure soil acidity and macronutrient concentrations. Plus, you get to embrace your inner nerd. Photo by Author.
Step 4: Address deficiencies and imbalances
If the results of your soil test indicate that nutrient concentrations are low or that the acidity is outside of the optimum range for the plants you are growing, the next step is to add amendments to address the problems. Both laboratory analyses and home test kits provide recommendations for the amount of fertilizer and other amendments to add based on your results. However, depending on your garden size and the type of amendments you select, you will likely need to tailor the recommendations to your situation.
Let’s look at an example. Over the past two years, I have analyzed over 50 soil samples from home gardens in the Anchorage area. The typical results that I see are that soils are slightly acidic (pH 6.0), with trace levels of nitrogen and phosphorous, and very high levels of potassium.
Imagine we have a 200 square foot garden. Based on the results above, the test kit I use recommends adding 3.0 pounds of hydrated lime to raise the soil pH from 6.0 to my plant optimum of 6.5, 0.5 lbs of nitrogen and 0.6 pounds of phosphorus per 100 square feet. No potassium is needed as levels in our soil are already high.
I prefer to use organic fertilizers, which have fairly low nutrient concentrations. Blood meal contains 12% nitrogen and bone meal contains 16% phosphorus. Thus, in order to address the nutrient deficiencies in our garden, we need to add 6.0 pounds of lime (3.0 pounds x 2 since our garden is twice as big as the recommendation), 8.4 pounds of blood meal (0.5 pounds divided by the percentage nitrogen in blood meal x 2 ) and 7.5 pounds of bone meal (0.6 pounds divided by the percentage phosphorus in bone meal x 2).
Healthy, fertile soil is the foundation of a productive garden. Soil tests are a great way to understand your garden’s fertility; giving you the information you need to properly correct imbalances and deficiencies.
Additional Resources
Testing Your Soil, Bulletin #2286 by the University of Maine Cooperative Extension provides excellent instructions for collecting soil samples.
Soil Testing Information from the UAF Cooperative Extension Service provides a list of soil testing laboratories where you can send samples for analysis.
The chapter on Soils and Fertilizers in Alaska’s Sustainable Gardening Handbook is a great resource for how much fertilizer to use in your garden and how to adjust soil pH levels.
Improving Your Soil by Keith Reid (2014, Firefly Books) is a practical guide for managing your garden soil. Copies are available at public libraries across the state.
About Boreal Bioscapes
Twitter •
Very good blog. Interesting. I miss not being able to send samples to the lab in Matsu