In Alaska, starting plants indoors takes some effort. They need lights. They need good soil (eventually). And based on the part of the state you live in; they need to be done indoors for varying lengths of time.
Here in Anchorage, we are cautioned to not plant outside until the leaves of the birch trees get to be the size of squirrel’s ears. The generally works out to be sometime in late May, sometimes a bit earlier, sometimes a bit later.
We have not had much luck with starting seeds indoors. Some do really well (generally salad greens, lettuces, basil). Some don’t cooperate at all, at least for us (beans, cucumbers). So, the problem becomes finding a reliable, predictable way to start seeds. Over the years, we have arrived at the use of a hydroponics tool called an AeroGarden. Our model is about a decade old and no longer made, the AeroGarden Elite. We purchased it off the shelf at a local vendor.
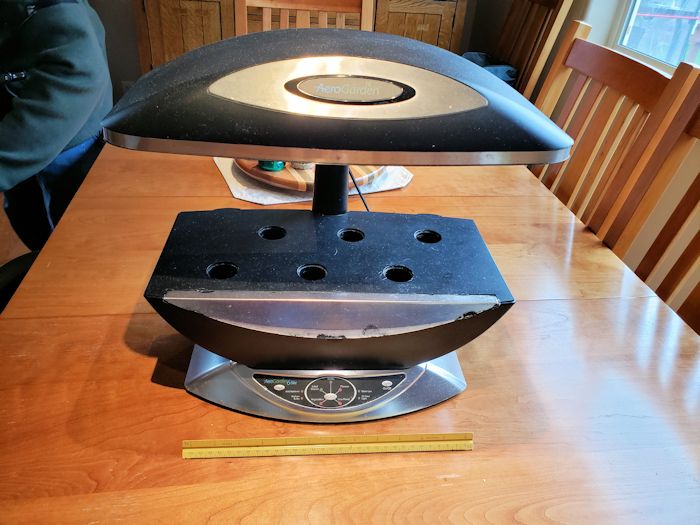
AeroGarden
The unit is plastic, 16′ wide, 10.5′ deep, and 16′ tall. The lights are special fluorescent lights. The top can accommodate plants up to 12′ tall. I believe the garden was designed for year-round use to provide fresh herbs, greens, and occasional fruits / veggies (as long as they are small). Indeed, all the promotional photos of these units show large, healthy plants spilling out over the sides.
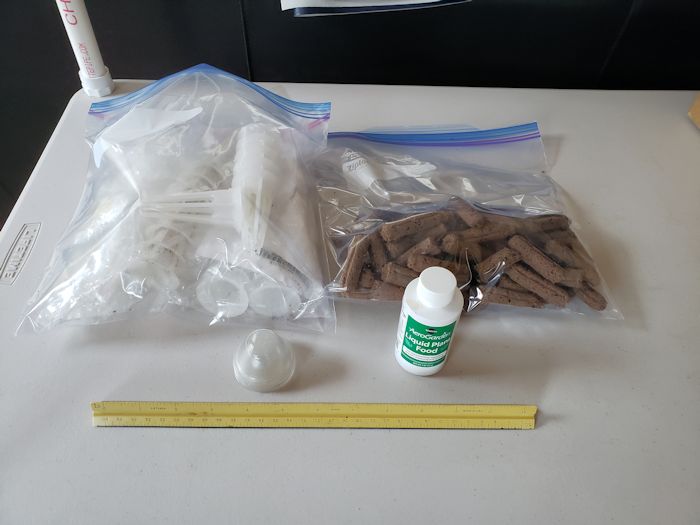
As a complete hydroponic system, the AeroGarden retains about a gallon of water, recommends a fertilizer, and has an aeration stone to keep the water moving and oxygenated. The only consumables are sponges for planting and liquid fertilizer.
The unit is small enough that it can be placed on most any table, though you need to be careful as it may leak as it ages.
In this household, our gardening needs are not year-round, but rather starts that we can move out into the greenhouse a month or so before we can plant outdoors depending on how early or late breakup arrives.
Our primary use of this tool is starting seeds, something it does wonderfully, even the hard to start ones.
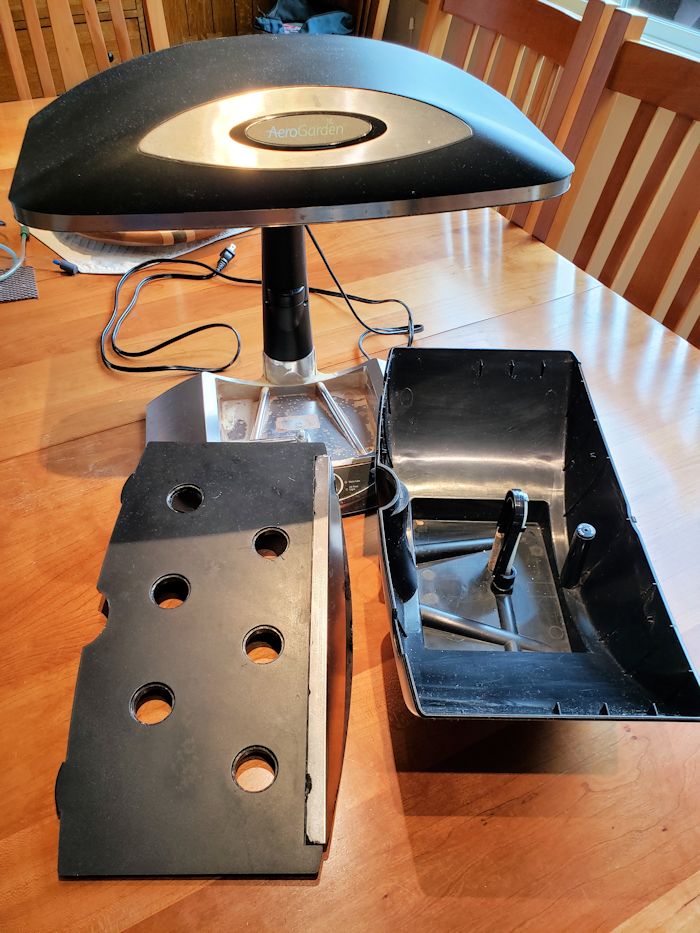
The good news is that it is a predictable and reliable seed starting tool. The bad news is that it only has 6 slots for starting seeds. The problem becomes how to stage our starts?
Staging
We generally start our seeds in March and then put them into dirt (compost) under lights so that they are acclimatized to dirt before moving them outside. This year, I finally got around to keeping records of dates in and date out of the tool. Our greenhouse plants are typically some combination of tomatoes, peppers, basil and cucumbers. There will generally be a couple more crops depending on what we are experimenting with that year.
This year we started three pairs of determinate tomatoes on March 10. Then we put them in the dirt March 24th. We started two more pair of tomatoes and a pair of basil on March 25 and put them in the dirt on April 13th. We started a pair of cucumbers, pair of basil, and pair of peppers on April 14. Put them in the dirt April 27th — May 14th. We started a pair of zucchinis on April 30. We harvested those on May 18th. We started a pair of cucumbers on May 2. We harvested these on May 18th. We even experimented with 6 bean starts on May 4th. We only ended up putting three of these in the dirt by mid-May. We generally move plants from the water to the dirt about 2 weeks following a visible sprout.
Observations & Lessons Learned
Clearly, we need more spaces for starts. The current unit does not have that ability. Fortunately (or unfortunately depending on your point of view), it developed a small leak in May, so we ordered a replacement, which has an after-market insert that will allow up to 23 starts at the same time (the top tray has more holes).
Everything from AeroGarden is backlogged this time of year, so if you want a new unit, either purchase it in late summer or fall from the manufacturer. Amazon also carries them and can deliver statewide, though prices via Amazon may be a bit higher than sales from the manufacturer.
As I wrote last post, there was a real run on all things gardening during the latter stages of the COVID-19 lockdown. AeroGarden starting sponges were few and far between. We end up going through at least 50 of them every spring, so having more than that on hand is strongly recommended.
We started 4 cucumbers and lost 3 of them after transplanting them into the dirt. Operator error?
All the peppers were quite happy and survived. Peppers purchased from local greenhouses ended up bringing aphids into the greenhouse with them. Our starts didn’t. A combination of ladybugs and insecticidal soap seems to have contained the problem.
Over the years, the only modification we’ve done to the unit is increase the aeration which seemed to be less vigorous over the years. We purchased tubing, a small aquarium air pump and an air stone from a local pet shop and use this in the current unit. The AeroGarden is not particularly silent during to its aeration system. Adding the aquarium pump and air stone made it a bit noisier.
We decide when to transplant based on the size of the root system in our starts. Short, rudimentary root systems tend to wait a while longer in the water before transplanting.
The system has timers on it for putting in additional fertilizer and for swapping out the lights. We generally add additional fertilizer based on the timer. We generally wait until the lights die before replacing them, so it is always a good idea to have at least one replacement on hand. New units have LEDs which do not burn out. Water levels in the older units are monitored manually.
Additional Options and Conclusions
While AeroGarden still targets the indoor gardening market with their systems, they have listened to gardeners and now provide options for those of us who use them to start seeds. The smallest units (3 plants) are called the AeroGarden Sprout, and you can find them on Amazon for around $80. The 6-plant version is called the Harvest and can be had for $127 as of this writing. The 9-plant unit is called the Bounty and starts around $300. Finally, for the industrial gardeners (and I’m not talking about hemp), the 24-plant Farm can be had for a mere $900. It can handle plants up to 36′ tall.
For our purposes, the current AeroGarden has served our growing gardening hobby (habit?) well. We will get the new unit sometime later this summer and will let you know how the new tool does in a future post next spring.
Finally, there are other seed starting tools out there. I expect some work great, but I have no experience with them. This post is intended to show what we use and why. As usual, your experience may vary.
About Alex Gimarc
Twitter •