 I know I am not the only one! Each fall, the lower the mercury starts to drop, the fuller my house becomes with summer’s plants that I cannot bare to kill. Sometimes things become absurd. Forget using the hot tub, it is now the Arctic Petunia Sanctuary. The grape vine, re-designated a house plant, attacks and strangles the ceiling fan. Come February, the living room becomes the seed nursery. Regular furniture gives way to large folding tables, all covered with flats of starts. It happens for so many years that my children grow up thinking everyone lives like this. After many years of thinking and wishing about having a designated, year-round gardening space my dream finally came true. This is the story of building a four season greenhouse.
Prior to starting the project my husband and I researched passive solar and Arctic greenhouse designs. There are quite a number of excellent resources out there including Cooperative Extensions, university agriculture programs and even social media.
Penn and Cord’s Garden is an interesting website devoted to high altitude gardening with lots of great pictures of passive solar greenhouses and greenhouse plans.
Walden Labs provides “solutions for self-reliance”. There is a good article on the Northern Greenhouse Research Project in the Canadian Yukon.
Deciding what we wanted
Once we had an idea of what a successful four season design consisted of, we established a criteria for what we wanted in our building:
- stand alone building with permanent foundation
- under 500 square feet
- ability to plant directly in the ground or in containers
- ability to heat the ground as well as some of the plant benches
- large area for starting seeds
- lots of room for hanging baskets, grape vines and small trees
- potential to be either passive solar or utilize a boiler for heat
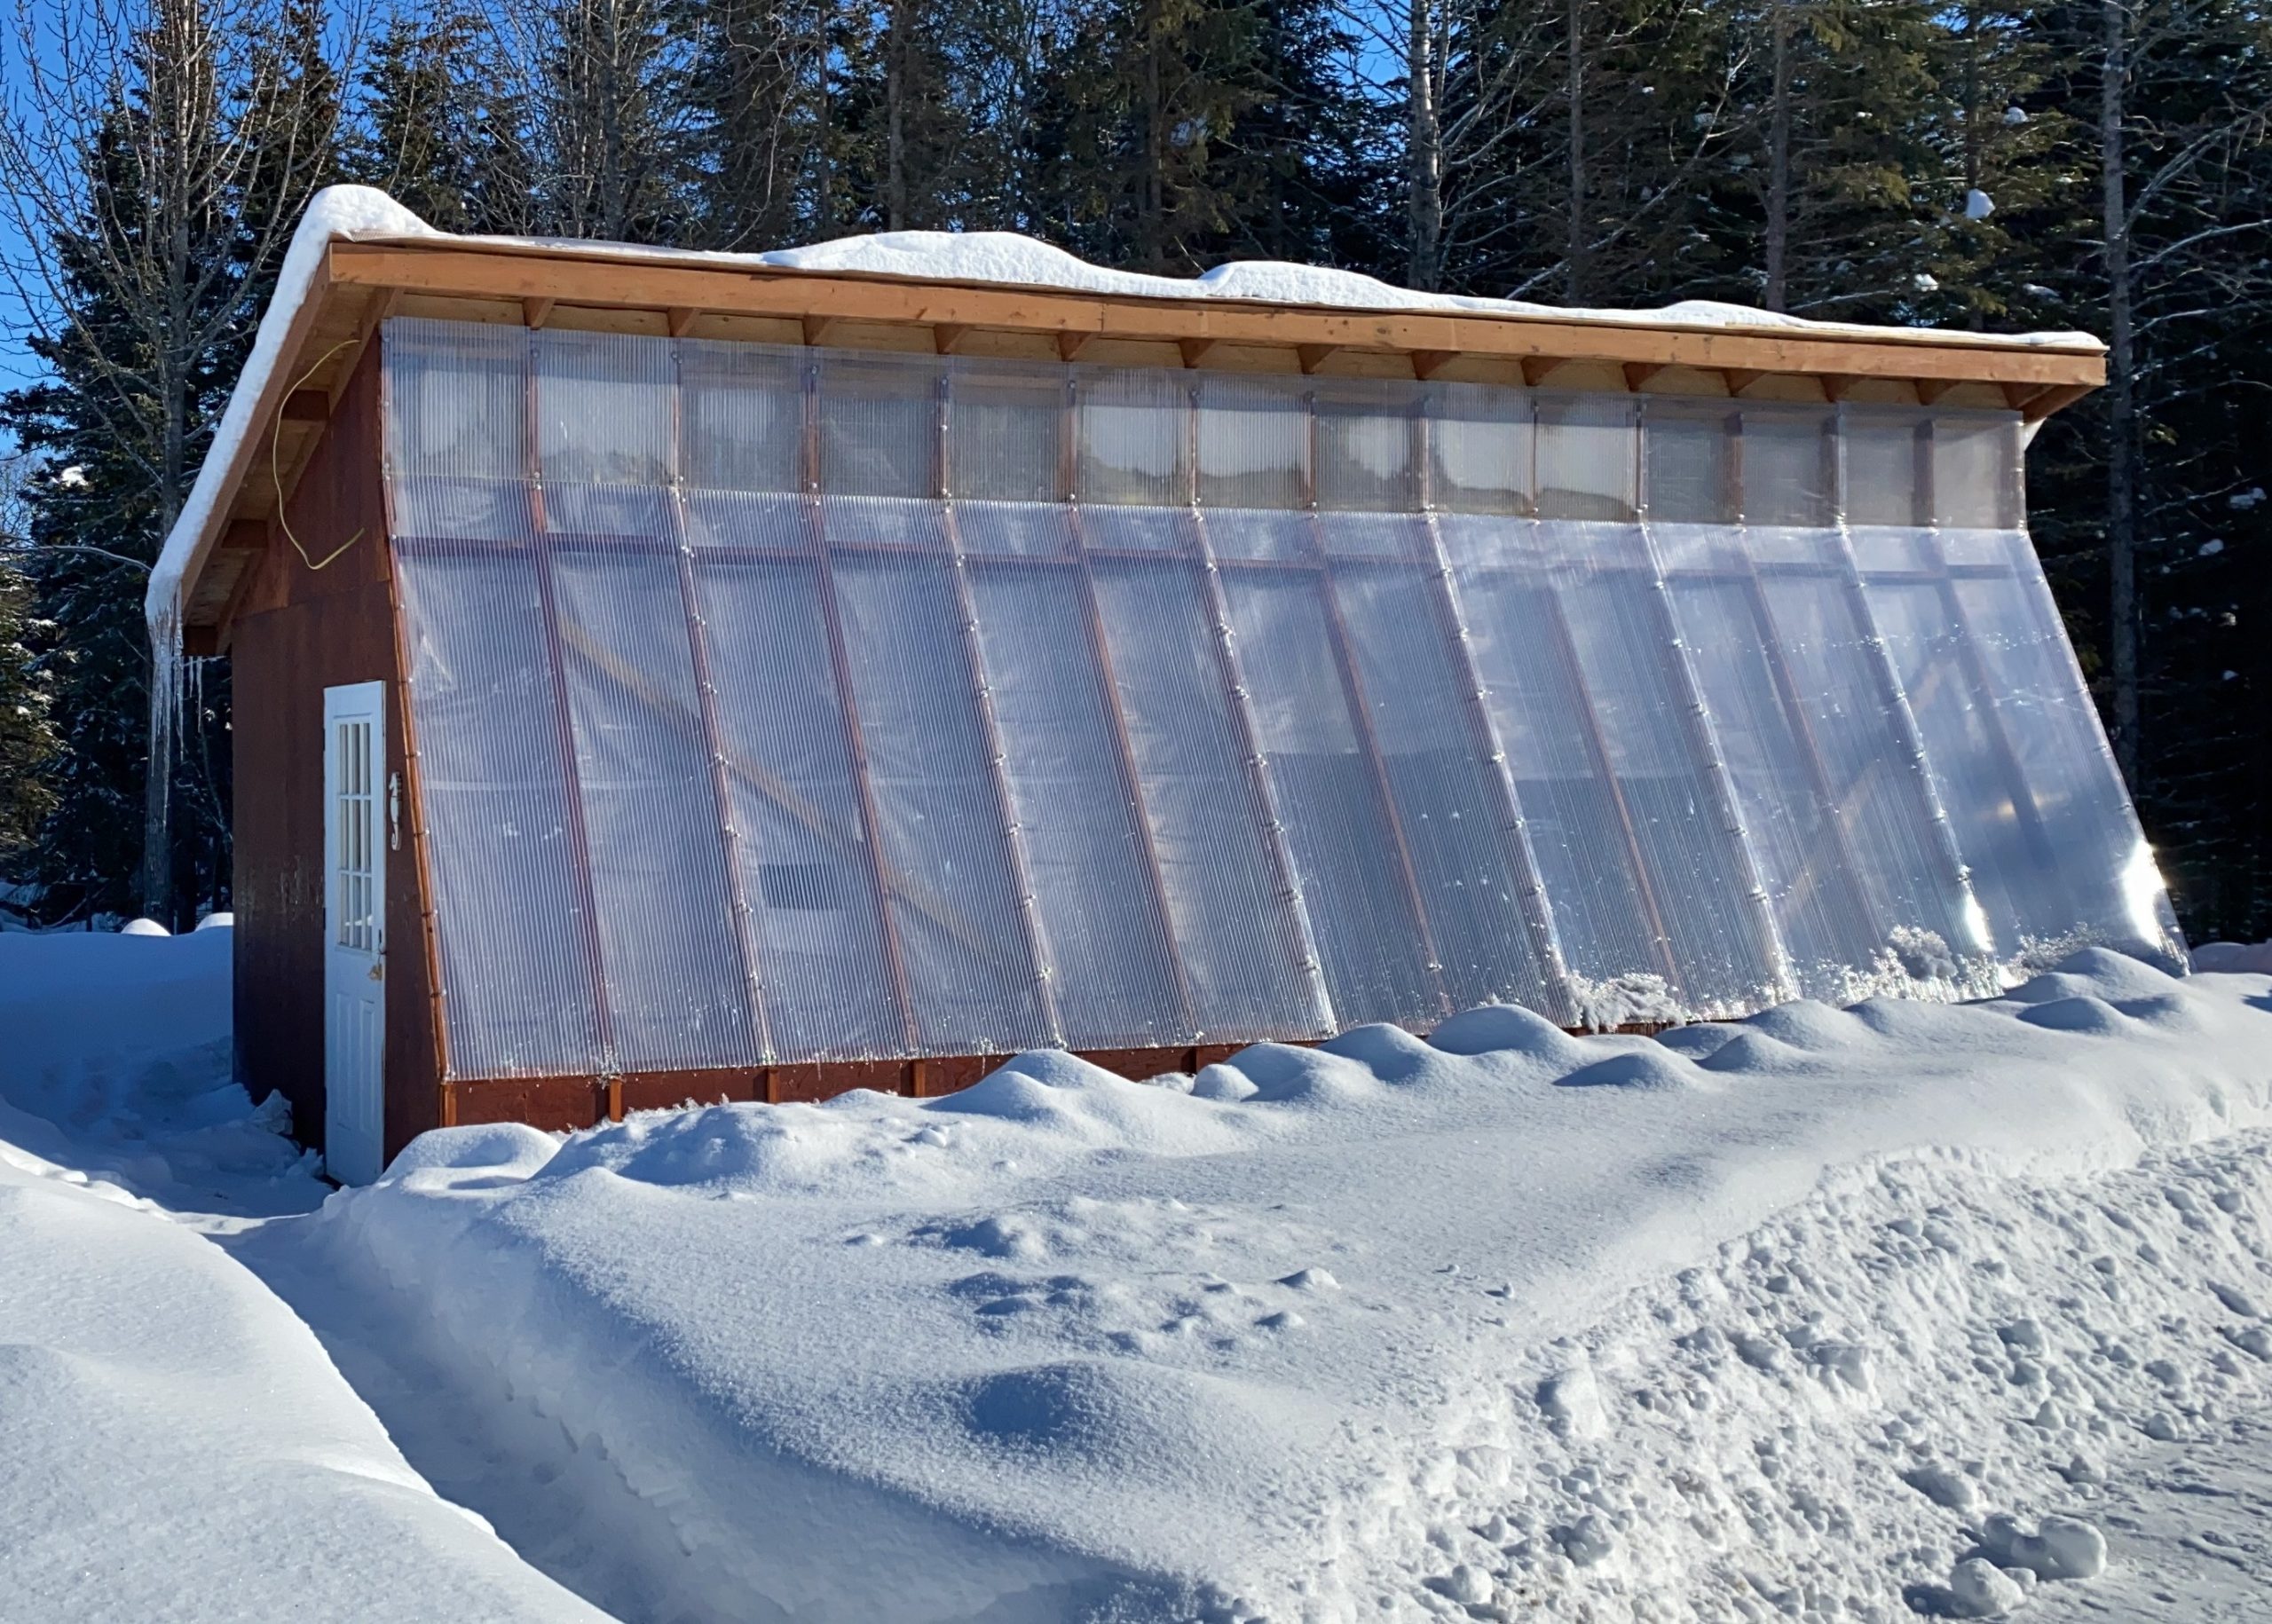
- glazing sturdy enough to withstand high winds and heavy snows
- glazing to provide some R value
Project Planning and Material Procurement
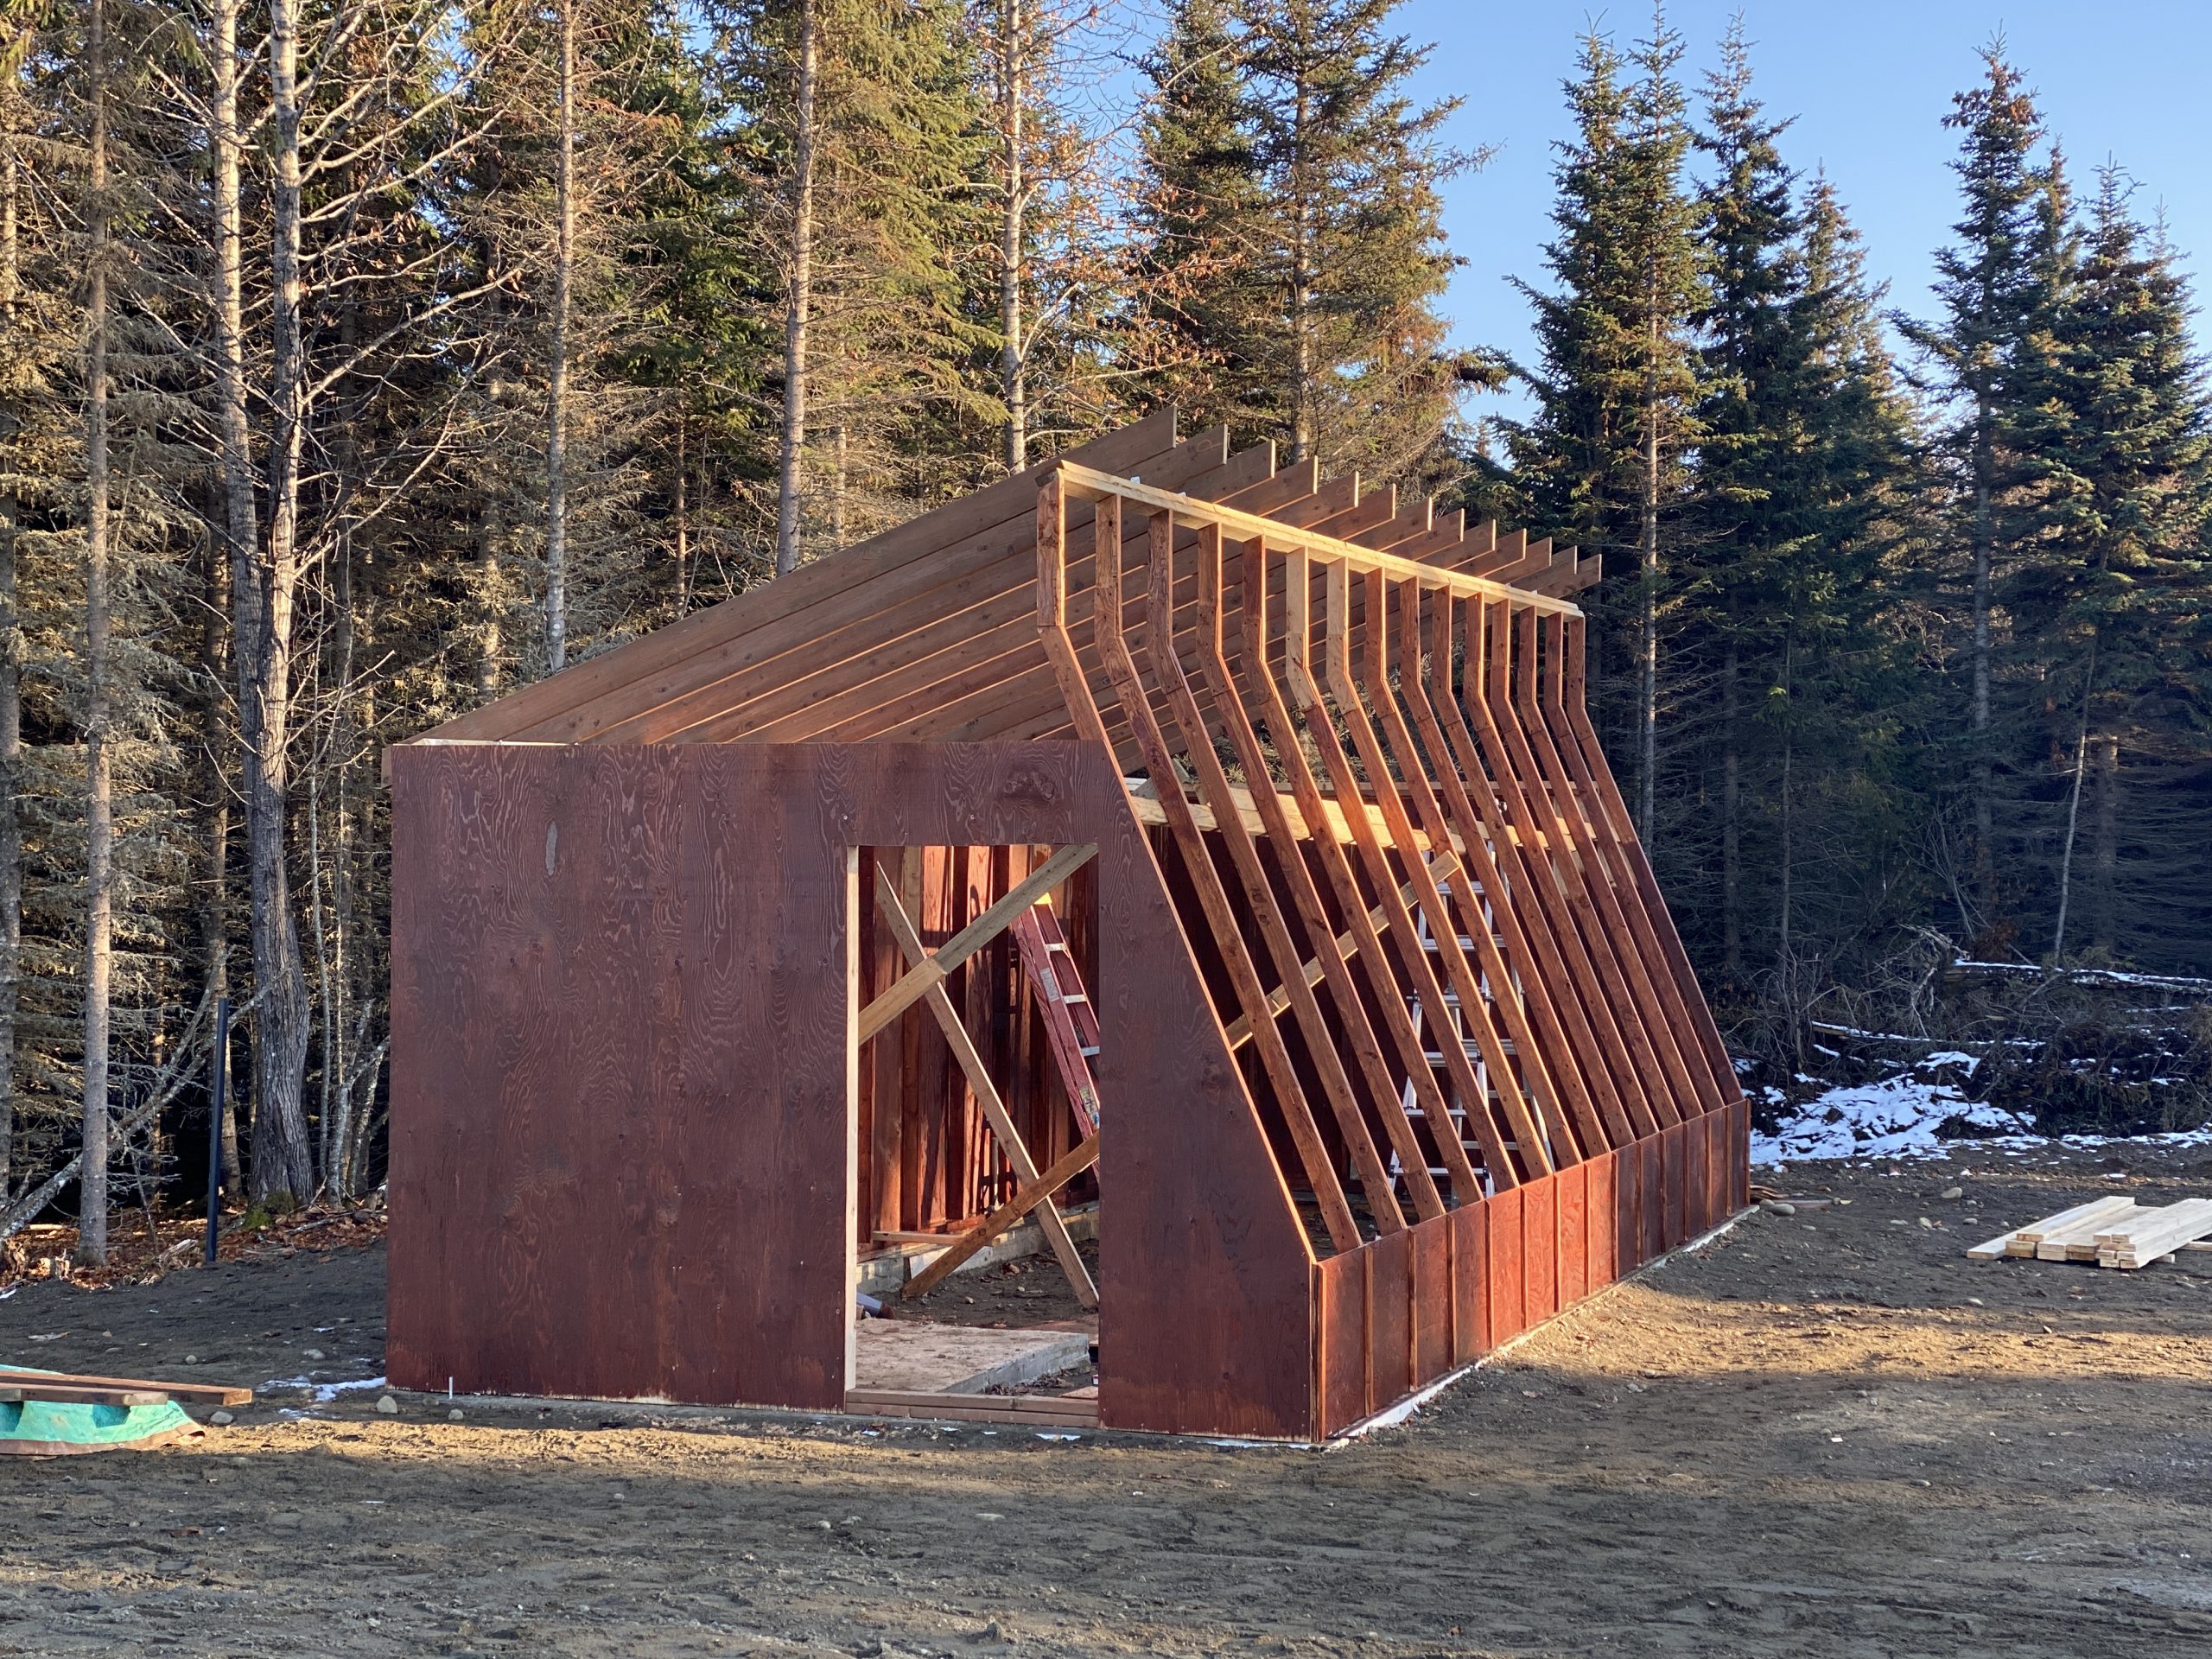
For this project we opted to create our own set of plans. Using design specifications provided in the Bradford Research Center article we calculated the building length, width and south wall slope. I then did a material take-off for a 12’x 28’ building with a 70 slope on the south facing wall. We opted for 2” x 4” walls and 2” x 6” roof, all sheeted with ½” plywood on 24” centers. The walls and ceiling would be insulated with R-19 fiberglass batting. The roof would be covered with tin.
One major difference between the Bradford project and ours was to upgrade from 6 mil poly film covering the south wall to more durable polycarbonate sheeting. I spent considerable time talking with several vendors, soliciting opinions on what type of sheeting to install. Almost everyone I spoke with recommended using the 16mm triple wall sheeting. There is a definite break point between the panel R value and light transmission. The 16 mm triple wall panel offers 76% light transmission and an R-2+ insulation value. The vendors I spoke with thought that 76% opacity was about the lowest we could go without negatively affecting plant growth.
Another major difference between the Bradford project and ours was that we were not committed to strictly passive solar heat. We also wanted a way to heat the sand floor in the greenhouse with a boiler.
Heated sand floor
Since we wanted a building that had in-floor heat we excavated out the greenhouse footprint to a depth of about 24” and then laid foam insulation on the floor and walls of the excavation. We then laid wire mesh on top of the insulation to act as an attachment point for plastic heat tubes, as you would for a concrete slab in-floor heating system. We only laid one zone of tubes, approximately 300’ of ½” tubing for the entire building. Using a piece of 4” PVC, we created a place for the heat tubes to come up through the dirt floor and then backfilled the entire box with two feet of clean sand. Even on sub-zero days this winter the ground temperature remained a steady 80 degrees.
Electrical
We installed a 200 amp panel to facilitate lighting, using power tools, and have a ventilation system for climate control.
Pouring the concrete footer
Since we wanted a permanent, stout building we poured a 5 ½” by 12” footer around the building parameter and preset J bolts to anchor the walls.
Building the structure
The building itself was very simple to construct and stand. The only tricky part was standing the south facing wall since the 70 degree angle precludes you from standing the wall upright. We pre-built the “trusses” for the south wall and also pre-stained them. In a large, flat area in front of the building we laid the wall out, constructing the entire thing in one piece. We then used a tractor with a gin pole to pick it and set it in place.
What we learned
Select a south facing location for your building location with little obstructions. Due to the winter sun being so low on the Alaska horizon the greenhouse requires adequate set back from tall trees or other structures or it will not get full light.
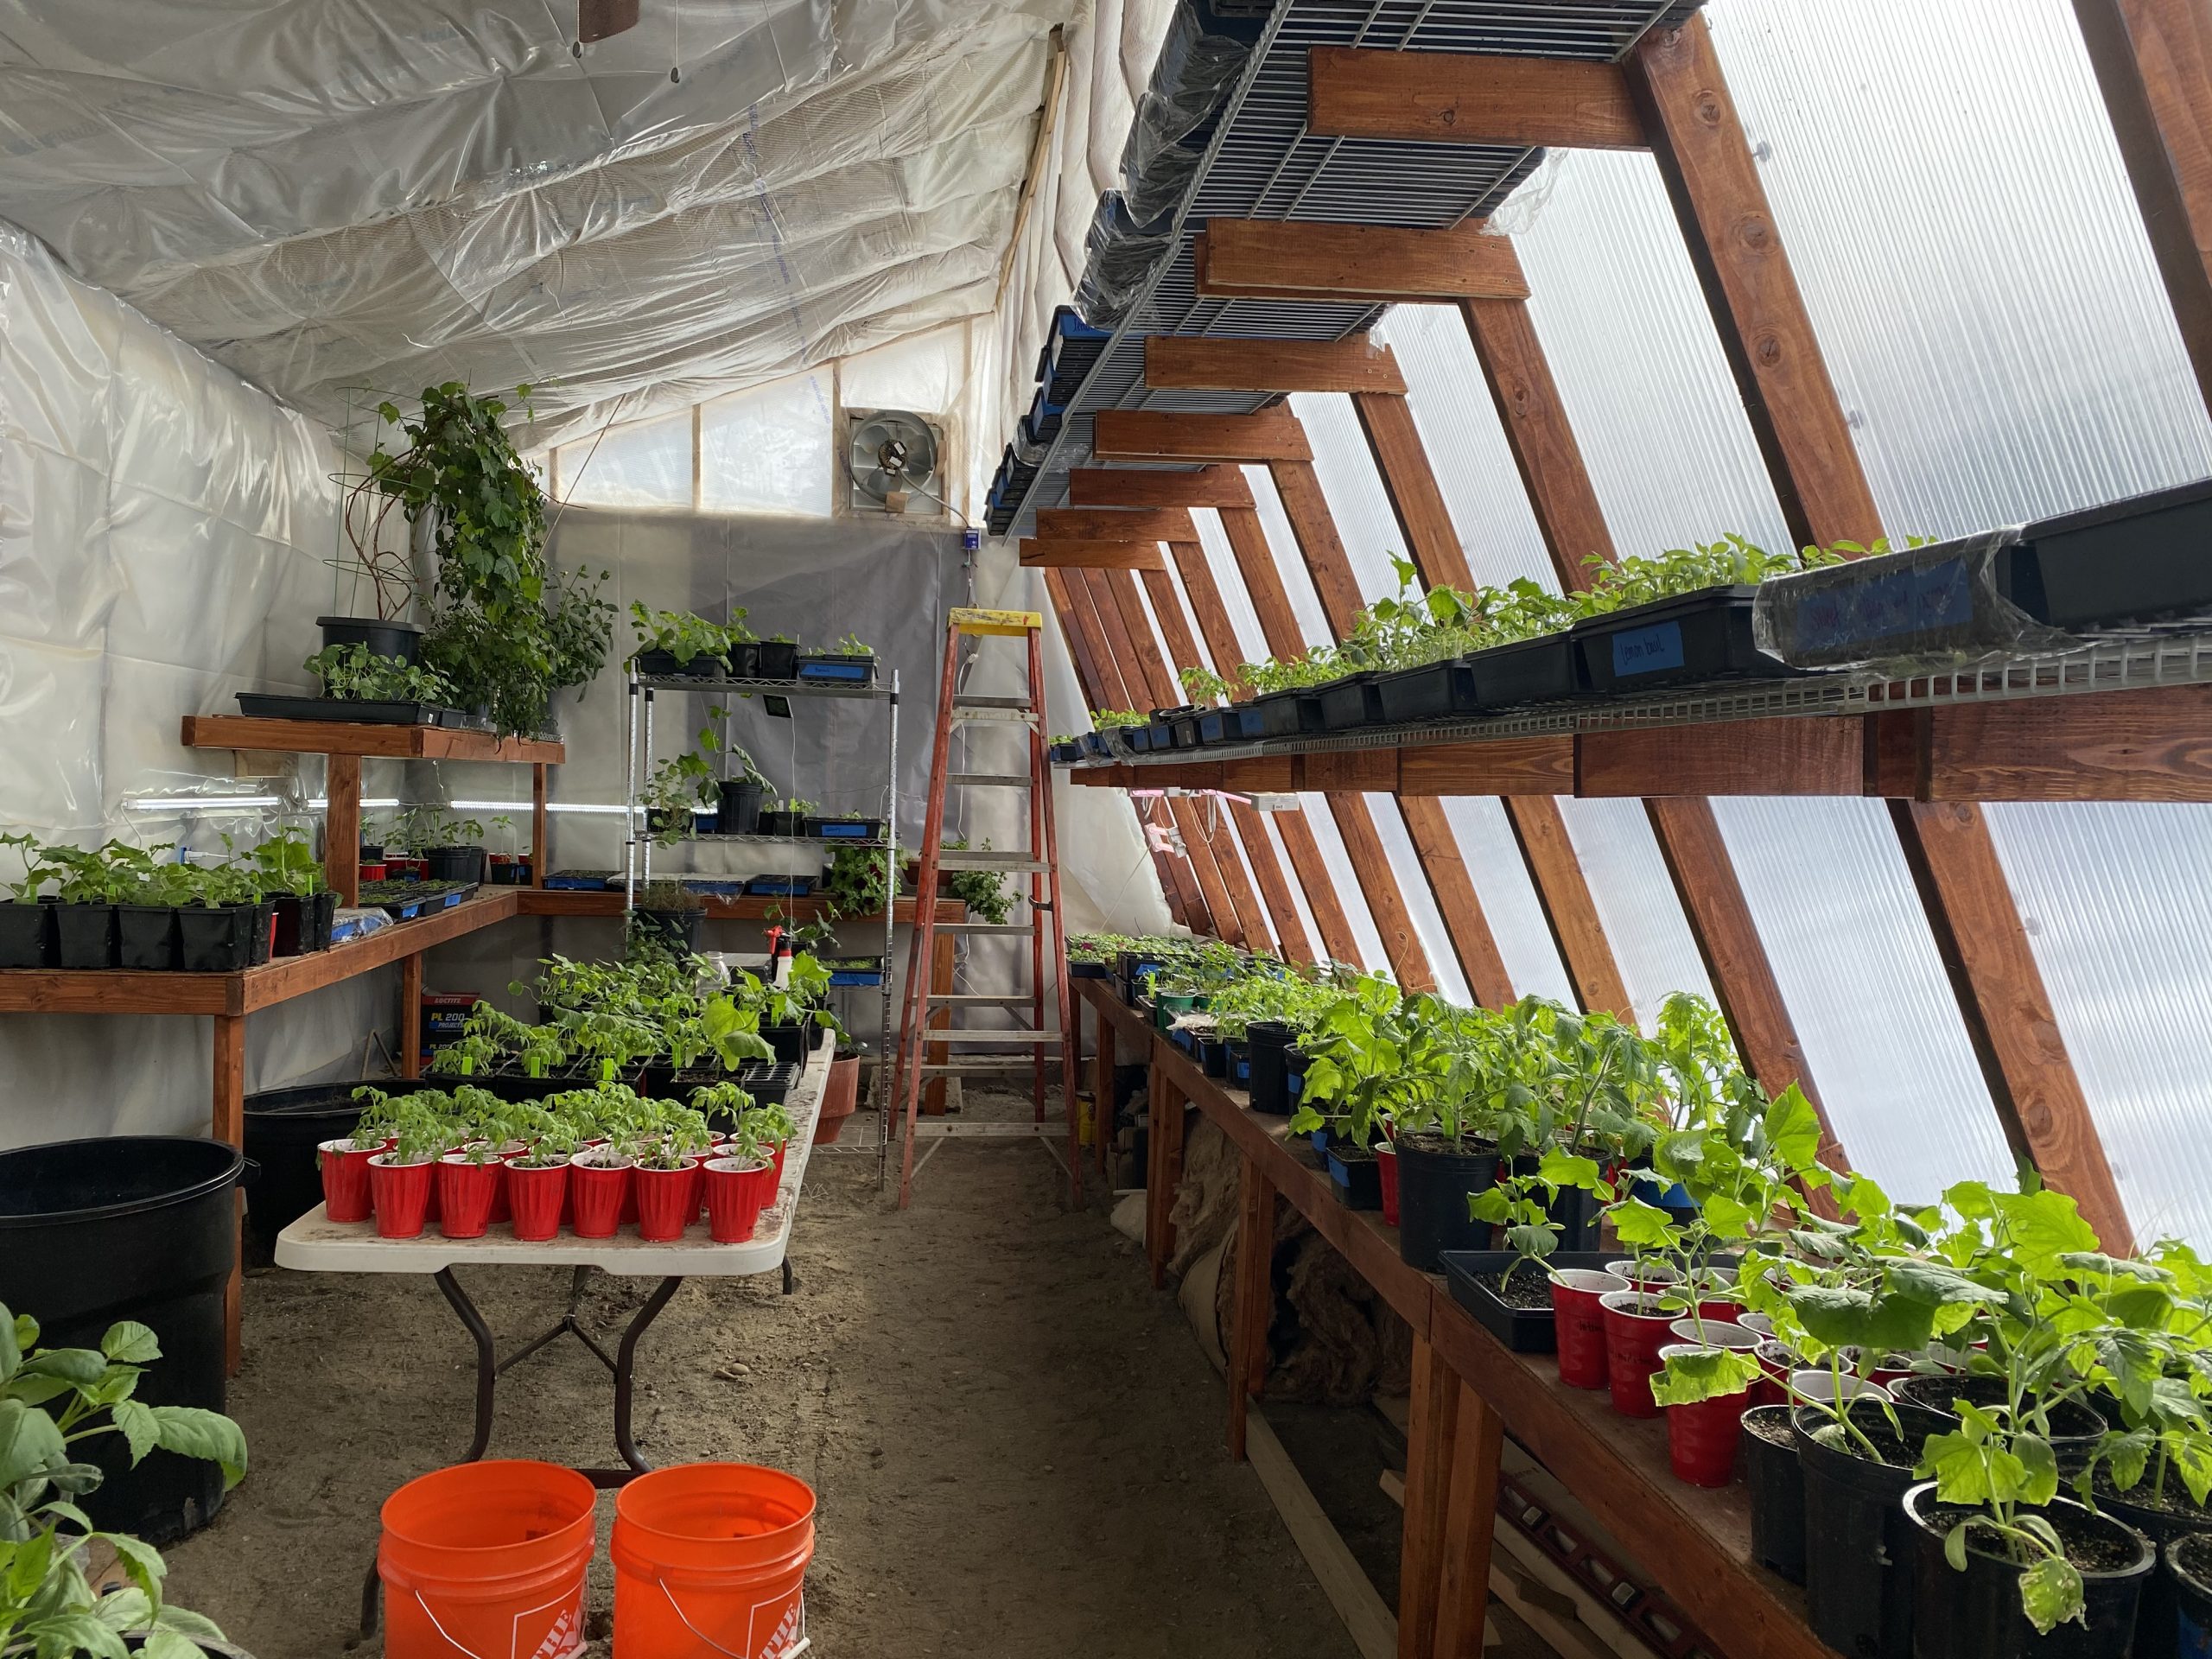
Depending on what you decide to grow, there may not be enough hours of natural light from November to February to sustain your plants. We installed 4’ LED light tubes on some of the benches to compensate.
The 70 degree front wall allows for several tiered racks for starting trays of seeds.
A standard home hot water heater makes a great boiler for the in floor heat. It is very important to have a mechanism to bleed air out of the system. There are a ton of DIY videos available on the internet where people share their homemade systems.
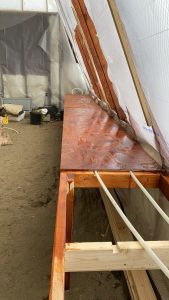
Adding a layer of 6 mil poly to the inside of the south wall creates a noticeable difference in greenhouse ambient temperature during the coldest months.
About Kim Finkle
Twitter •
Great article KIm and an awesome greenhouse. You guys went all out and it shows. I’m sure you’ll have great success with whatever you decide to grow and I bet you could get okra to maturity in there.
Take Care
How much did this cost to build? Like an estimate