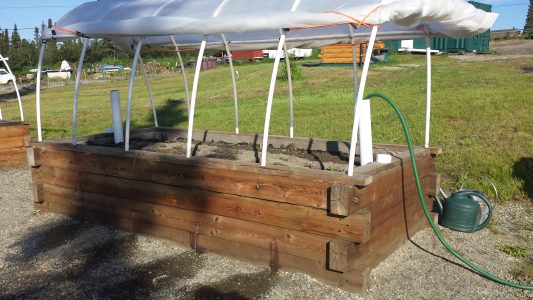
Collecting garden ideas over the years has evolved into an efficient raised bed watering system. The initial concept came from an article in our electrical cooperative’s monthly magazine, Ruralite. At that point in time we were collecting rainwater from the nearly 4000 square feet of roof that covers our house, shop and sawmill shelter to water our gardens. Using rainwater to directly water by redirecting the downspout worked well, but rain comes and goes. The next addition to this model came from Cold Climate Housing Research Center’s Infiltration Planter Guide. The Infiltration and Flow-Through Planters also furthered our prototype. Now we were ready to begin building multiple raised beds that are easily maintained and easy to water the entire growing season. The other critical part was the celebration of installing a well in 2010 after several decades of living in a dry cabin.
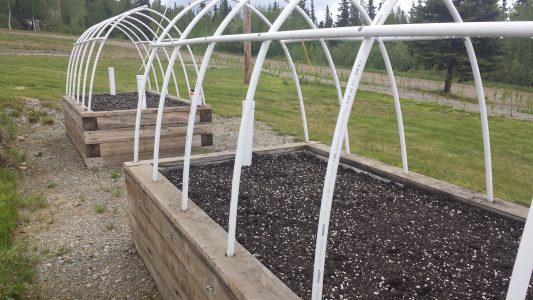
Following and modifying the CCHRC instructions for the Flow-Through Planter, we now have just under 2000 square feet of raised bed gardens. Here’s the steps for a four foot wide, ten foot long and two foot high garden box.
1. Build the box using 4 X 6 white spruce timbers. This is probably overkill for what the box has to stand-up to, but it was what we had on hand at the time. The four sides are topped with a 2 X 4’s.
2. Place the box on level ground. With our sloped lot, we needed to remove some of the native soil, bring in gravel and compact the surface.
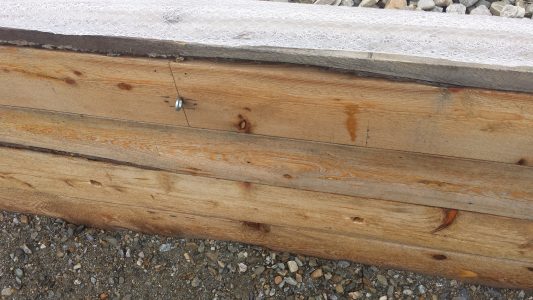
3. Drill in the overflow holes (Step 7 from CCHRC). Look at the second timber from the ground and the last picture in this series.
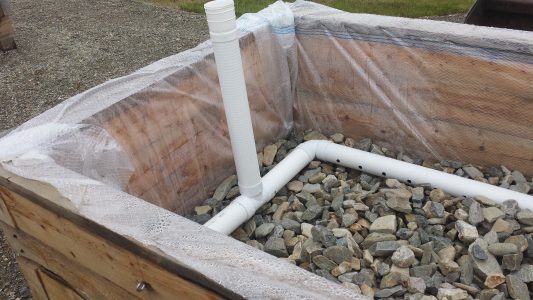
4. Line the box with Visqueen to create a water reservoir.
5. Add about three inches of large gravel or sewer rock.
6. Using three sections of 10 foot long 3′ PVC perforated sewer pipe, four slow 90 elbows, two 3 way T-connectors, two end caps and two 3 foot solid 3′ PVC pipe construct the embedded watering system.
7. Add more gravel up to the level of the overflow holes.
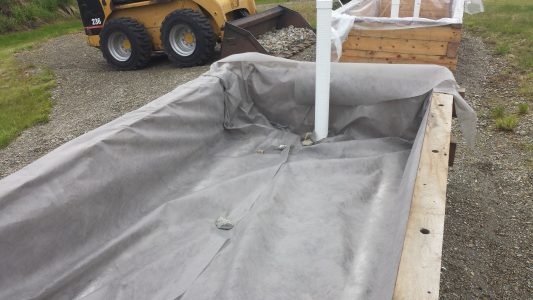
8. Lay in landscaping cloth to cover the gravel and sewer pipe. The drill holes in the 2 x 4 are for the PVC hoops that will go on top of the box. The landscaping cloth and visqueen are placed under the 2 x 4s to make a neater box and allow access to the drilled holes.
9. “Fill the planter with soil. The soil should contain a high level of organic matter. Try to not use soil with clay or silt in it. This will ensure that the soil is able to support the wicking function.’ CCHRC Step 12.
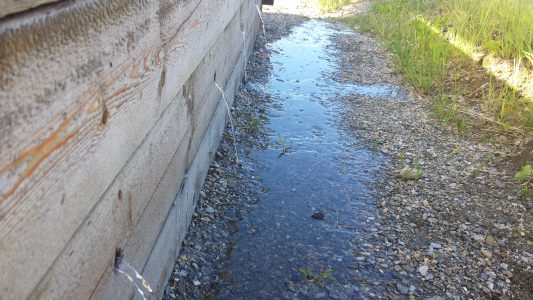
10. To water the box, remove the end caps from both ends. Place the garden hose in one standpipe, turn on and walk away. I usually use this time to weed or harvest.
11. When the water starts pouring out of the overflow holes, the gravel water reservoir is full. This watering needs to be done every 3 to 4 days or just once a week depending on the weather and can be done any time of day as the water never touches the plants. I usually don’t let the water overflow this much, but it makes the idea clearer.
Our other two gardens that use a similar system are 4’ x 32’ and 3’ x 22’. So length is not a deterrent from trying this idea. As these two larger beds are next to the shop and the house, we have down spouts ready to supplement the existing system if necessary. These two gardens are not equipped with hoops and are only accessible from one of the longer sides. In hindsight, both of these boxes are a bit too wide for easy accessibility on the far side of the box.
Here is some more information on growing a garden in raised beds from Oregon State Extension.
