Its that time! It is the time of year – time to appease our need for the smell of soil and the love of nurturing green life.  Many people spend a fortune in plants at the box stores and green houses. Good for them, there is nothing wrong with that. However, paying $2-3 per cabbage plant makes me wonder why they don’t just buy cabbage at the grocery store. Not only is it expensive, but missing the seed starting is missing one of the best parts! Watching and nurturing the beginnings of life is so enjoyable. I have outlined a very simple and short seed starting plan below. For a much more in depth overview of seed starting and one of my favorite reference manual, please see, The New Seed Starters Handbook by Nancy Bubel.
There are many seed companies that have wonderful products. When you are buying seeds, look for companies that specialize in northern growing conditions or has a full array of seeds for every growing condition. Much of what will grow in the lower 48 may not do well here in Alaska. This is most often due to our extreme amount of daylight, cold soils, and cold water. Too much daylight is not always good and can really confuse the plants native to a different latitude. Plants determine when to do much of their reproduction and dormancy by way of daylight, not temperature. Territorial Seed Company, Johnnys Select Seeds, Denali Seed Company, Foundroot, Fedco Seeds and many more are wonderful companies to use. Territorial Seed Company is a Pacific Northwest company and has some, hard to find varieties, as well as a catalog that is food for the soul around the depths of January’s darkness. Johnny’s Select Seeds has almost everything a person could imagine as well as some amazing tools that are designed and used by Elliot Coleman for year round northern gardening. Denali Seed and Foundroot are both seed companies that specialize in Alaskan growing conditions. Fedco is a company in Maine that has some very cold hardy products at a very good price. Enjoy the vast array of catalogs that these companies send in January. Sort through them with your feet up by the fire, steaming cup of tea next to you, and the snow piling up outside. While your dreaming of sunny days and every variety of squash or strawberry, remember that it is easy to go overboard! Each one of those little seeds will need to be planted, hardened off, transplanted, weeded, watered, harvested, preserved, and composted!
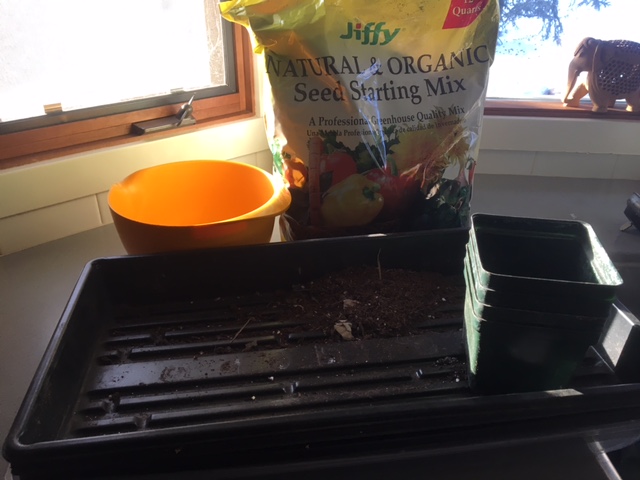
Supplies: These supplies are essential for seed starting. They are widely available, but I’ve included some links to where you can purchase them as well. The links are highlighted in blue and simply click on them to bring up an example item. For a simple setup, you will need the following:
- seed starting soil
- small plastic containers with good drainage
- seeds
- water
- fluorescent light or a very sunny south facing window
- permanent marker/plastic for labels
- fan
Optional items are all very helpful and worthy of the investment but not required and include the following:
- heat mat
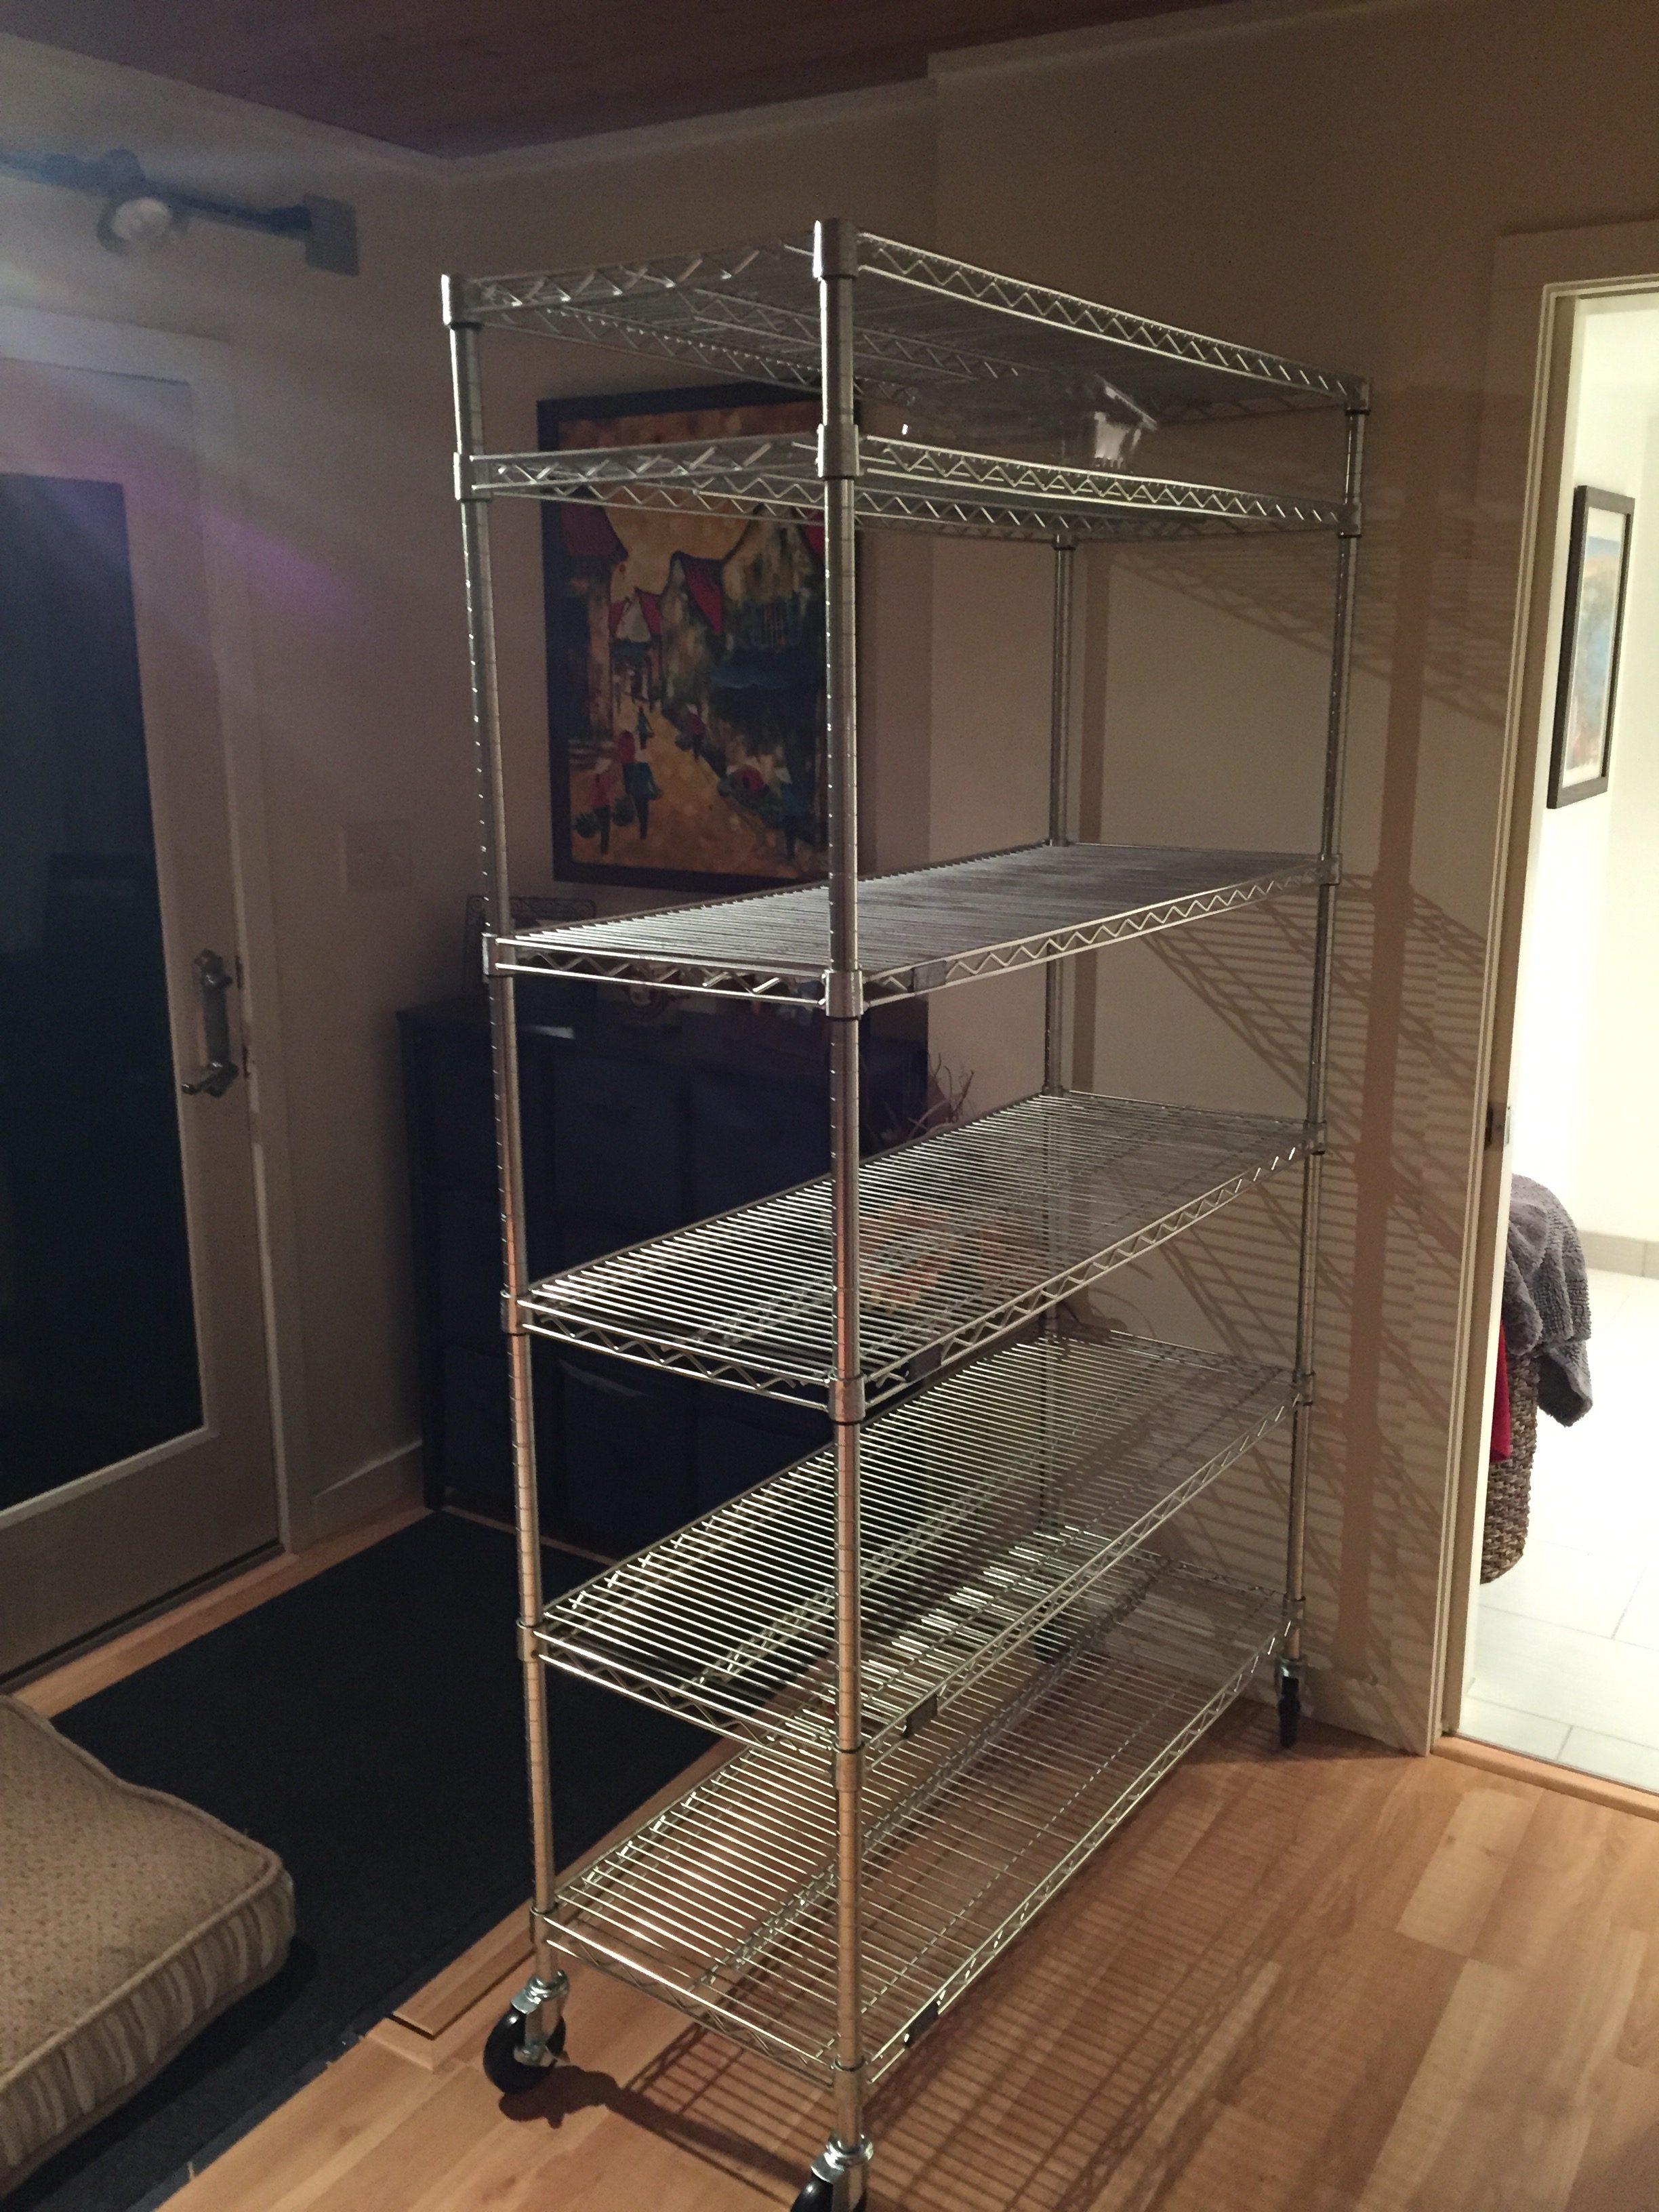
- bakers rack
- welded wire fencing around your setup to guard against cats, dogs, and kids
- trays without holes
- plastic domes
- outlet power strips
- timers
- When: When to start the seeds is a surprisingly complicated answer. Some people simply look at all their seed packet and count backwards from their last frost date. Others consider the type of plant they are planting and note if it is a plant that can handle some mild frost so that they can push the timeline a little and get their plants out early. Plants in the brassica family (cabbage, kale, broccoli, etc…) are very frost resistant. Some plants take a long time and need to be started in January/February such as onions, celery, thyme, rosemary, and parsley. Most garden plants are started around April in South central Alaska. Keep in mind that those tiny little seeds will require some serious room once they are really going strong. My first year growing pumpkins was a very awkward year of balancing a shocking amount of greenery in my dining room.
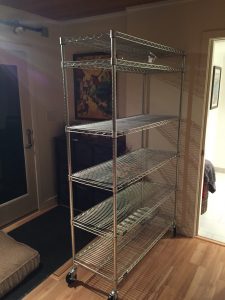
Bakers rack getting ready to fill for planting 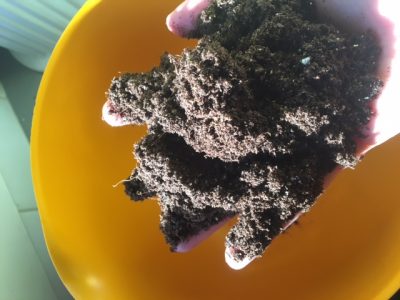
Soil is too dry 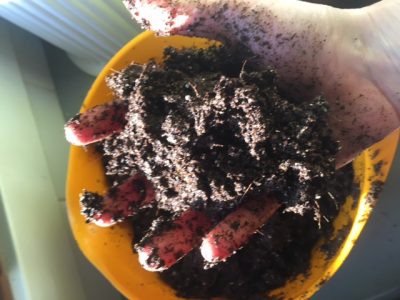
Soil is perfectly moist and holds it shape after I let my hand relax 
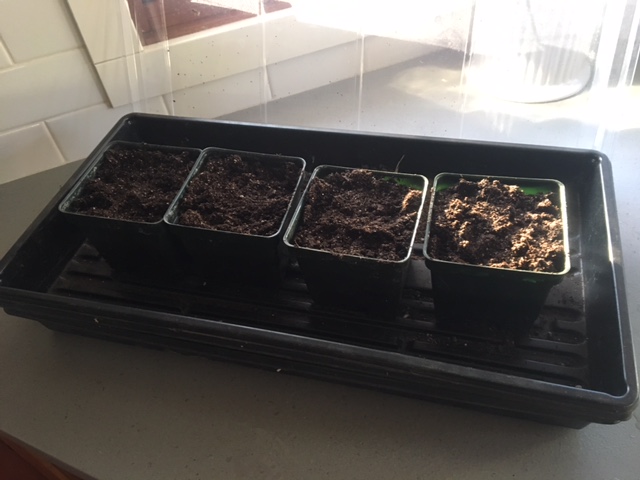
Place your small containers in a leak proof tray for gentle watering from below. 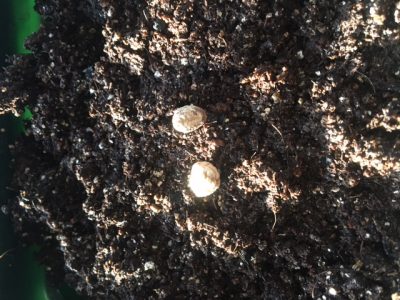
Place two seeds in every pot unless a “special” case 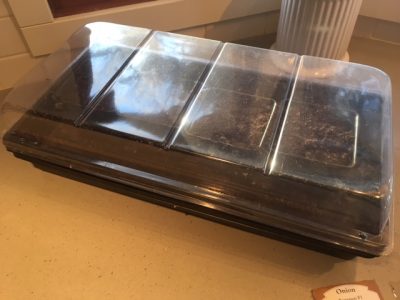
These plastic domes help hold in moisture and increase germination. There is a wonderful seed starting schedule on Johnny’s Selected Seed company website that uses your last frost date and calculates for you.
- Sanitize: Make sure that all supplies have been washed and sanitized by dipping in a 10% bleach solution (1 part bleach, 9 parts water). Extremely hot water will deactivate bleach so be careful to use only tepid water. Sterilizing will make sure that you do not share those diseases that may have hampered your progress from last year or that may have hitched a ride from the garden store.
- Soil: There are many books devoted to the type of soil to use for every occasion. The nice part about seeds is that they come with all their own nutrients. They need nothing but a moist, light, and spongy medium to hold both air and water. To make things really simple, go to the box store and buy “seed starting soil”. For this part of your gardening journey, you really do not need much and it is easier to learn on something that is premixed. Do not use regular garden soil from your yard because it will be too dense and harbor diseases. Do not buy the little peat circles that have the thin layer of mesh around the outside. That mesh will not break down in our cold soils and you will end up with plants that are strangled by the mesh. Moisten soil until the point when you squeeze your hand shut around a handful that it forms a ball and stays in that form when you let your hands relax. If the soil is too wet, water will squeeze out like a soggy rag. If it is too dry, it will not hold it’s form when you let your hands relax.
- Containers: You can use anything plastic that can range from yogurt containers, to plastic cups to containers intended for seed starting. I have a friend that collects the Solo cups after every party she attends just for her plants. Make sure the container is plastic and has a couple of small holes in the bottom for water drainage. It looks so “eco friendly” to use newspaper, egg cartons, or any other porous and natural fiber. Unfortunately those porous natural fiber products dry out very fast and your seedlings will be very unhappy or you will be watering constantly. I love using soil blocks but that is an entire blog post on its own.
- Planting: Place soil lightly into containers. Allow the soil to be fluffy and only slightly packed to fill the container. Roots need oxygen and will not do well if you mash it down tight. Make a small divot in the top of the soil with your finger. For most types of plants, place two seeds and cover with recommended soil amounts. The recommended depth for each seed will be found on the package of the seed. Beets are the special case when you only want to place one “seed”. Beet seeds are actually a cluster of many seeds so no need to put more than one. The common recommendation to place two seeds in each container is to ensure that your germination rate is at least 100%. If both germinate, you will need to trim the less healthy looking one. Another special case is the onion seed that I have planted already this year and you will see in the photos later. I plant them in mass and gently separate them when I go to plant in the spring.
- Labeling: Cut apart an old plastic container or buy those cute little plastic label sticks. Do not label the actual container with tape. This container is only a temporary holding spot for this plant. As you move the plant, you will want to easily move the label as well. Make sure to label every single container. It is absolutely impossible to keep track of the plants as they move here and there for the transplanting and hardening off shuffle that will happen in the near future. Exact specifics of this shuffle will be discussed later. For now, just know there is a wild shuffle coming and you need to label carefully!
- Water: Seeds need moisture to germinate so cover for humidity. The plastic domes that come to fit the plastic trays are great. If you do not have that, some kitchen cellophane works well too. I like to place all my small containers that I have planted into a larger plastic tray and water from below. Be sure to water just enough that the water wicks up to the top of the soil. Do not add so much water that the plants are standing in water. This will rot and suffocate the roots (remember roots need oxygen!). The best way to know if your pots need water is to lift them. If they are really light, time to water. Do not keep them super soggy and allow some time in each day for the air to flow over the soil. This will help decrease mold formation. I highly recommend a circulating fan.
-
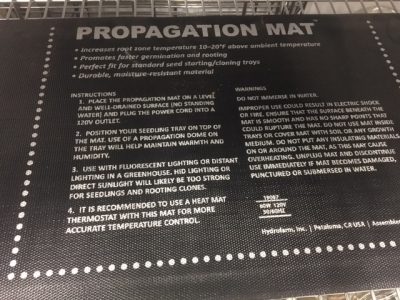
Heat mat Heat mats: Heat mats are worth the small investment, however, they are not necessary. They speed and increase germination rate by a very large amount. You can purchase an inexpensive heat mat from Alaska Mill and Feed. Later, when you know exactly how you are going to arrange your seed starting station(s), buy the more precise mats from Johnny’s. First time seed starters need not worry too much about specific temperature control for the heat mats. If you are doing seed starting on a larger scale, I like to use temperature monitors. They make sure the mats are not getting too hot. It is rare for that to happen but it will occasionally occur.
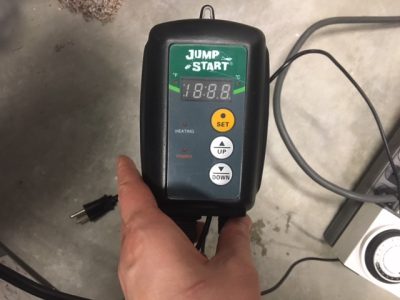
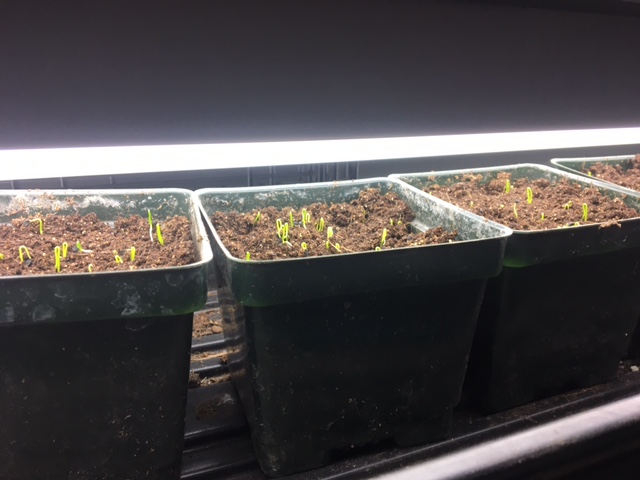
Heat mat temperature monitor - Seedling Emergence: As soon as the seedlings start coming come up, remove their heat mat and plastic cover.

These little seedlings are just starting to emerge. Time to put them under the light. Place them directly under a fluorescent light and at room temperature. Seedlings like it light, not too hot, and with a soft breeze. More information on how to care for seedlings coming soon in part two of seed starting for beginners!


1. It’s means it is. It is the contractive form, not the possessive form, although that is how you persist in using it.
2. This is written for the Anchorage area, where you can transplant a bit earlier than you can in Fairbanks and where the sunlight is not as angled so a south facing window may be sufficient.
Hello Mable! Thanks for the feedback. Yes, it is written for South central Alaska. I thought that I had tagged it as such. I will make adjustments. I can see that you have exemplary grammar and gardening skills. I would love to read your blog posts. Which one is yours?
1.sjkesting great article thanks for all the info I look forward to planting my Sunflowers this year.
Do you have any tips for Sunflowers in Alaska?
2.I too am interested to read any info on a personal blog Ms. Mable has to share with her exemplary grammar.
Hello! Thank you for you message. I have never grown sunflowers but they are one of my favorites! I need to learn myself. I will ask around and see if anyone has any tips for us both. 🙂
Thank you!!!
Hello Christine! After asking around, many gardeners here in South-central Alaska seem to find any variety of sunflower very easy to grow. Many of them start from seed and transplant with good success despite that they tend to not like transplanting. Some say that they are not a favorite for moose so you can grow them on the outside of a fence and tie them up to the fence. This is not specific scientific information from UAF, just local wisdom from fellow gardeners.
this would make an amazing booklet. so easy to understand and follow !
Awesome article thank you!