The Wonders of Food Preservation
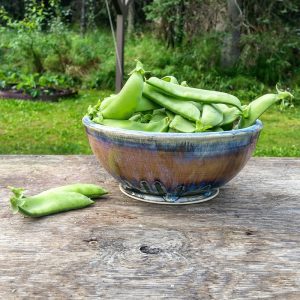 As delicious as fresh produce straight from the garden can be, most of the time we hobby gardeners have too much to eat all at once, and we must choose what to do with the extra! Some give their surplus garden bounty away. The other day, a co-worker of mine offered to buy my extras from me. But the best choice in my mind is to preserve them for winter eating!
There is nothing like the satisfaction of knowing I have a freezer full of organic, fresh picked quality produce, ready for use in the winter months when nothing is even thinking about growing outside.
Which vegetables yield the biggest harvest with the least effort?
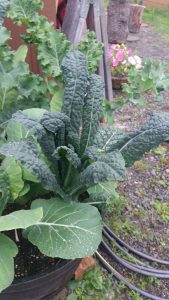
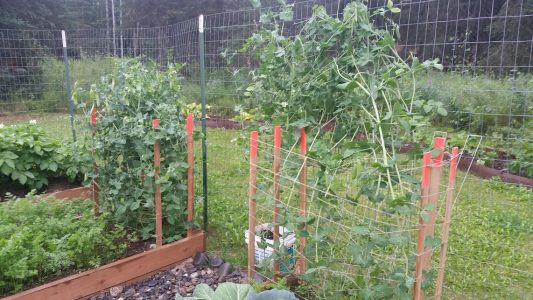
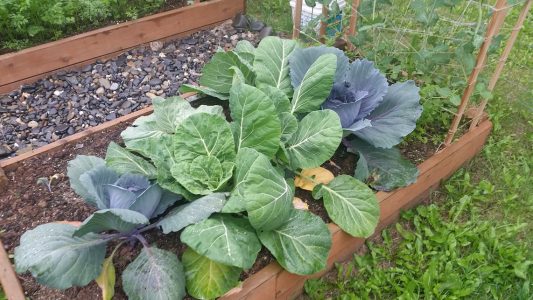
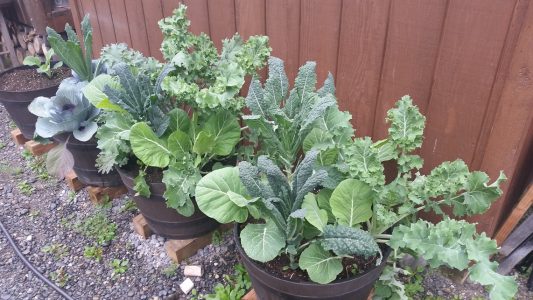
My favorite vegetables to preserve also happen to be the easiest to grow, in my experience. I’m talking about peas and greens, of course! In my garden in Kenai, I grow snap peas and snow peas each year, and my greens always vary: turnip greens, collards, and kale of all kinds are my favorites to grow. Hardy greens are not only healthier than salad greens, they also freeze and cook well.
I have noticed that both vegetables need little in the way of supplemental nutrients during the growing season, and neither seems to have any pests, at least in Alaska. The leaves on my collards and kale are always pristine, and I have yet to see an imperfect pea pod. Both can be planted very early in the season, even before the last frost date!
Okay, I have too much produce! How do I make it last?
All it takes to preserve a garden bounty is a little boiling water, a little ice water, and some freezer space. Blanching vegetables rather than freezing them raw is the best way to go–blanching stops enzyme activity that degrades the quality of the vegetable over time. So by blanching you preserve the vitamins and minerals as well as the color of the vegetable. Read more about blanching and freezing here.
Get Ready
First prepare your vegetables. I don’t wash them because I don’t use any pesticides and the boiling water does away with any dirt. I cut the little hats off the peas and chop the greens.
Prepare Water
Boil a large pot of water. The rule of thumb is one gallon per pound of vegetables, or two gallons per pound of leafy greens.
You also need a bowl or pan of ice water.
Insert Vegetables
Follow this link and scroll down to see a chart on how long to blanch each type of vegetable. I just make sure the water boils again within 15 seconds of adding vegetables.
Stop the Cooking
I scoop the vegetables out with a slotted spoon or a sieve. If you are a pro you use a wire basket, but I’m no pro! Scoop them straight into the ice water and leave them there until cold (about the same time as they were in the boiling water).
Dry Them Off
I lay them out on a tray with a linen towel.
Pack and Freeze
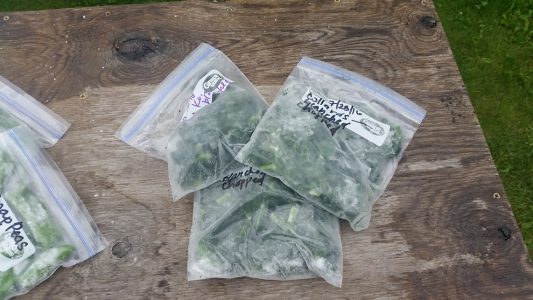
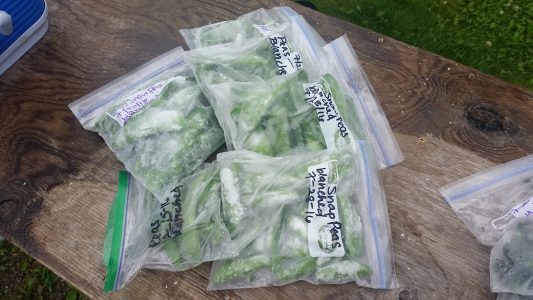
Pack the vegetables into accessible bags (I use quart bags) and make sure to date and label!
Voila! You’re done. Bring it on, winter!
About Jenna Miller
Hello, I'm Jenna, an amateur gardener and wannabe farmer living in Kenai, Alaska. I am originally from California and am enjoying my fourth summer putzing around a garden figuring out how to make things grow in cold soil! One day I hope to know what I am talking about enough to teach someone else how to garden. I also love to sew clothes!
Twitter •