 The first recipe that comes to mind is the raspberry rhubarb pie that I make with Mom’s pastry. So I just HAVE to include the pie crust recipe too. Mom used to make this recipe up often so that she had several pie crust “balls” in the freezer, ready for any occasion. Mom’s raspberry rhubarb pie was a favorite at the church potlucks and I used to excuse myself as I cut in line just to get a small piece before it was all gone.
I believe that I learned how to make the raspberry rhubarb pie by watching Mom make it, but I have relied on the Rombauer ladies and their cookbook, Joy of Cooking to bolster my nerve when I doubted myself. So I will write the recipe with their help as well. It begins on page 650 in my worn and annotated book. It is fun to read the cook book by these two women, so I recommend beginning just under “About Berry and Other Fruit Pies”. But I digress…..
The Pie Shell
Mom’s pastry recipe is for 5 crusts. I make the recipe, form it into 5 equal balls, put each in a quart size Ziploc and squash it flat – about an inch thick. Then I load them all into a gallon freezer Ziploc and freeze them. When I want to make a pie I take one (or two!) out of the freezer about 5 hours before I need it and let it thaw on the countertop. Here is the pastry recipe from Mom’s recipe box:
Fool Proof Pie Crust
4 cups all purpose flour
1 Tbsp sugar
1 3/4 cup vegetable shortening
2 tsp salt
1 Tbsp vinegar
1 egg
1/2 cup water
Mix together flour, shortening, sugar and salt with a fork. In a separate dish beat vinegar, egg and water. Combine the two mixtures, stirring with a fork until all ingredients are moistened. With hands, mold dough into 5 balls and chill at least 15 minutes. Dough can be left in the refrigerator 3 days or it can be frozen. This recipe makes 5 pie crusts.
The Pie Filling
As for the raspberry and rhubarb filling, a lot depends on what portions I have in my freezer. I try to thaw equal amounts of each. About 6 to 8 cups is usually what I end up thawing – 3 or 4 cups of raspberries and 3 or 4 cups of rhubarb (chopped into about 1/2″ segments before I froze them!). By the way, when I freeze the raspberries I put them on a cookie sheet to freeze them and then scoop the frozen raspberries into a vacuum bag and suck all the air out.
The raspberries and rhubarb are dumped into a large mixing bowl where they are left to thaw for about 4 to 5 hours. I sprinkle about 1 and 1/2 to 2 cups of sugar on them while they are thawing (Sometimes I use brown sugar instead of white, granulated sugar and the taste is different but pleasant!). When the fruit is almost thawed I stir in the sugar and about 3 tablespoons of tapioca. I try not to stir it too much so that the fruit doesn’t break up more than it has to.
When the bottom pastry is rolled out and into the pan, I sprinkle the pie crust with cinnamon sugar and a little bit of tapioca. I pour in about half of the fruit, sprinkle 1 teaspoon of tapioca and 1/2 teaspoon of cinnamon sugar and then put the rest of the fruit into the pastry shell. I top that off with a liberal sifting of tapioca (about 2 teaspoons) and dot it with butter before I lay the top crust over the fruit. I seal the two crusts and cut a couple vents and slip it into a 425 degree oven.
A Caution About Baking
Oh, I forgot an important part. Bake this pie on a jelly roll pan – sometimes called a ‘cookie sheet’. You need something with little edges. You also need to line the pan with tin foil that you can throw away, unless you enjoy standing at the sink scrubbing baked on sugar! I also put my pie up on a rack on the foil covered pan because I don’t enjoy sticky bottomed pie plates either. Doing this will save you a lot of misery.
The pie should bake at 425 degrees F for 15 minutes and then the oven should be turned down to 350 degrees F. You may want to put some protection over the raised seal of the pie crust because it browns sooner than the rest of the top. I used to make a little tinfoil ridge that I fit around the seal but now I have one of those nifty aluminum rings that fits right over the seal and is light enough that it doesn’t squish it. The pie bakes for another 45 minutes to an hour at 350 degrees F. You know it is ready when the sugar and juice is bubbling up out of the pie.
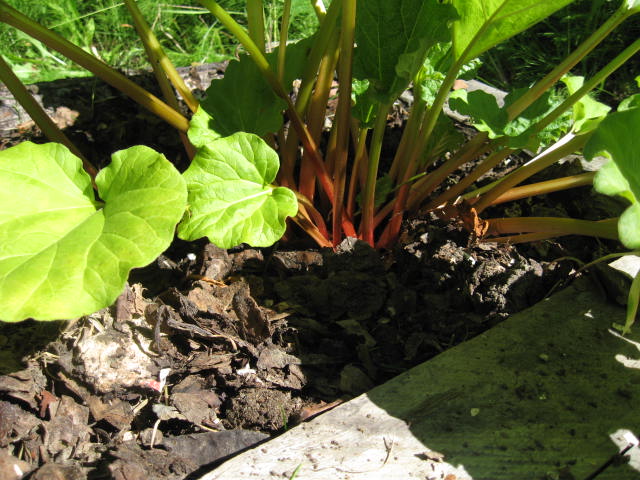
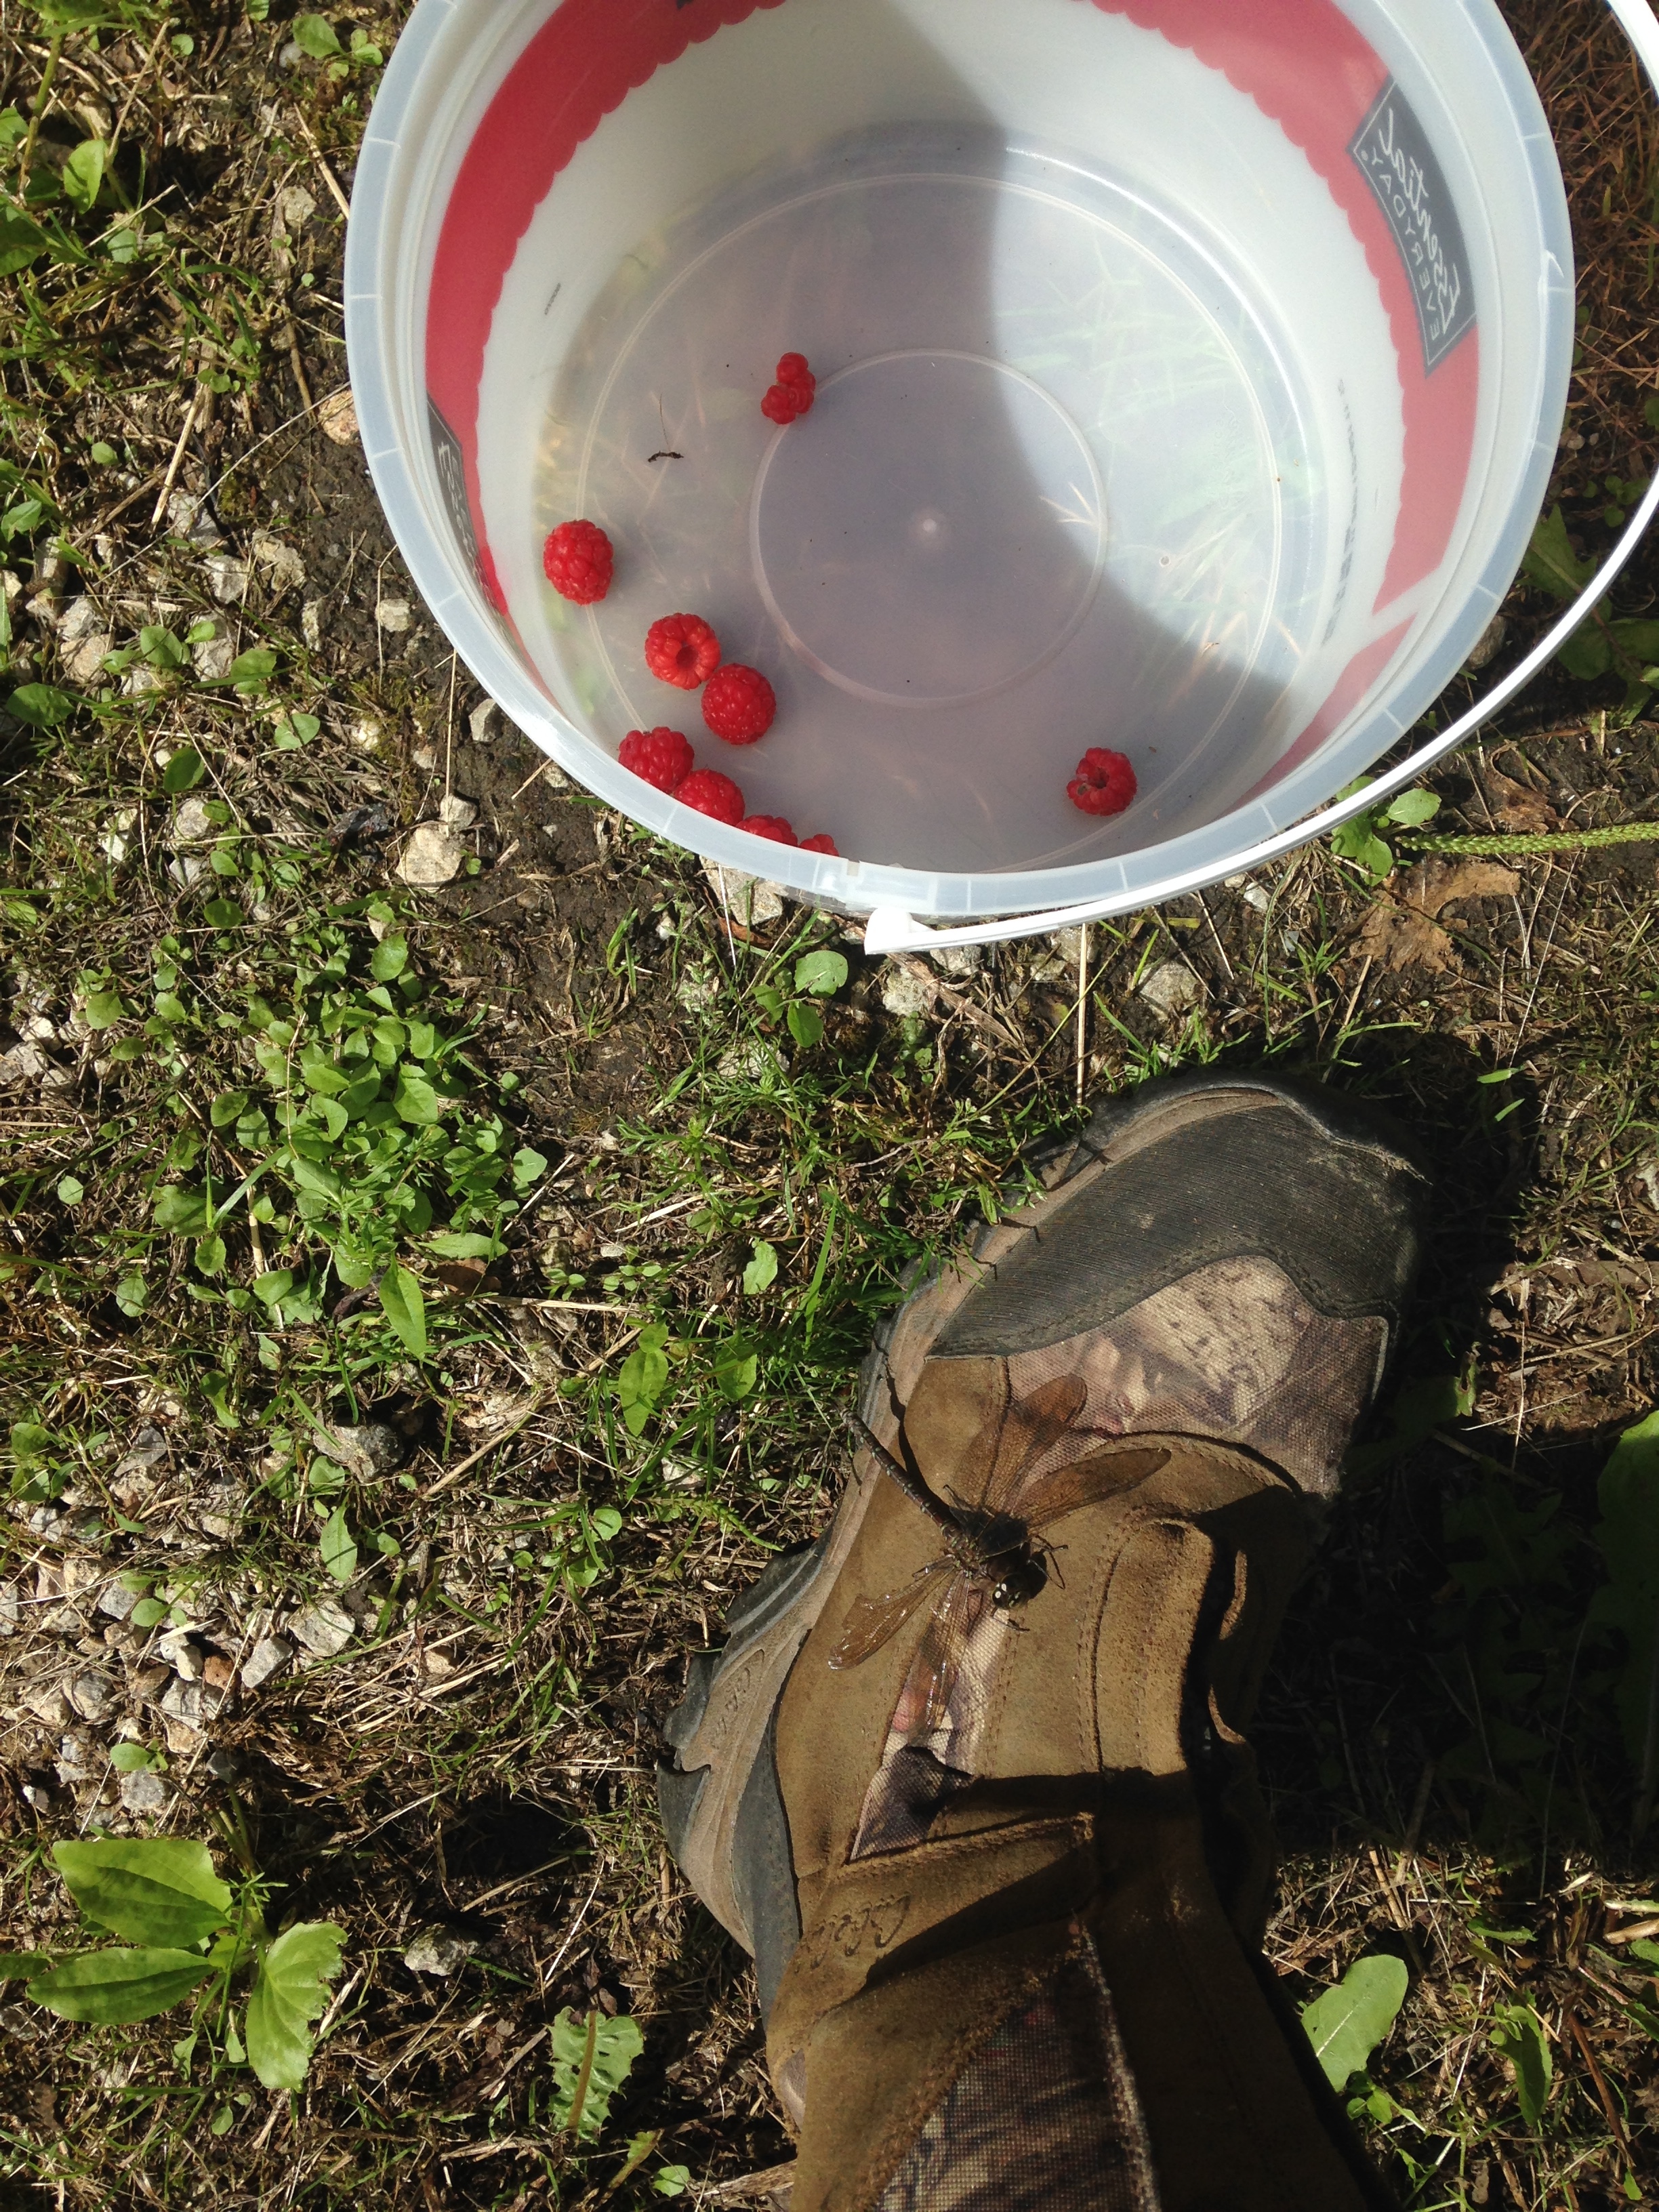 I cannot believe that in all these years I have not taken a picture of the finished pie. Maybe they were eaten too quickly. So I include two pictures of the ingredients, one a bit distracting because it was really a picture of the dragonfly that landed on my boot as I was picking raspberries on a beautiful July day. The rhubarb is just getting started in the picture I took of that plant which is at the beginning of this blog.