An Experiment
It’s February in Alaska while the rest of country is gearing up for spring. You’re walking the aisles of your local big box store and admiring the berry starts that just came in! Outside it’s still cold and dark, bright snow gleaming back at you during the short daylight hours. These starts are still dormant, save for a few brave ones with green leaves beginning to break through buds on the canes of the raspberries.
Below I’ve chronicled the results of my experiment inducing spring indoors and successfully bringing two raspberries plants and a blueberry plant to maturity. Use my tools and try it for yourself!
What I used:
Artificial light (optional)
Spray bottle- for water to mist plants with
6in Nursery Pot
Burlap-for lining bottom of pots
Window Box – or similar container to place nursery pots in
Potting Soil
Peat Moss
Planting
The goal is to induce an artificial spring with as little effort and as cost effective as possible! I started by lining the nursery pots with a layer or two of burlap, overlapping the holes in the pot. I let 1-2 inches of burlap run up the inside of the pot. Next I mixed equal parts of soil and peat moss for the bottom few inches of the nursery pot. You can depress a small layer into the burlap. This helps with water retention. The goal of the burlap is to help capture some moisture from running directly out of the pot. A mix of peat moss and regular container potting soil creates a very lightweight soil environment for root development.
Open the bag with your berry start and carefully remove, then place in your pot. Use the peat moss that came in the bag around the roots of your start. Raspberries have very long roots. I opted to curve mine in the bottom of the pot, gently bending into a U shape. This encouraged the berry to not only bud on the original cane but also send a shoot skyward off the end of the curved root.
Then, add more soil as needed so the canes roots are covered 1-3 inches. By using the peat moss directly around the root ball, I created a light weight cocoon of sorts for the roots. An alternative to using a mix of peat moss purchased would be using potting soil in and around the roots, except for the peat moss that came with the berry canes. As your plant wakes up and the roots expand into the pot they will quickly run out of nutrients if straight peat moss is used.
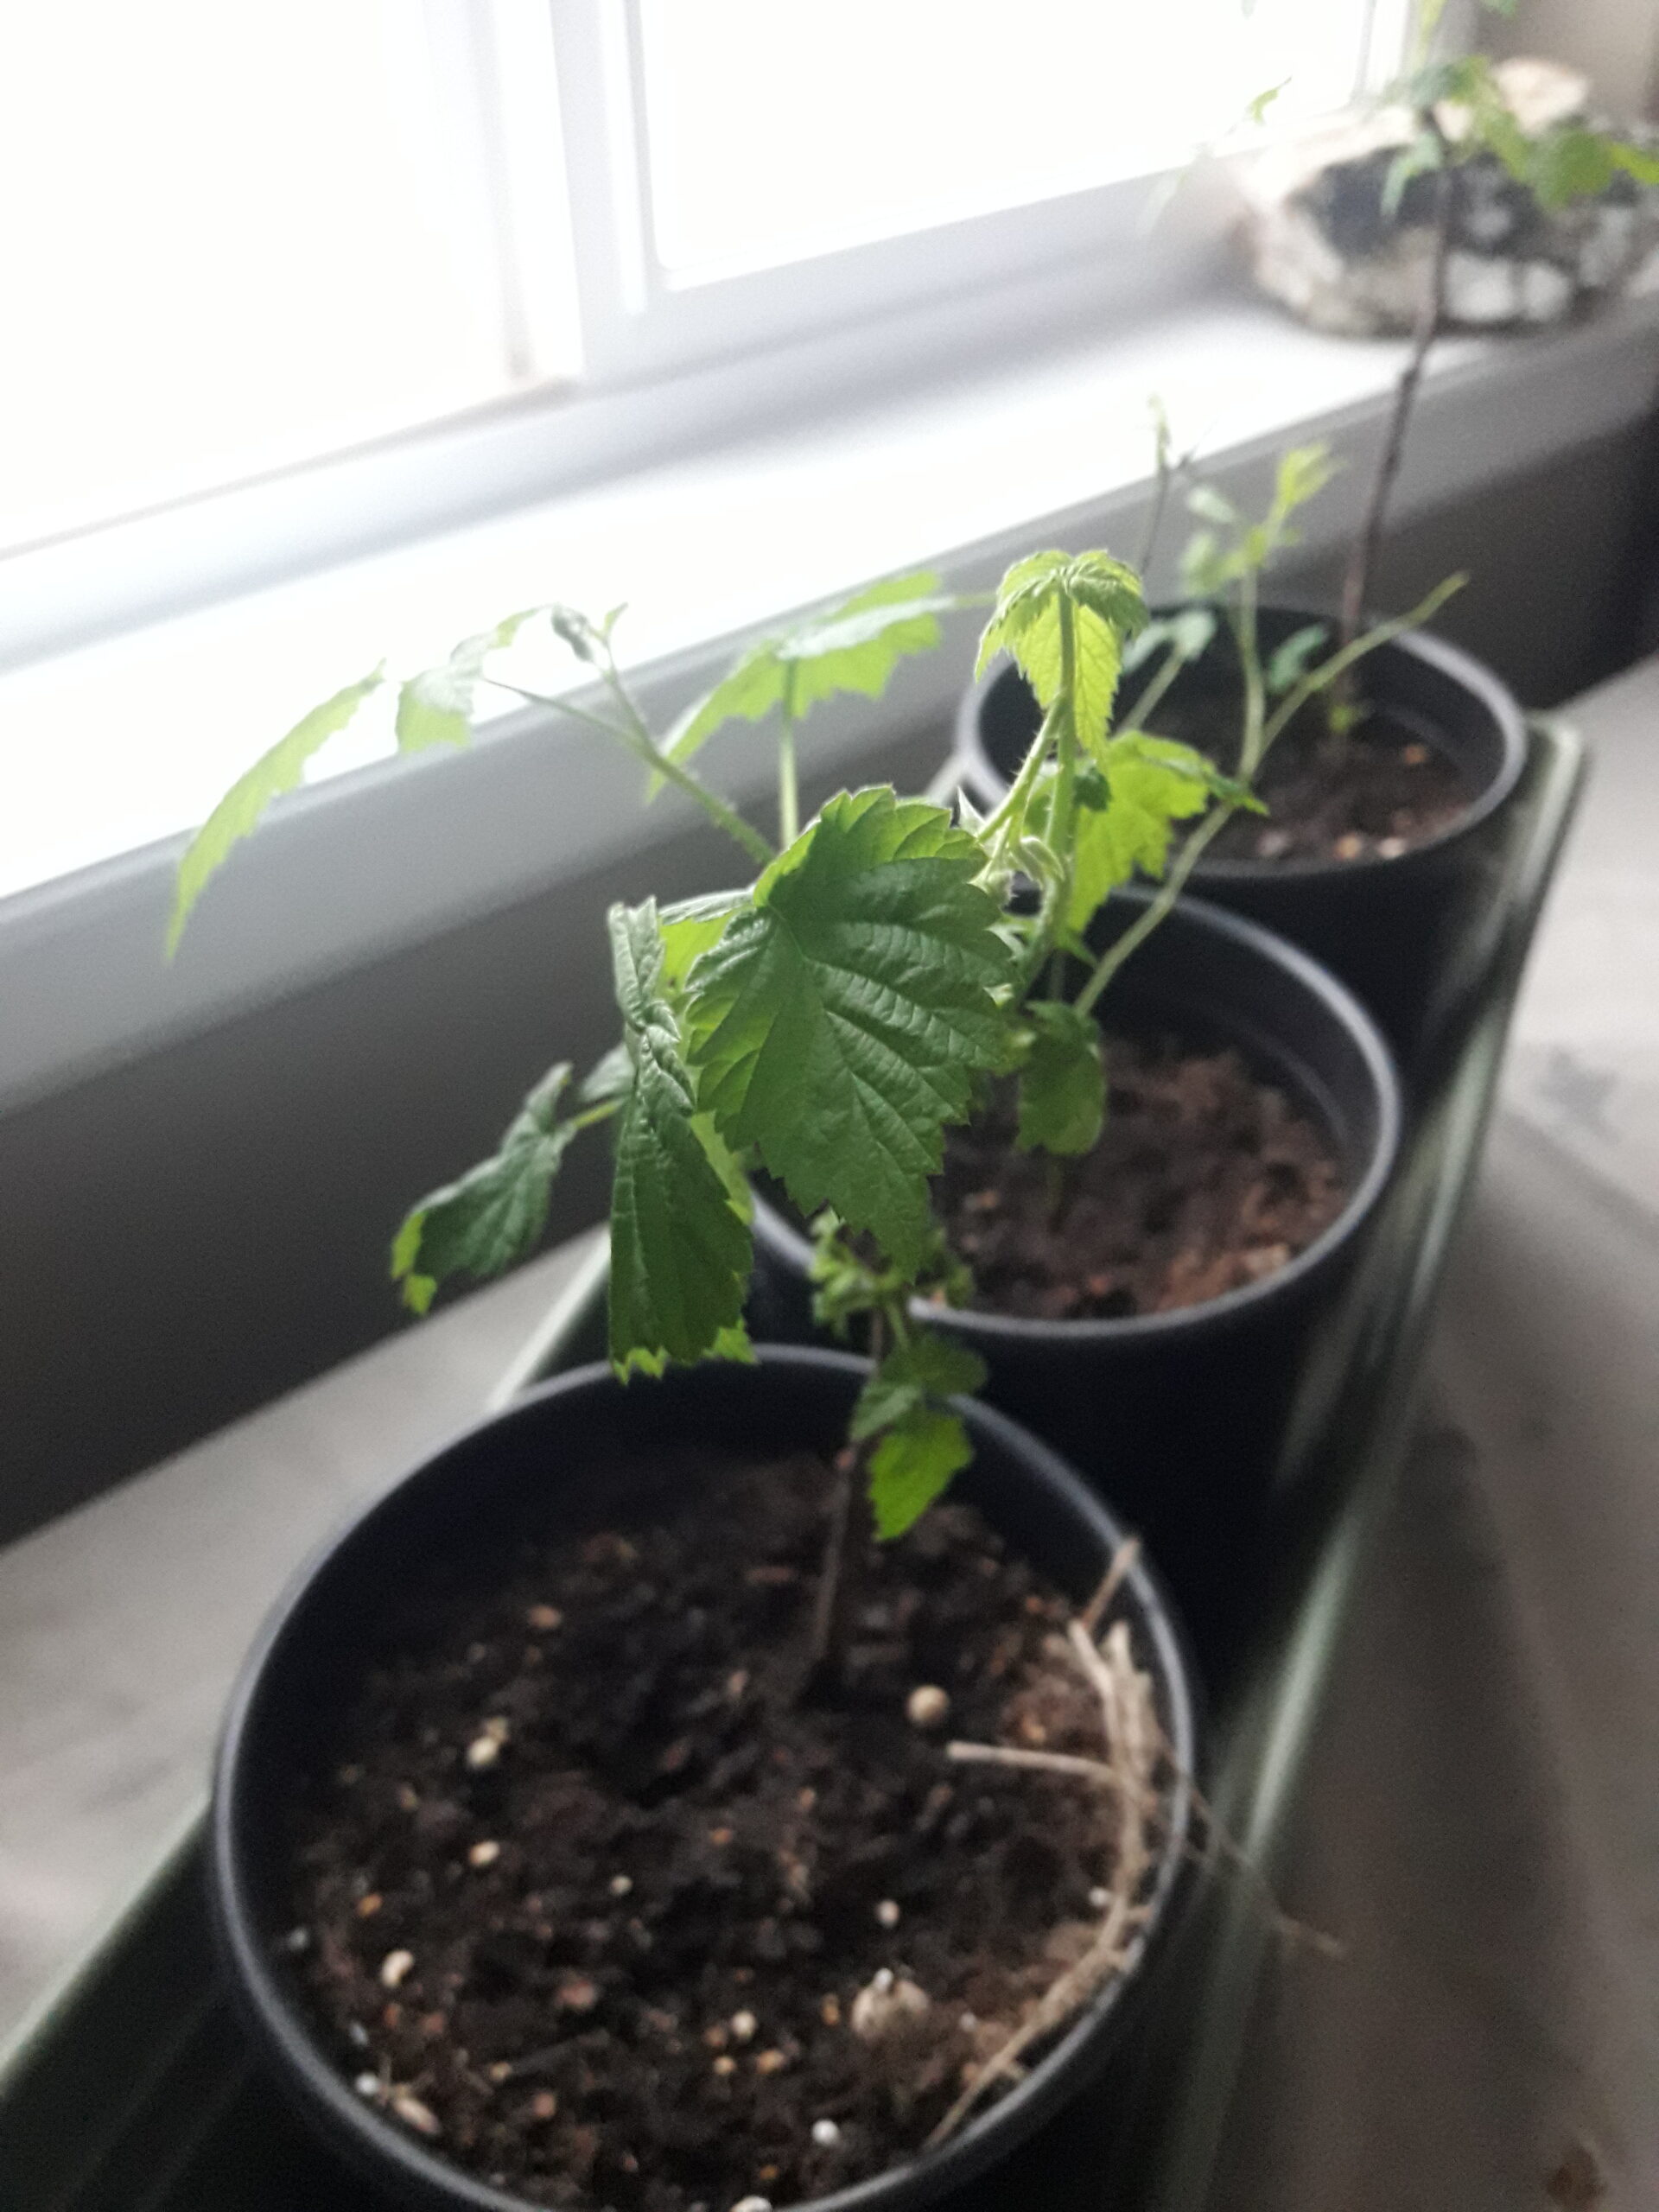
Berries potted and placed in a plastic window box next to natural light.
Location
After potting, move the nursery pots into a window box before watering. A temporary indoor/outdoor window box is just a simple skinny rectangular pot that does not have holes in the bottom. Directly after planting I gave a VERY small amount of water to moisten the soil. The window box will catch any escaping moisture and as the weather warms your berries can be placed in a window sill.
This window box should be near a sunny location but away from the cold. A southern window will have the longest light exposure. If, like me, your southern-most window is blocked by trees or a mountain, an easterly window is a good alternative.
As my starts grew, I started moving them from east to west depending on the time of day for the greatest light exposure. An alternative for busy growers is artificial light. I like a moveable light with wands verses a bar which is better for seedlings.
It’s very important that the berry starts be NEXT TO a window, not in it! The draft and cold air could shock them.
Growing
Gradually introduce water daily. First, I began by misting the plants, then spraying the soil with water until it felt damp to the touch. I never let the soil dry out and how much I increased the water depended on the plant. Trust your instincts! Each berry will grow at its own pace. The more prominent the leaves became, the more I treated my starts like plants.
Once my starts had inches of new green growth I began “watering from below”. This process is simply pouring tepid into the window box tray. The berries absorbed what they needed and I could fertilize with an all-purpose organic water soluble the same way.
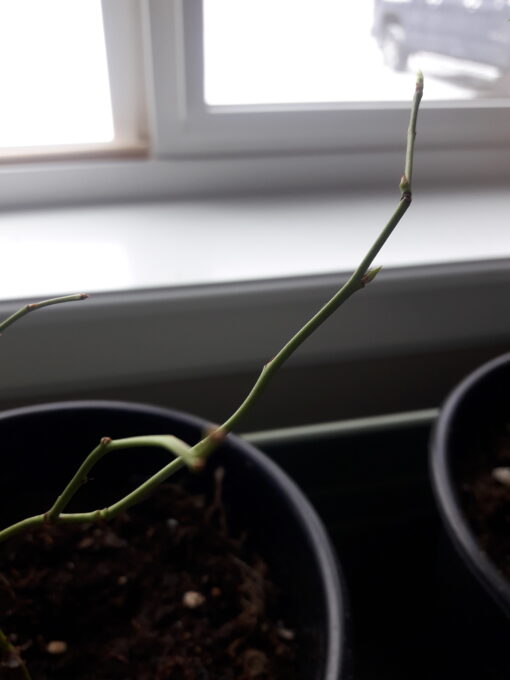
Blueberry budding and waking up for spring!
Timeline
Start to finish my berries lived in pots for nearly 3 months! Within the first week I had green leaves on both raspberry starts and by 2-3 weeks the blueberry had green buds. Signs that it was awake started with the stem slowly turning green!
By the second month I knew I needed to either pot up or move them outside. Leaves turning yellow, feeling crispy, or crinkly were all signs of stress. When night time temps are in the 50s berries can finally be left outside overnight. Harden plants off just like other seedlings, extending an hour at a time, and keeping them in shade.
Troubleshooting
I like to think of plants like little people. Treat with extra care and gentle hands. Luke warm to tepid water (if on city water let water gas off any chlorine), plenty of light, air movement, and food (i.e. organic fertilizer). I’ve also used the leftover (cooled) water from steaming vegetables. Lots of nutrients!
Raspberries and blueberries don’t like wet feet. I do not recommend letting them sit in standing water. Enough for each pot to soak up when watering below, around a half inch. Water deeply, don’t water on a schedule, and water by feel. Check the soil to determine if they need it. Soil shouldn’t be soaking wet or bone dry.
Check for red tips on blueberries and red/brown spots or discoloration on raspberry leaves. These are signs of sunburn. Your berries might be too close to a window and the glass is magnifying the sun rays causing them to burn.
Potting up but too large to stay in the house and no greenhouse in sight? Leave them in the shade on a porch during the day and bring them into a garage at night! Gradually lower the heat at night until your garage is in the low 50s F.
I ran out of space at one point. My starts showed signs of stress and needed room for root growth. I opted to pot up, move them outdoors during warm days (in shade), then bring back inside at night. I introduced them slowly to the outdoor environment, babying them as much as possible, before planting them mid-summer. Waiting to plant was dependant on the prepped space available and a very late spring. Our ground was still frozen!
Closing Thoughts.
My growing experiment was based on experience with seed starts and the directions listed on the packaging. This article is merely my attempt at pushing the envelope growing here in South Central Alaska late February through May. I also read articles on container growing and berry guides such as the ones linked as a road map.
Experiment! Have fun with it! Don’t be scared to try in the house or in a greenhouse. Alaska has such a short growing season. At around $10 per plant start you’ll gain experience on indoor berry growing. At worse they don’t make it, and at best your first year plant has a head start!
About Grace York
Twitter •