Delicious in crisps, pies, and even a cocktail, this versatile vegetable is relatively easy to grow. Though technically a vegetable, rhubarb is an Alaskan fruit favorite! But what happens when the pie plant some gardeners choose to leave to its own devices suddenly takes a turn?
Growing up we had one very large and happy rhubarb plant in our backyard. It wasn’t in a garden, wasn’t even tended to, and it did great! Our rhubarb seemed to defy most garden advice: a testament to how hardy the plant is! Crisps were made soon after the juicy stalks turned a lovely shade of deep red.
Planting and Care
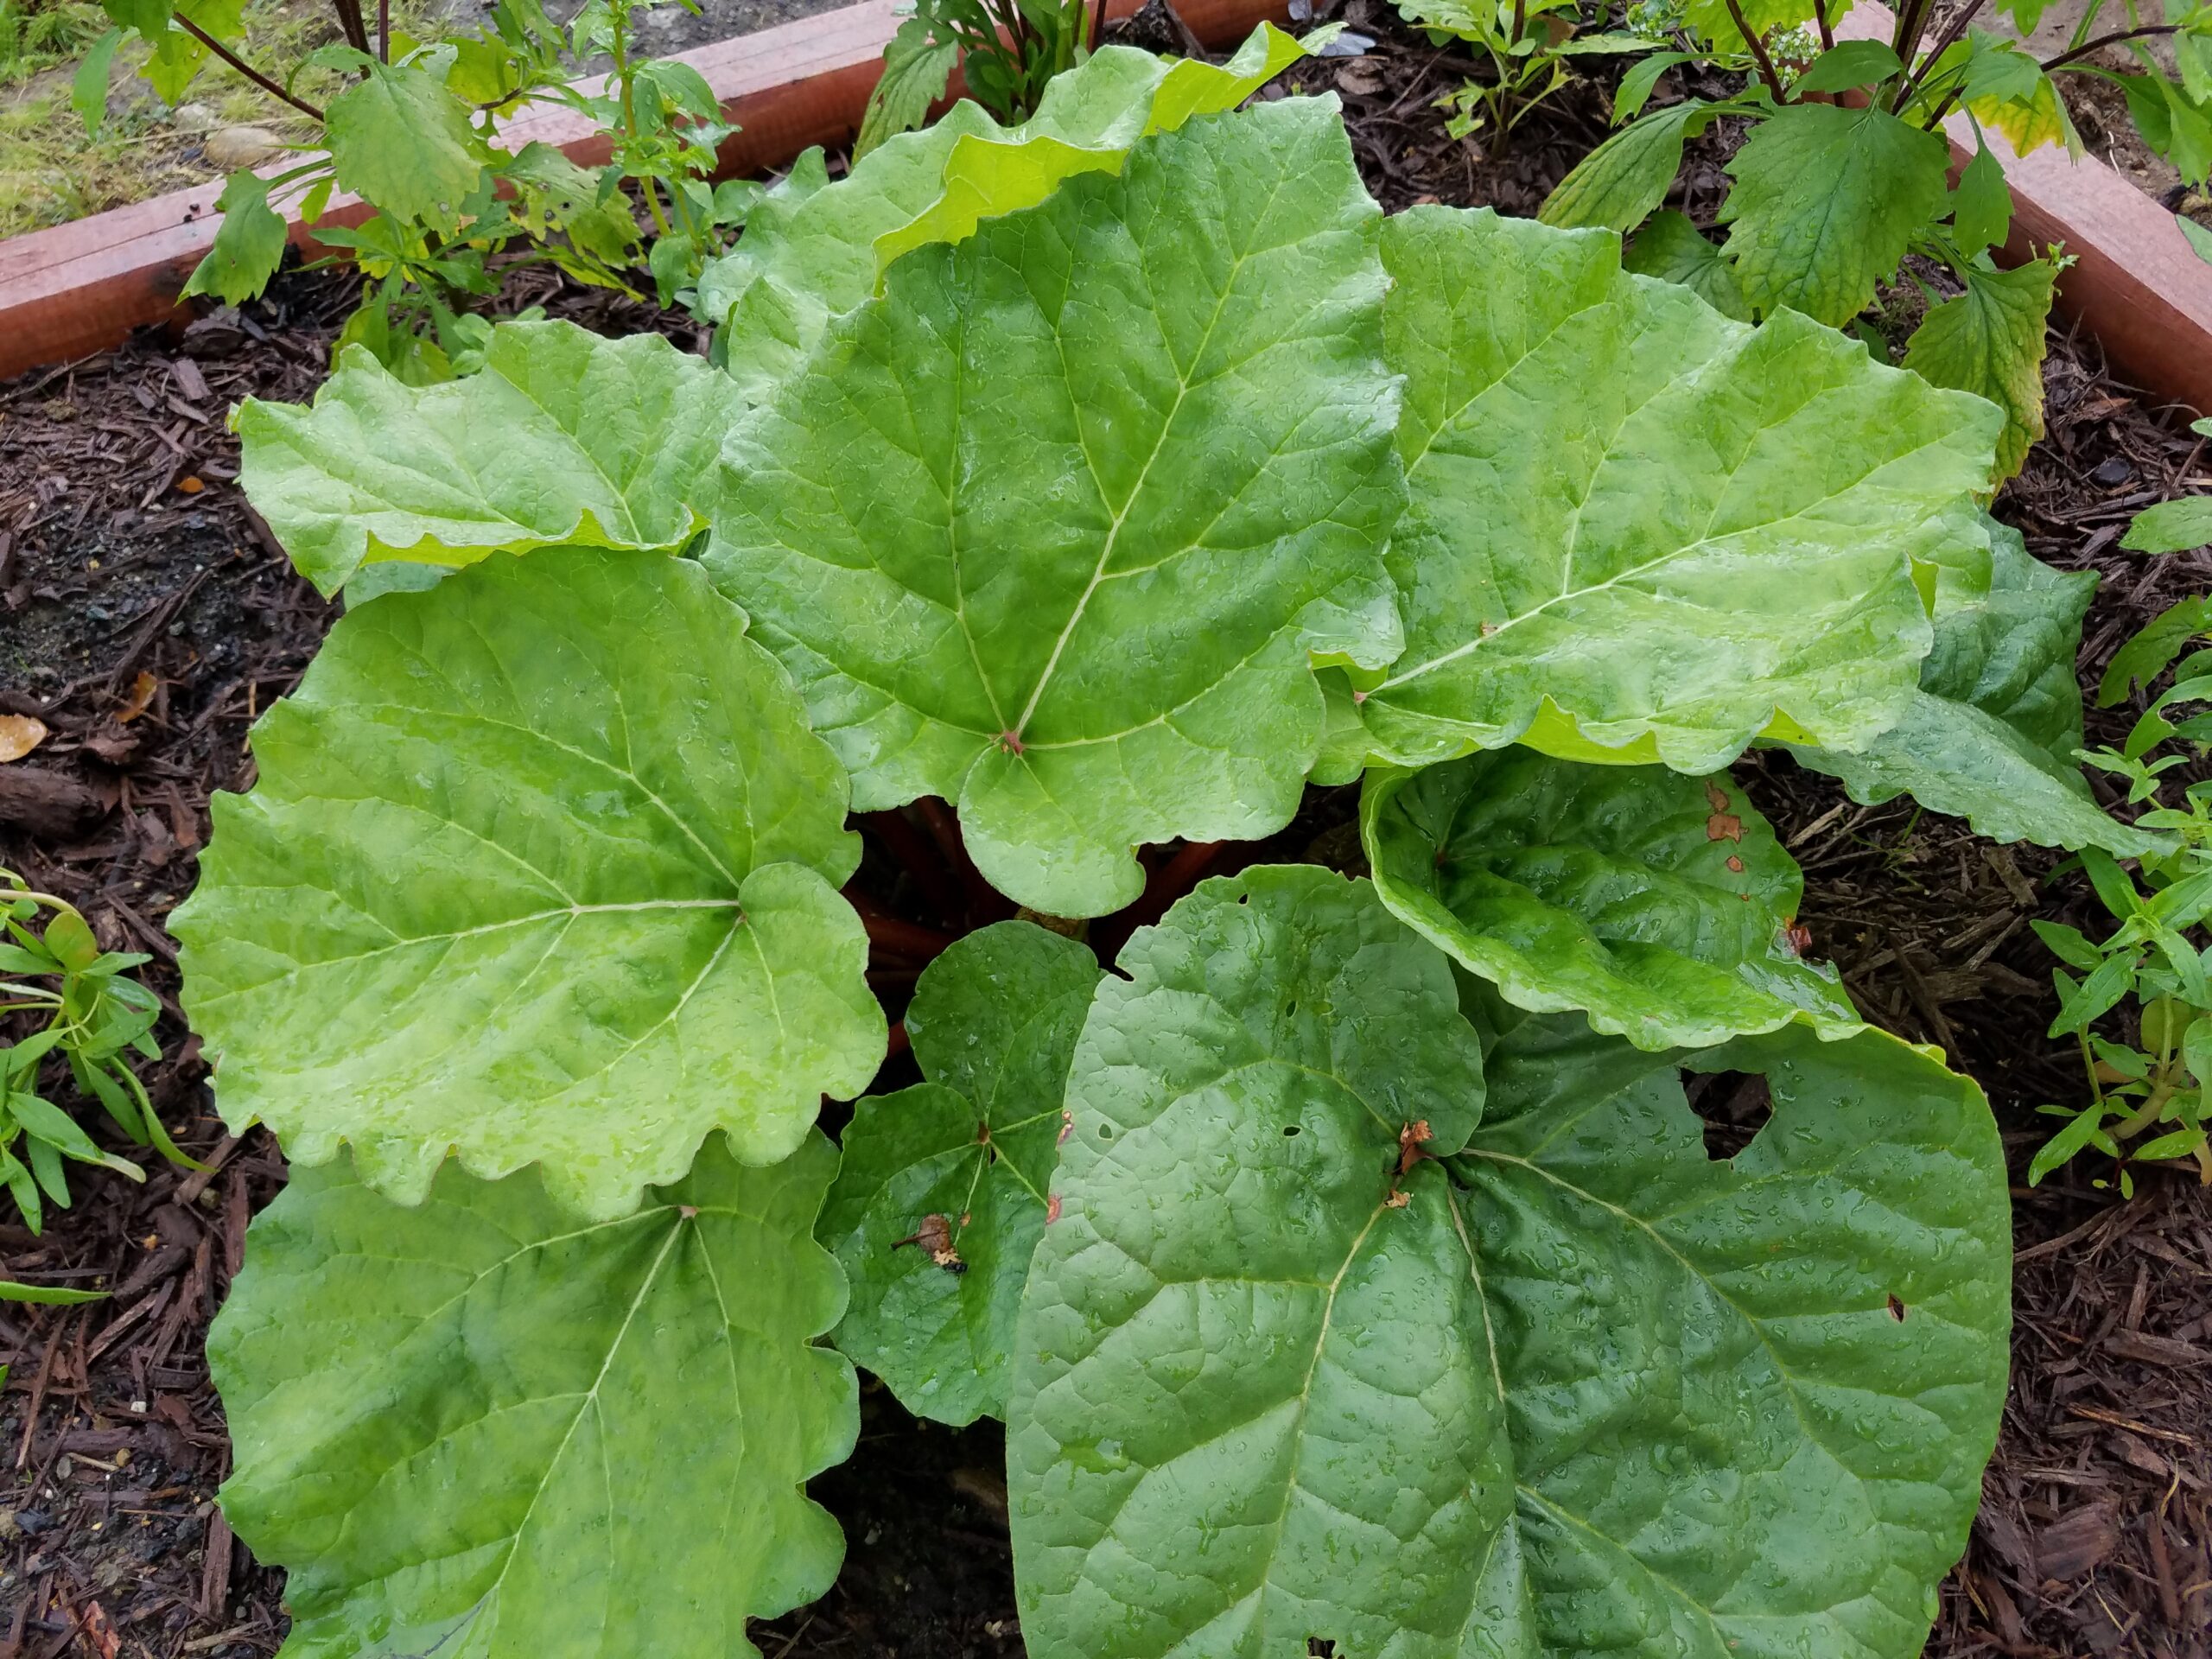
If you weren’t fortunate enough to inherit an established plant, proper soil preparation is a must for preventing problems. Rhubarb enjoys full sun, will tolerate some shade, and needs to be planted where it can go dormant in the winter. The plant enjoys warm sun however, with our long hours filtered afternoon light is preferred. Outdoors is best so no year round heated greenhouses!
Plant in well-draining fertile soil that is not gravelly. Ann Roberts from Alaska Gardening Guide suggests planting, “Outside the garden area, perhaps as a house foundation planting, as it can become so large that it interferes with garden chores.” Rhubarb is known for getting as large as four feet wide. This is a one and done planting perennial and needs to be placed where it will not be disturbed by garden tilling.
Preventing Problems
Wait two years to harvest your rhubarb. When you finally do stalks should be around 10 inches in length and one inch thick. Do not eat the leaves as they contain oxalic acid, which is poisonous.
When harvesting simply twist the stalk at the base of the plant and pull away. Cutting will lead to crown rot. Harvest only a third of the stalks in total over the season. The following year take up to twice as much as the previous year, just never all at once.
Rhubarb enjoys finished compost in spring before growth starts and loves ample water for juicy stalks. Water deeply and do not let the plant dry completely out. Avoid fertilizing near the crown as this can lead to rot. Work an all-purpose fertilizer lightly into the soil around your rhubarb. Alaska Gardening guide also recommends adding a cup of nitrogen in early May, early July, and late August though I have yet to try this myself. Aged manure can be added like a mulch around the edge of the plant as well. Think along the drip line, away from the crown.
Troubleshooting
If you have indeed followed the above general care for planting a new rhubarb, feeding an existing, and preventing problems, yet are asking yourself what’s wrong with my rhubarb? This section is for you!
Dry Weather: Water deeply giving a good soaking every 7-10 days. Annual mulching with compost will help retain moisture, keep down weeds, and improve soil. Avoid fertilizer around crown.
Flowering: Remove any flower like stalks as soon as possible. Without doing so your rhubarb will go to seed and drastically reduce its production.
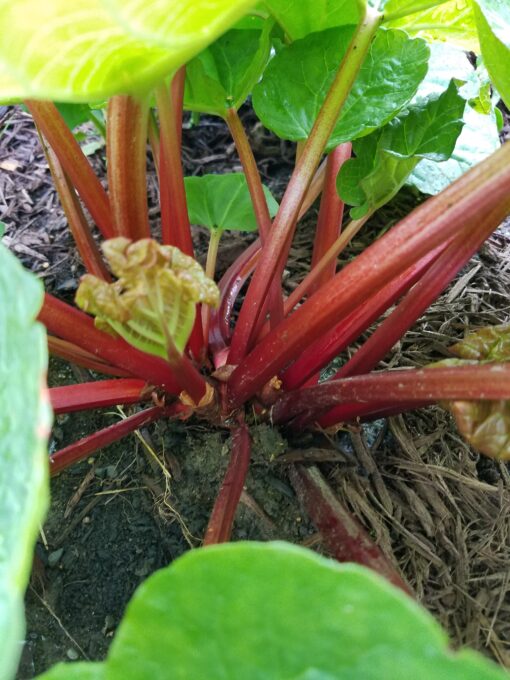
Dividing (existing/older plant): Every 4 or 5 years when the stalks start to appear spindly and overcrowded. Only divide in spring before any new growth appears or in fall after your plant has finished growing. Gently pull soil away from the bottom of the plant exposing the crown. The crown is where the stalks and roots all meet just below the ground. Using a clean and sharp knife slice through the crown leaving one third to half of the original rhubarb. Further divide into pieces about the size of your fist. Make sure to include an active bud and section of root, replant divided portions elsewhere promptly. Do not let roots dry out. Add finished compost and mix with soil then lightly replace around existing rhubarb plant.
Crown Rot: Remove and destroy any diseased portions of the plant including diseased portion of crown. This is to avoid spreading rot to the rest of the plant. Some leaves will appear red and wilting at the base, rot will mostly be at the center of the plant. Aphids can further spread crown rot. Dislodge with water first before using a spray like Neem Oil. Do not replant new rhubarb in the same location if the current plant is beyond saving. Plant in another area of the garden. Disinfect all gardening tools before and after use to curb disease spread. Use Neem Oil either early morning or late evening/night to reduce potential bee exposure.
Slugs: Look for slime on leaves and large holes. Pick off slugs at dusk or late summer when daylight wanes. Use beer traps to bait. I do not recommend salt as it can affect the soil. In fall take a cup and spoon. Gently dig around the base of the plant for clear eggs. Remove slug eggs to decrease population for following year.
Rhubarb Curculio Beetle: A large snout beetle that will burrow into the stalks, roots, and crown to lay eggs. You’ll notice sticky sap on stalks. Although this beetle will not kill the plant the rhubarb acts as a host. Eliminating weeds near the rhubarb that the beetles feed on will help to curb the infestation. It can be found as far north as Canada, though whether it lives in Alaska is unclear. Many bugs and beetles are slowly migrating and adapting in our northern climate. Watch out for new ones!
Closing Thoughts
Give your rhubarb time to recover. If in doubt try removing the diseased portion first before taking drastic measures. Plants are like people. Too much all at once is shocking.
For more information reference growing Rhubarb in the Home Garden and Rodale’s Vegetable Garden Problem Solver as a further resource!
About Grace York
Twitter •