Elevated Bed Revision

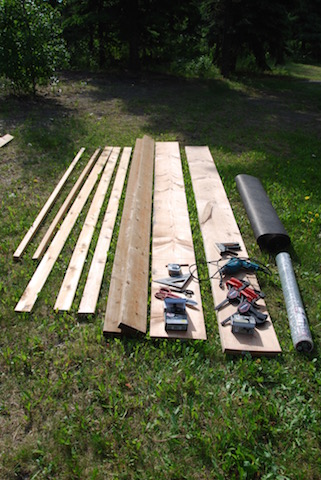
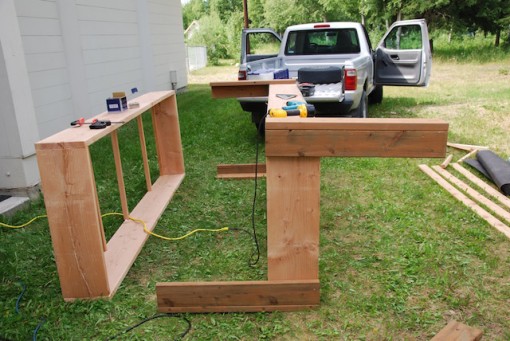
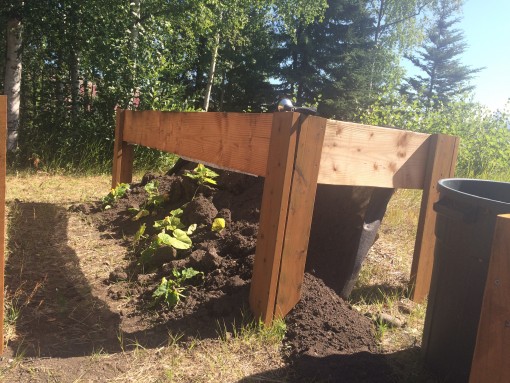
It seems the 2X2 cross pieces for the elevated beds in post 1, 2, and 3 were not quite enough to support the weight of a cubic yard of soil. I noticed that one was sagging badly on July 17th. I thought that I would have to look into that on Sunday afternoon when I got back to the church. Well by Sunday afternoon all of the squash plants were either buried under the soil that pushed out the bottom of the box or were sitting on top of the Read More …

Building an Elevated Bed (off the ground) Part 1 of 3

The beds I will build are actually 3 feet by 9 feet by about 9 inches deep and the tops of them are about 3 feet off the ground. This width lets you easily reach the center of the box from either side for planting, weeding, and harvesting. The height of three feet allows you to use a tall stool to sit on to do the chores required. Materials: (cost of the materials is about $130) (2) 2x12x12 construction grade pine, hemlock, or fir.             Read More …

Building an Elevated Bed (off the ground) Part 2 of 3

Safety Tip: Always wear safety glasses when working with tools that could make something “fly” around. That actually means anytime your are using tools whether hand or power. You only have one set of eyes, protect them. Next cut 5 pieces of 2×2, 36 inches long. Be sure to clamp the 2×2 to the box before you cut. This is much easier than holding it and much safer even if you are using a handsaw. These will be cross supports for the box. Next we will cut the legs. Treated Read More …

Building an Elevated Bed (off the ground) Part 3 of 3

Safety Tip: Always wear safety glasses when working with tools that could make something “fly” around. That actually means anytime your are using tools whether hand or power. You only have one set of eyes, protect them. Next finish setting the 2×2 attached to the ends of the box. Drill three pilot holes on each end of the box into the 2×2. One in the center and approximately 1/3 of the way to each end. Complete the attachment by fastening with 3″ screws through each pilot hole. Now you need Read More …